Using Sublime Text as an alternative to the Arduino IDE
The Arduino IDE is a freely available and widely use IDE for writing code for various microcontrollers like the ATmega based Arduino UNO, the ESP8266 based NodeMCU or the ESP32 based Lolin32, just to name a few.
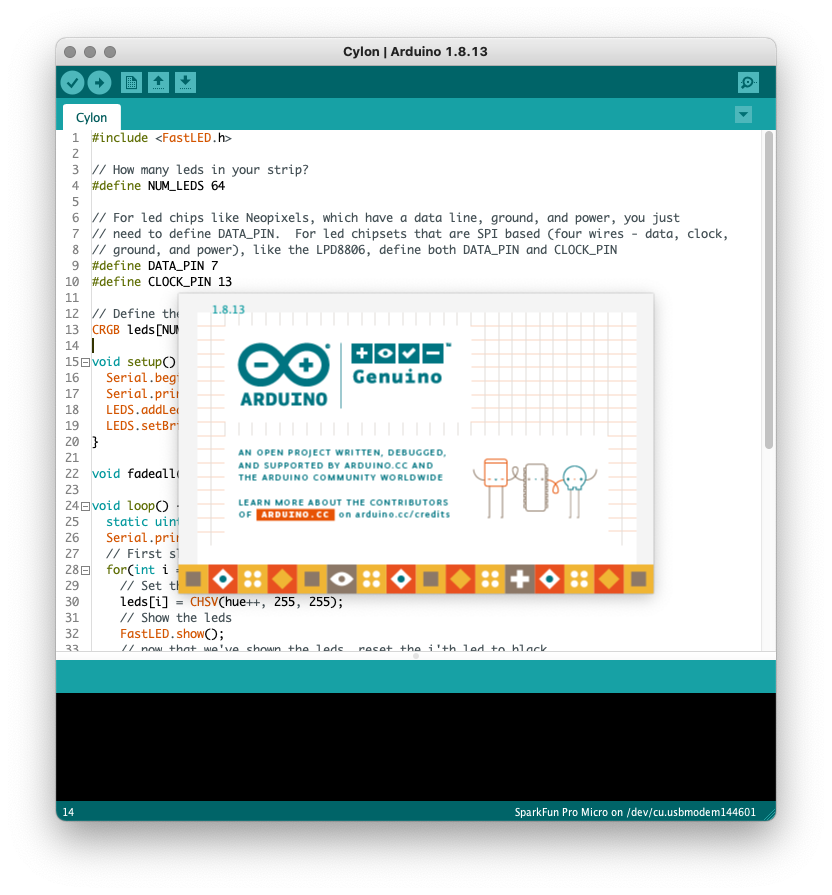 The Arduino IDE is a useful and well supported tool, but does lack some modern features, like code completion, snippets, color theming and GitHub integration.
Sublime Text to the rescue.
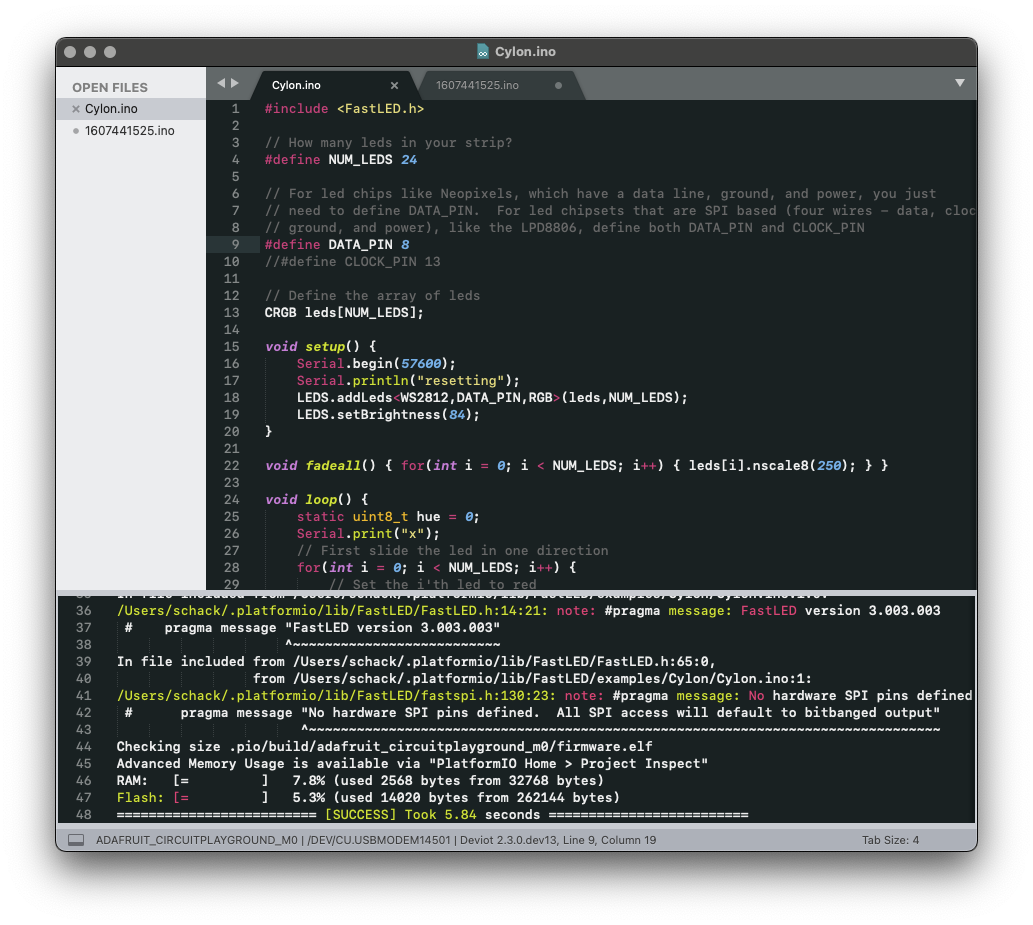
Sublime Text is a text editor specifically made for working with code. It has many advantages over the standard Arduino IDE. Here are some examples:
- Customize anything. Key bindings, menus, snippets, macros, completions and more - just about everything in Sublime Text is customizable with simple JSON files.
- Multiple selections. Make ten changes at the same time, not one change ten times. Multiple selections allow you to interactively change many lines at once, rename variables with ease, and manipulate files faster than ever.
- Goto definition. Using information from syntax definitions, Sublime Text automatically generates a project-wide index of every class, method and function.
- Goto anything. Open files with only a few keystrokes, and instantly jump to symbols, lines or words.
- Package Control can be installed via the command palette, providing simple access to thousands of packages built by the community.
Download it here
Working with Microcontrollers
Before we can use Sublime Text as an Arduino IDE we have to add some extensions to it. And before we can do that we have to have the Package Manager for Sublime Text installed. It's called Package Control.
The easiest way to install it is from the menu "Tools" and then select "Install Package Control…". This will download the latest version of Package Control and verify it using public key cryptography.
Now that Package Control is installed we can continue with the rest of the needed tools. Sublime Text in itself doesn't in itself have the ability to connect, manage and build for the growing number of microcontroller that exist out there. For that we need two different tools.
- Deviot - an package for Sublime Text that interfaces the editor with PlatformIO.
- PlatformIO Core - an open source microcontroller environment that manages boards, libraries and build files.
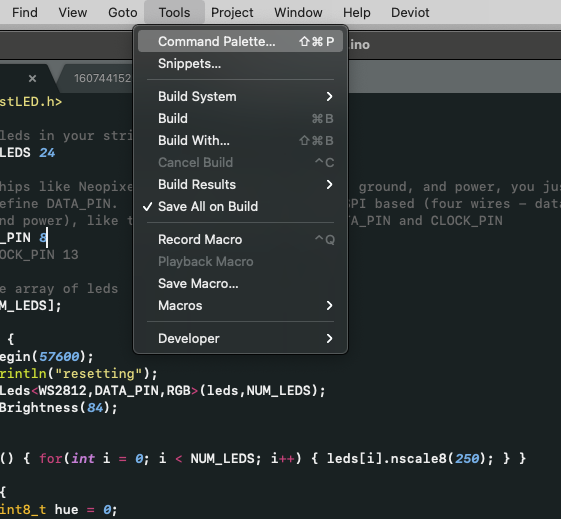
Before we install Deviot we're going to add its dev-channel from Github. To do that we invoke the Command Palette in Sublime Text, either by going to menu>tools>command palette or with mac hotkey shift+command+p.
Start writing pack and all the Package Control command are listed. Select Package Control: Add Repository and write https://rawgit.com/gepd/Deviot/master/repository.json
Now we are ready to install Deviot. Again open the Command Palette, type pack and select Package Control: Install Package. Wait until the list is loaded and then start typing Deviot.
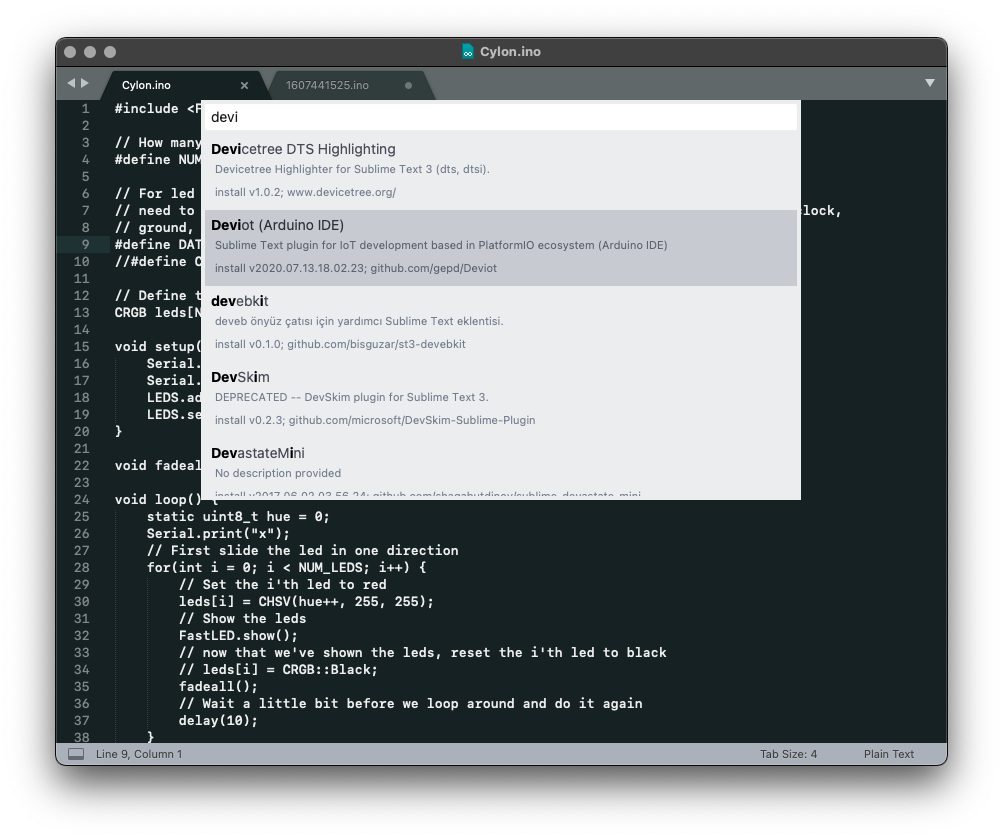
While Deviot is installing it will also download and install the latest version of PlatformIO, so assuming no errors occurred you are now ready to start coding your next microcontroller project with a modern IDE.
But before finishing up this tutorial I'll leve you with some of the basic commands for setting up and using Deviot. A new menu is now available and here is where you find the various commands that setup, compile and upload you code.
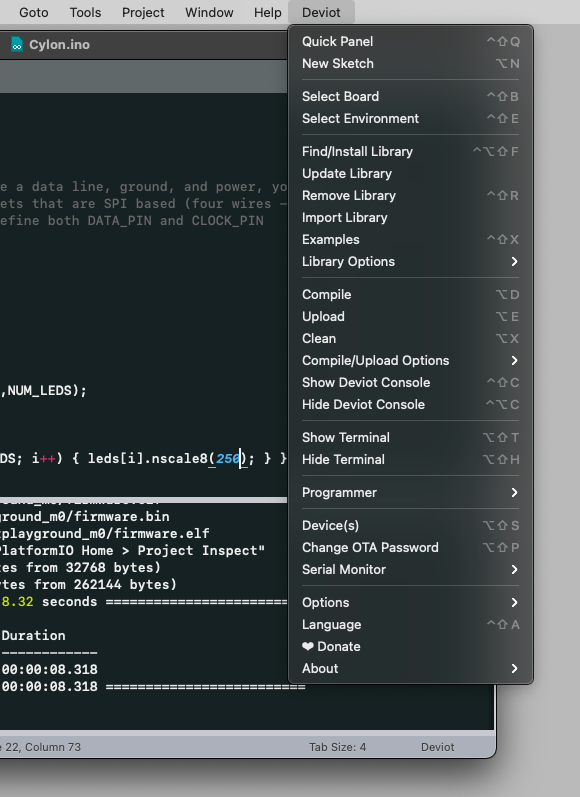
Start with New Sketch. Give it a relevant name. Then with the palette select the location you want to save the file. Deviot will create a folder and place your new file within.
Then you probably want to add a library. Select Find/Install Library. Enter a search term, then select and install the needed library.
Next you need to specify the board you're using. Use Select Board and find the board you need. All tools and compilers will be downloaded and used at compile time.
Write some code and the try to Compile. The console will open and show the progress of the compile and download any needed files.
Lastly you can try to Upload the code to your microcontroller. A device list will pop up. Select the relevant port and you're done.
Enjoy!
