Printing Guide - Large Format Printer - EPSON SC-P8000
There are three poster printers at RUC:
1) IKH has a poster printer (Mads Folmer)
2) IMT has a poster printer (Esbern Holmes)
3) Fablab has a poster printer
A poster print costs RUC about 150-400 kr - while an A3 laser print on any photocopier at RUC only costs 4 kr. ( papercut.ruc.dk )
Fablab RUC has a large format printer that can print large format high quality prints on coated photo paper in A2, A1 and A0. However, unfortunately it is expensive and Fablabs budget has been cut, so we cannot do it free for everyone.
What Fablab can print without billing:
- 1 poster for presenting scientific work at international and national conferences
- 1 poster for use for at least one week for semester projects - for example an experimental one month display at a library.
What to do
Send us an email at fablab@ruc.dk with a PDF in, and explain exactly what it is for, how many copies you need, what size you want. If you PDF is too big, put in Onedrive/dropbox/wetransfer etc. and send a link. Or bring a USB stick.
Be careful about the resolution of photos etc. A small bitmap photo you found on the internet will look terribly pixelated when blown up to A0 size. Take your PDF and zoom in a lot to see how it will look printed.
Usually 2 working days is enough time for 1-3 posters. 7 days for more than that.
Remember we only have one poster printer - if anything goes wrong we have no backup. If you need time guarantees, use a commercial printer.
What can we print by billing your institute (we need to know who to send the bill to):
- Other academic use, including exams. We are sorry, we cannot afford a course teacher telling 12 groups to make A0 posters and it costs our budget 15*320=4800 kr. The course teacher could either specify that the class should make their poster from multiple 4 kr A3 prints, or that a digital projection of the poster is fine, or the institute holding the course can pay.
What can we not print - use a commercial service:
- Non academic/scientific things
- Many copies of the same thing
E.g. lasertryk.dk or others.
Prices for poster print at Fablab RUC:
A2: 150,-
A1: 200,-
A0: 360,-
These are internal prices in DKR without moms - you unfortunately cannot pay yourself, your institute has to pay.
(For commercial services, expect about A0: 450 kr A1: 225 kr A2: 150 kr + moms (= VAT 25%) + shipping + fees for e.g. rush.)
We only have paper on rolls, A0 and A1 size. If you want something smaller you have to cut the edges with a hobby knife.
For course teachers: Please remember that if you tell your students "make a A0 poster", most of them will do it on their computers and then research where they can print an A0. If you want to avoid that resource waste, you can be specific in your instructions. Here is an example suggested formulation:
Create a poster approx 100x80cm by printing content on 6-8 pieces of A3 on RUCs standard photocopiers (papercut.ruc.dk) and assembling it together in a creative way.
Poster printer manual
You do not need to read this just for printing one poster - then you need help from an employee anyway.
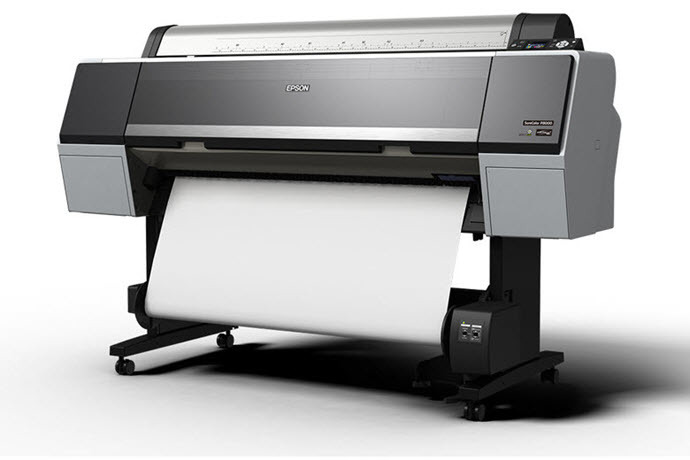
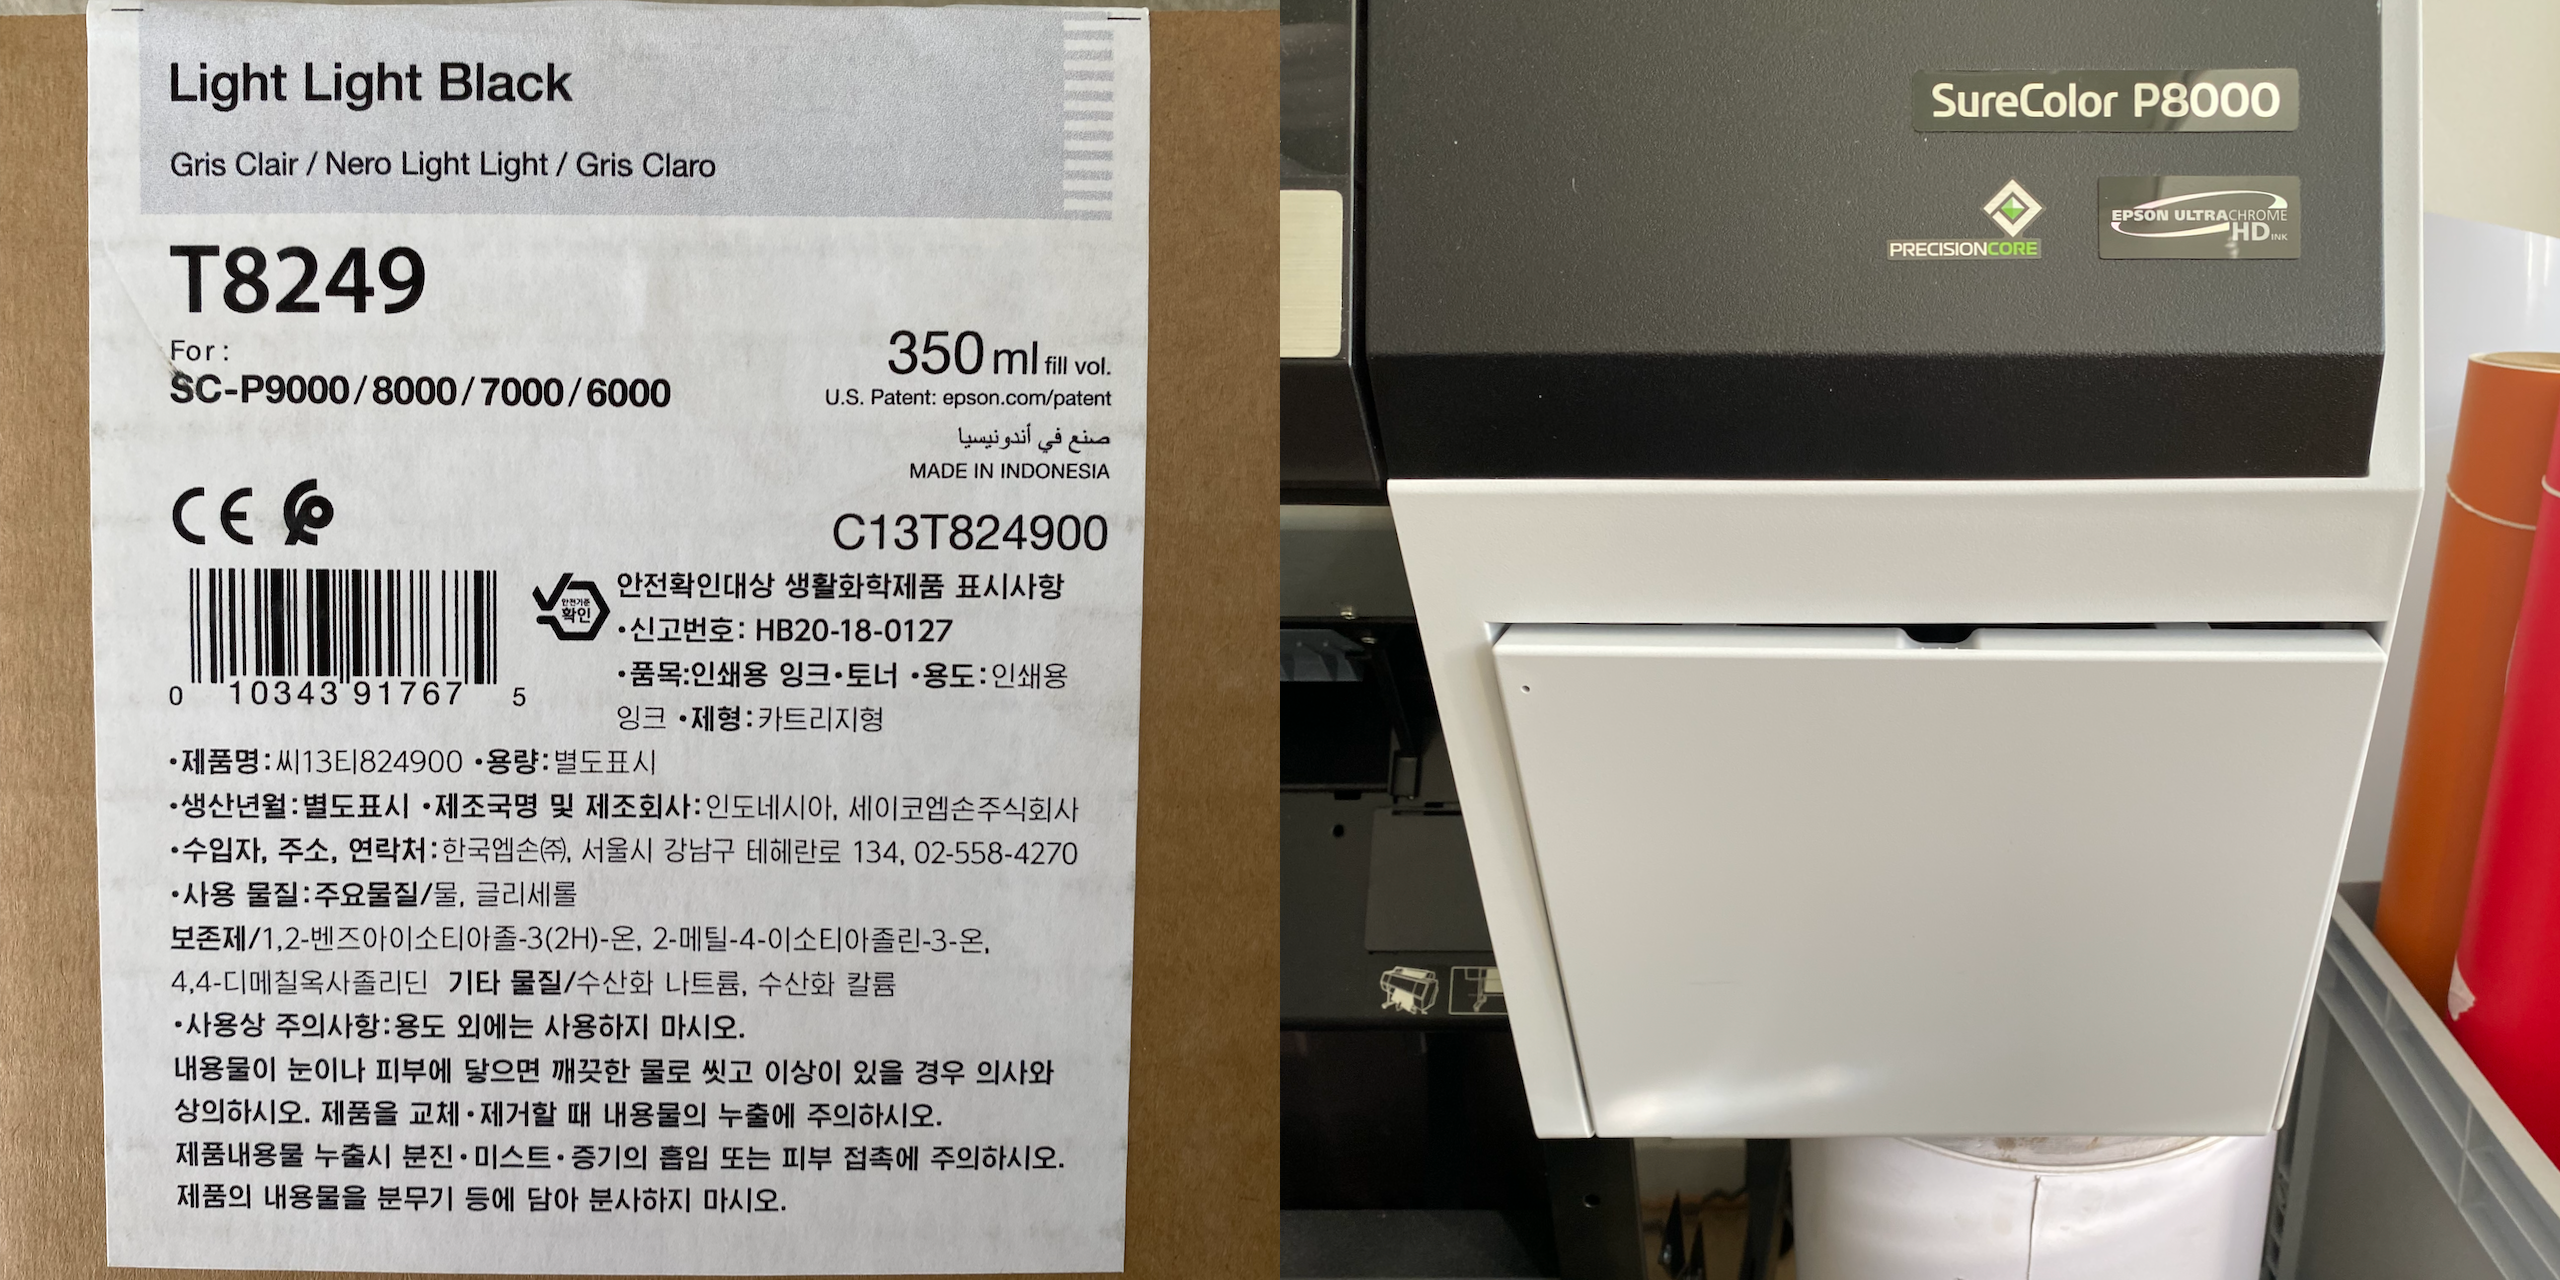
FabLab has an Epson SURECOLOR SC-P8000 STD The printer can only be used either in collaboration with or after instructions from a fablab employee.
Before printing you should consider the following:
- What quality and size paper do you need? (A3 on normal printer is cheap)
- Is your source material ready for large printing? (Size/resolution)
- When do you need it? (Fablab is not suited for time-critical prints)
Using the Printer
A inkjet large format printer is somewhat more complicated than your average laser printer, mostly because you can change both ink and paper type and that the two are relative to each other.
The paper ranges in both size, format and type. It can come in rolls and sheets, in different widths like A2-A1-A0 and with different surface/paper types like glossy or matte. Many of these options will need to be set on both the printer itself and in the print dialog on the computer printing the job.
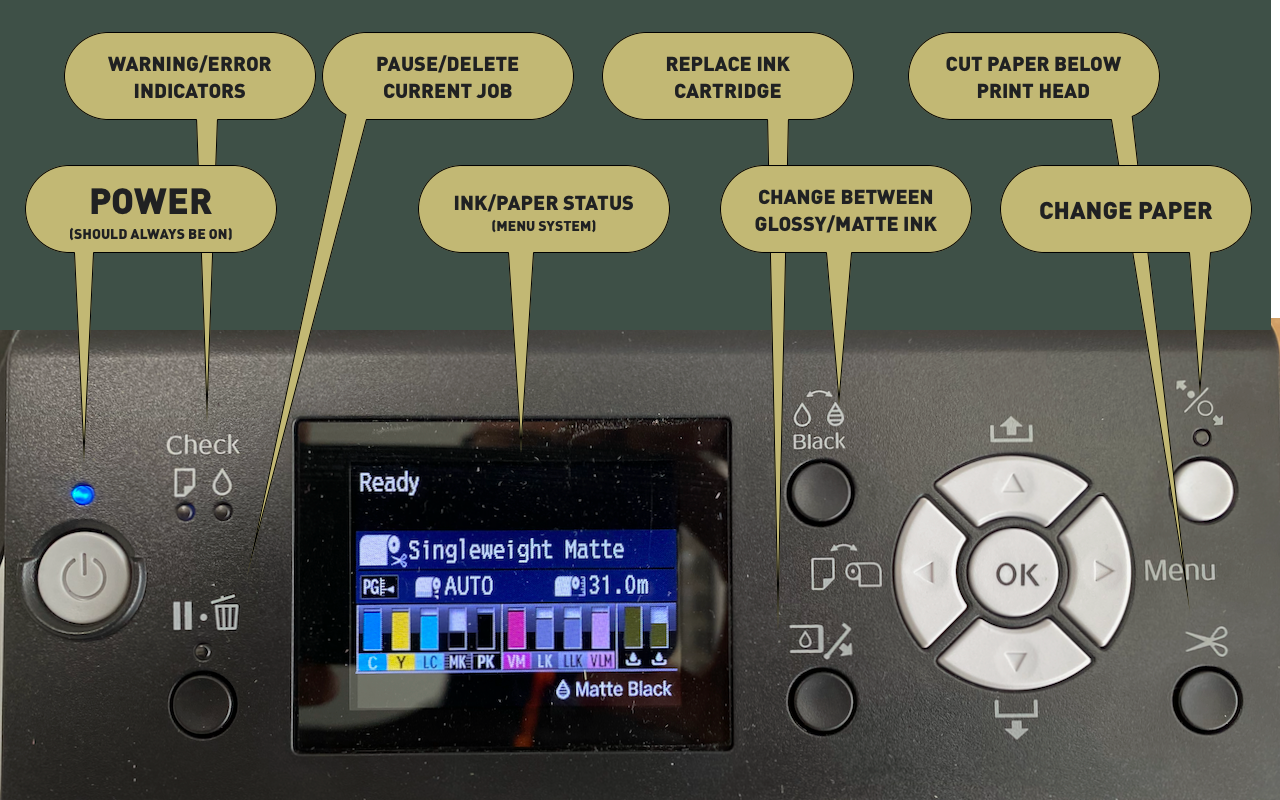
Printer control panel
Setting up the printer
Before using the printer you should always make sure that you know what kind of paper is installed, that nothing is obstructing the print and that there's sufficient ink for all colors.
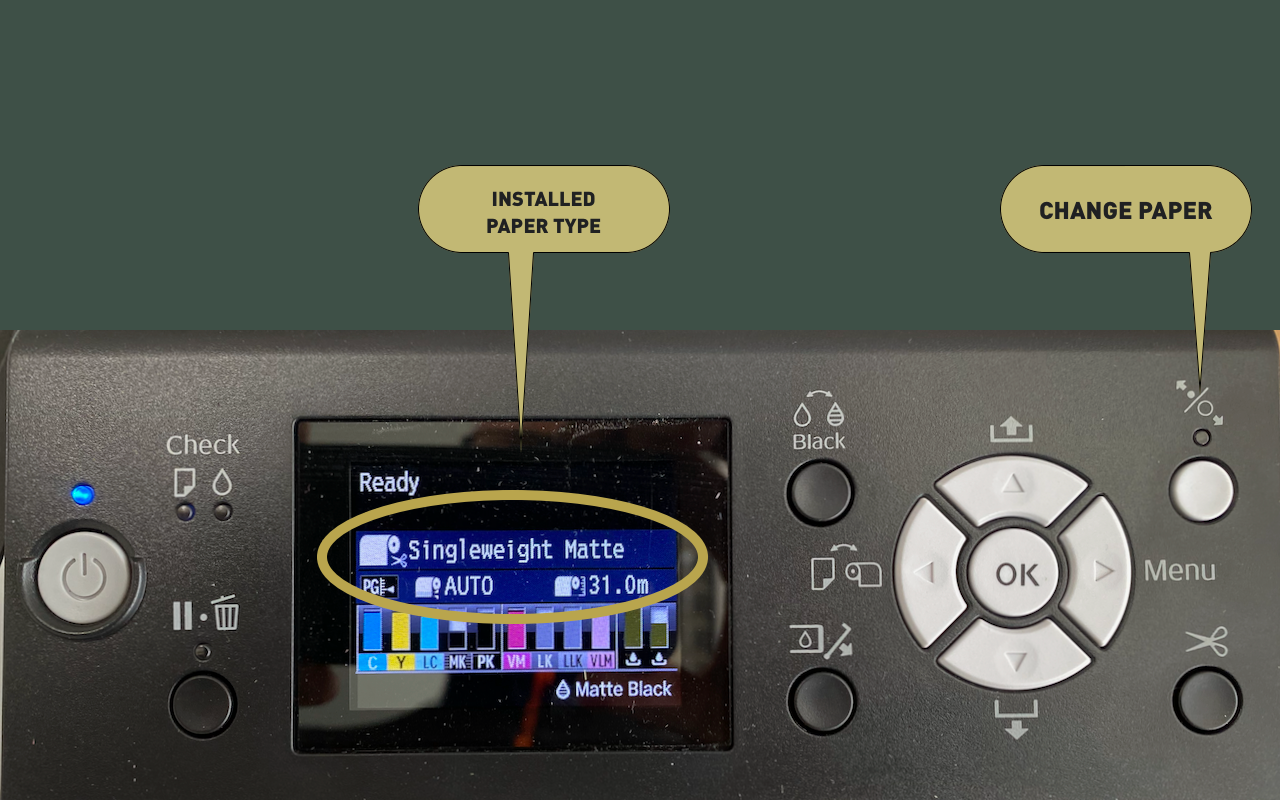
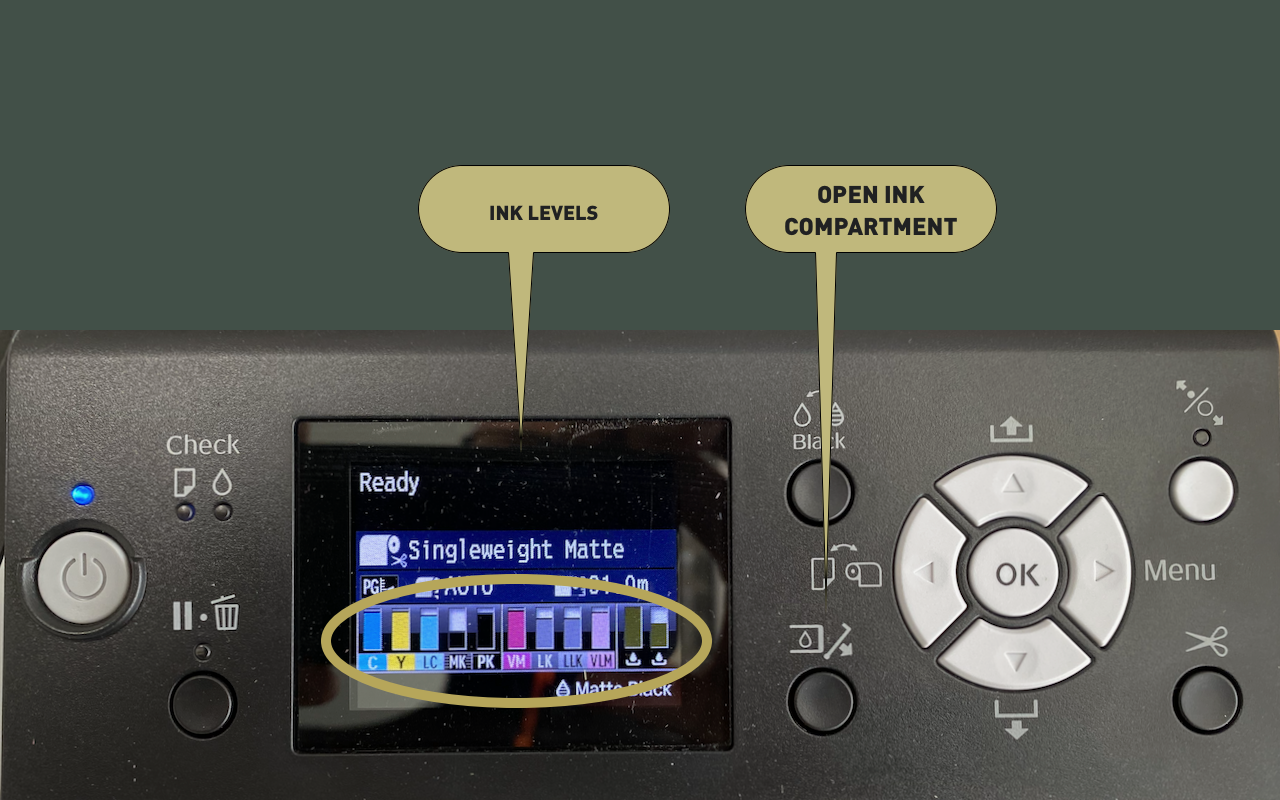
The currently installed paper type is shown on the small screen in the control panel. Shown here as "Singleweight Matte". Its important to remember the paper type when setting up the print on either your own or the local computer.
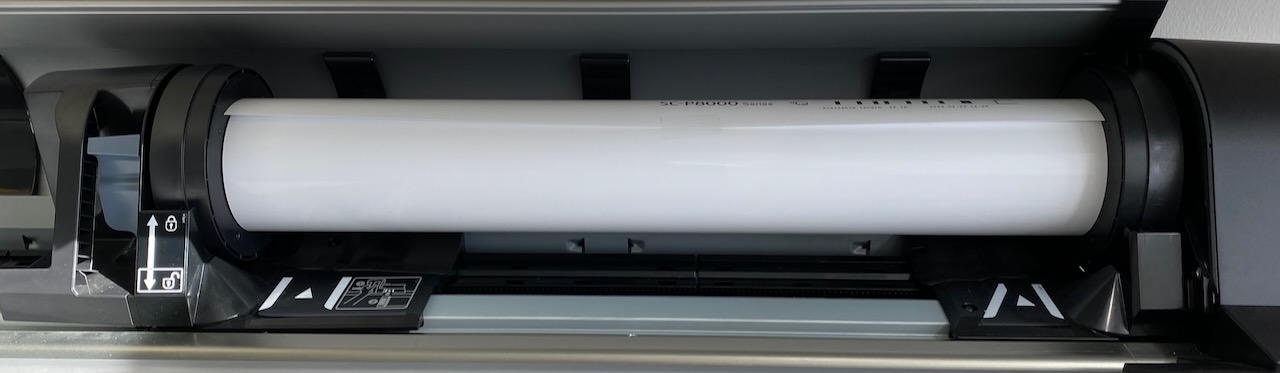
Changing the paper
If you need a different paper type than the currently installed there are several available.
Step 1 - Press the paper change button in upper right corner. The printer will printer at code-label at the end of the paper and then release the presssure roller.

Step 2 - Remove the paper roll by releasing the handle on spool-holder on the left side of the roll.
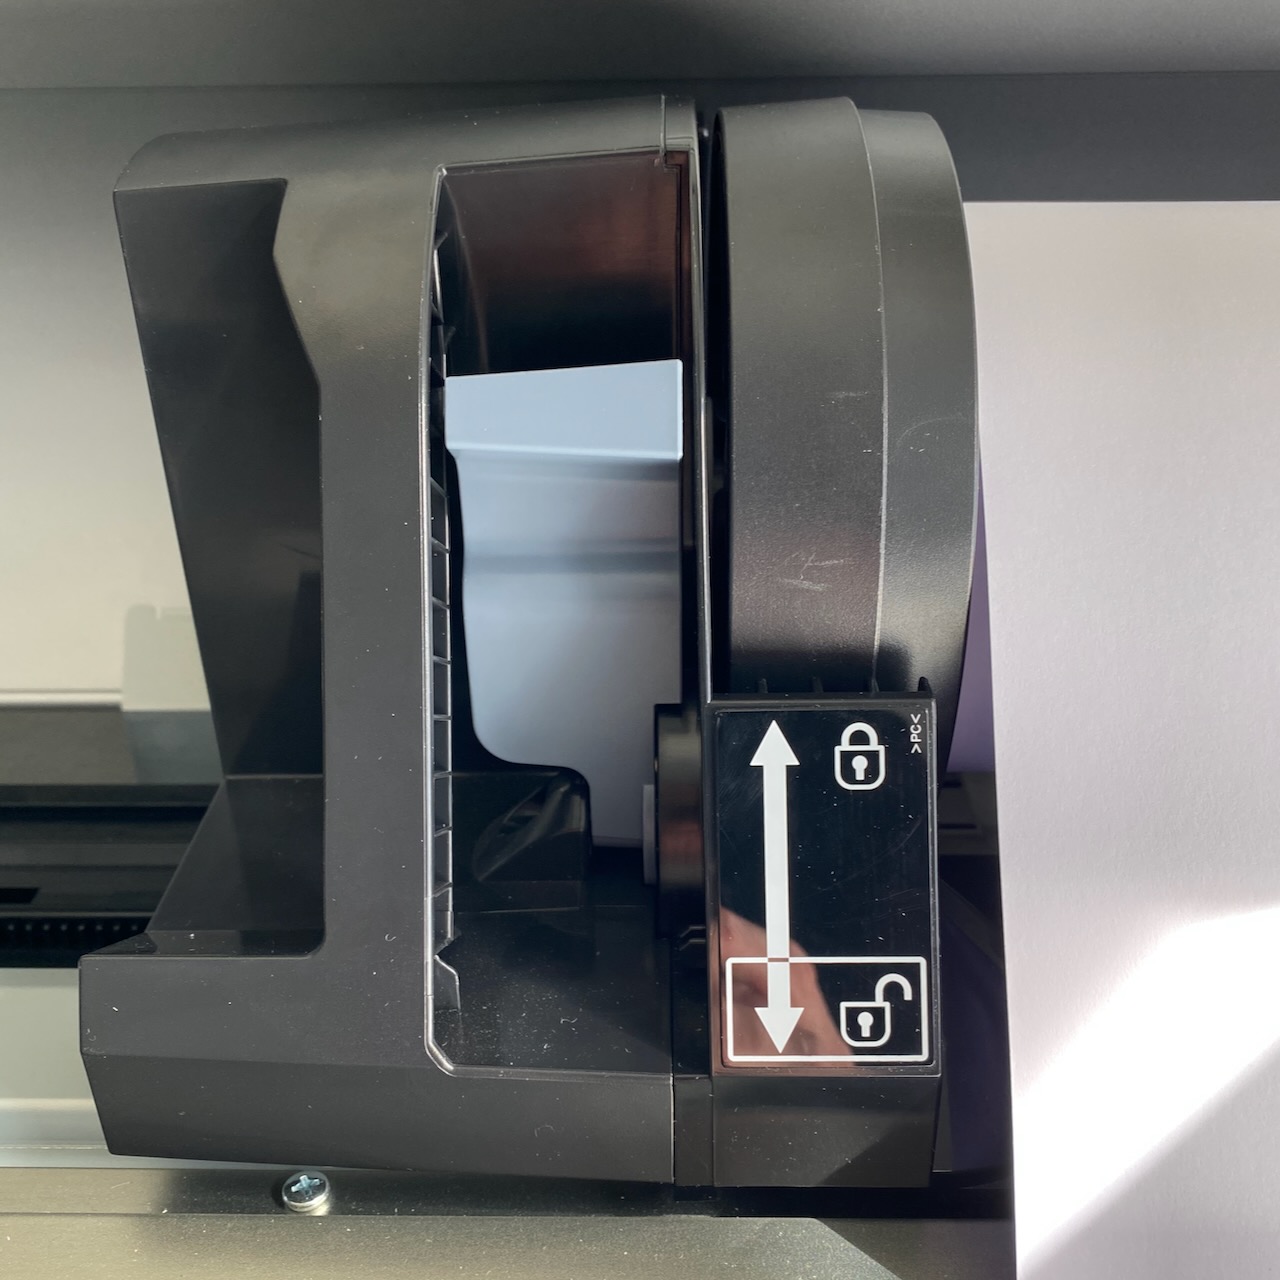
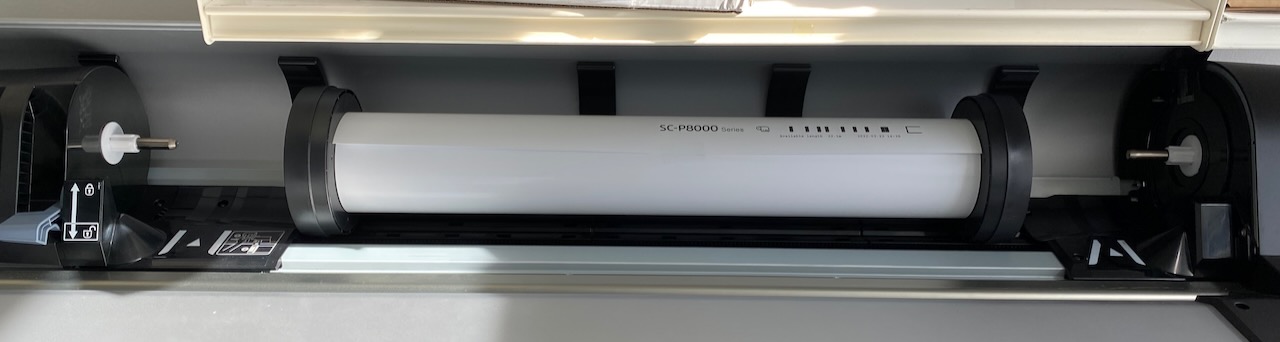
Step 3 - Pull the spool-holder on the left away from the spool and remove the roll and adapters.
- Step 4 - Put rubberband around paper and remove roll-adapters by lifting the blue handles at the ends.
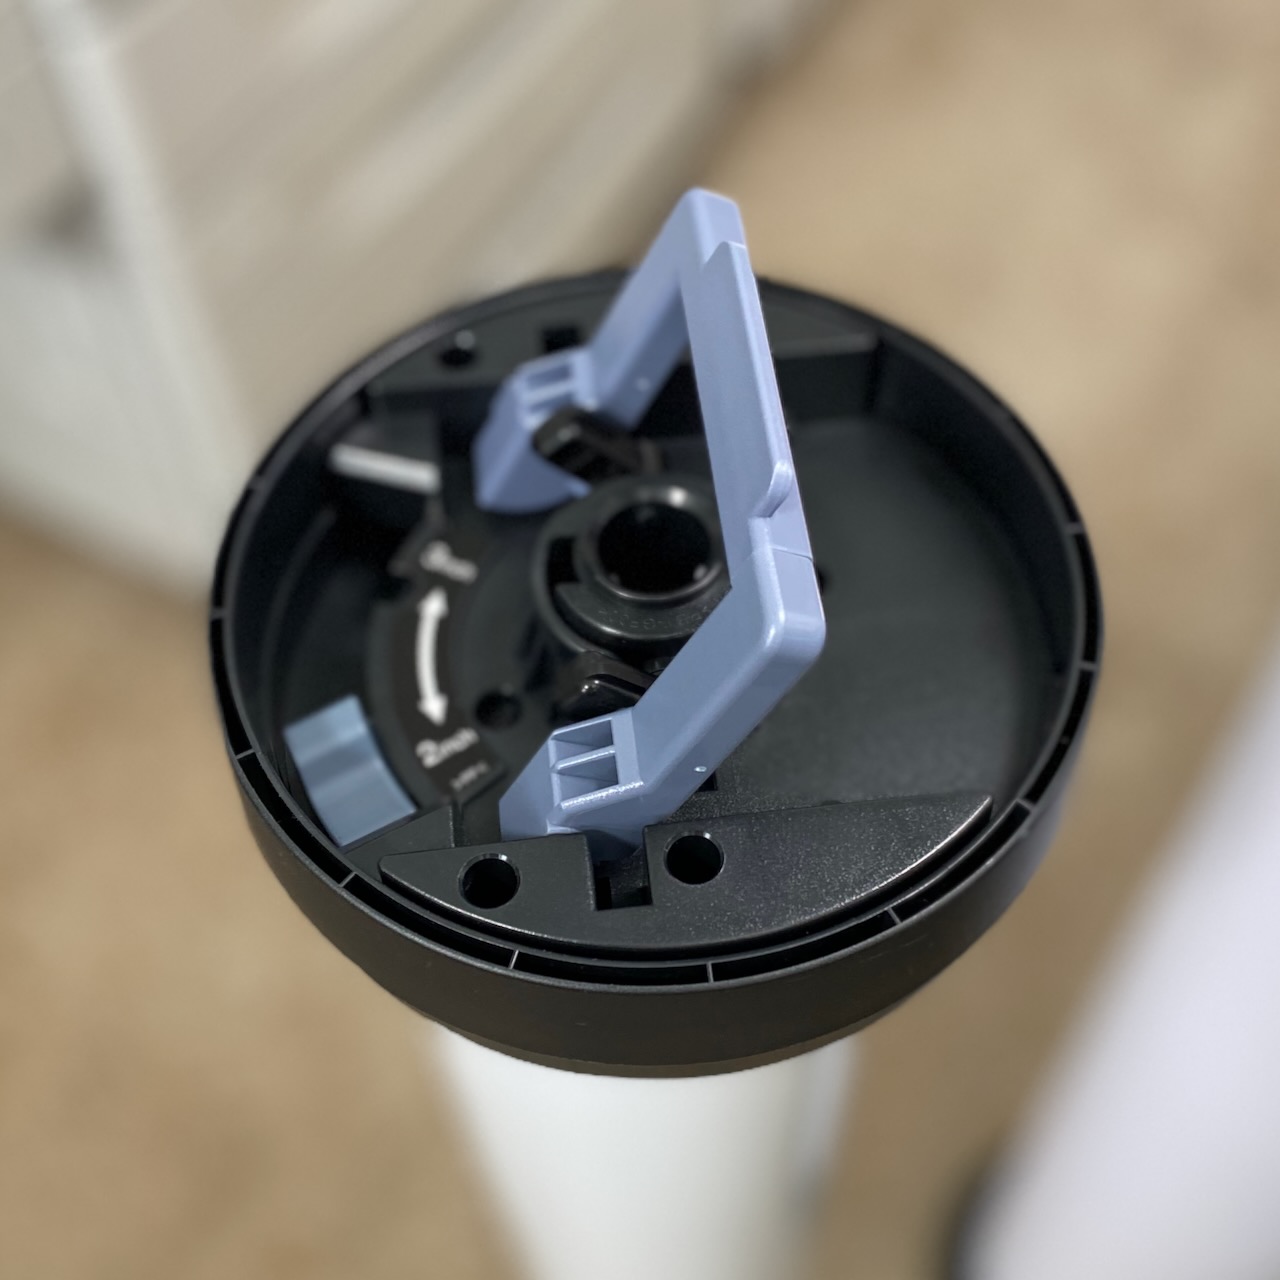
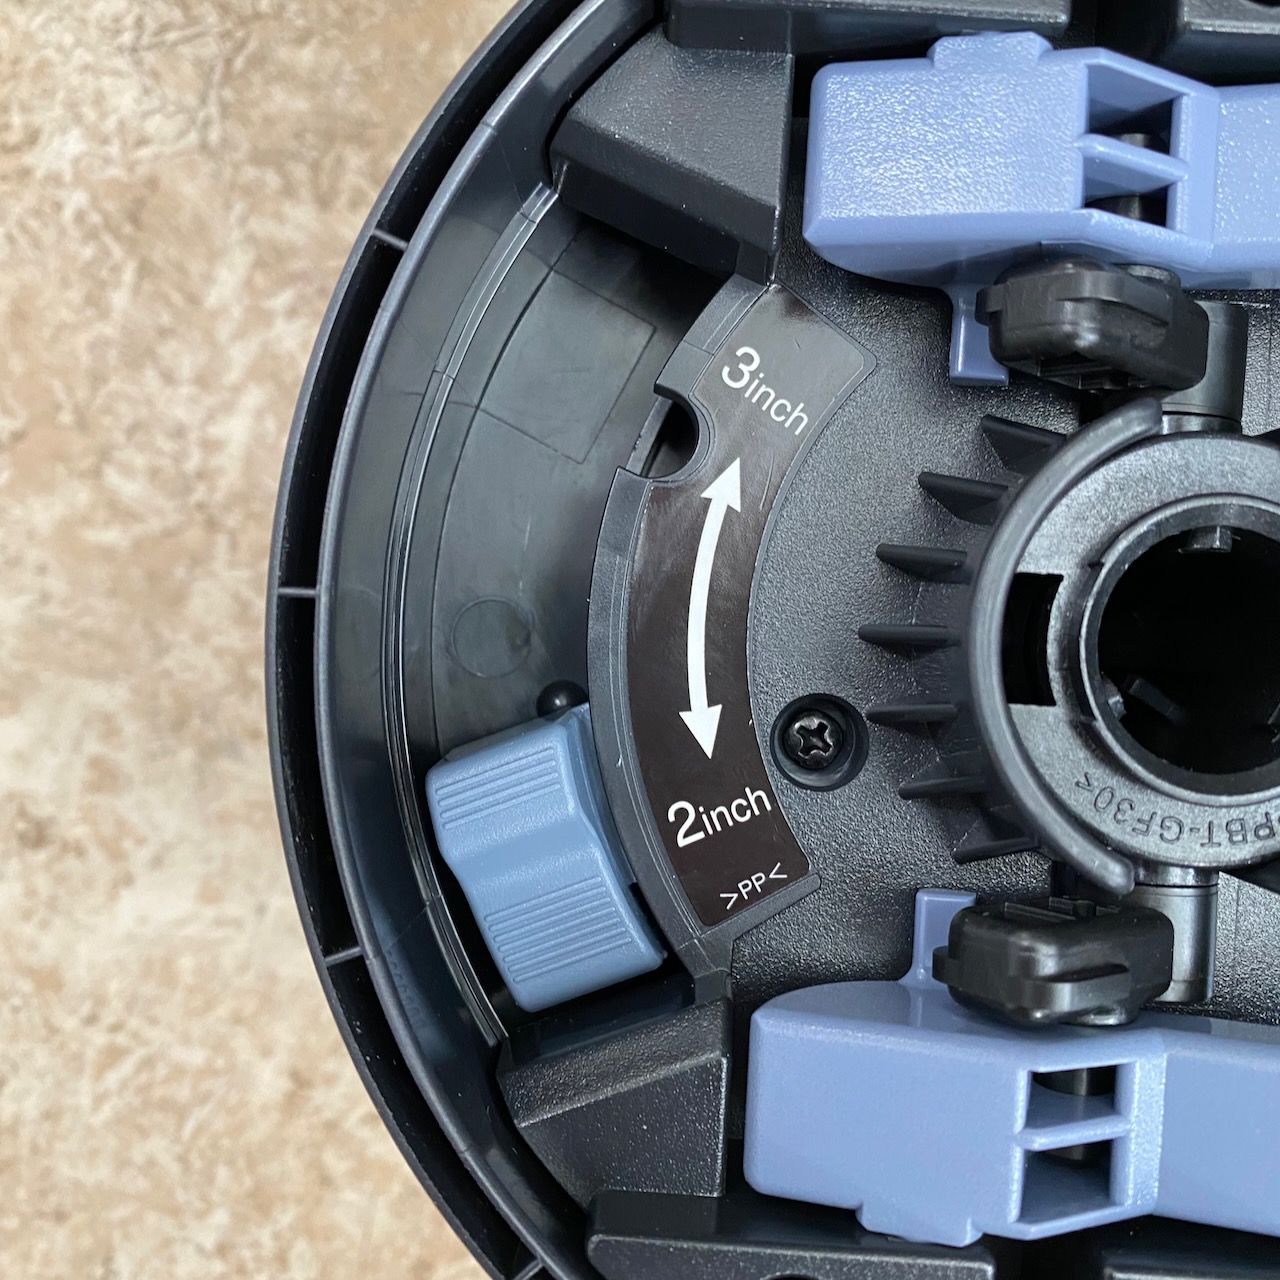
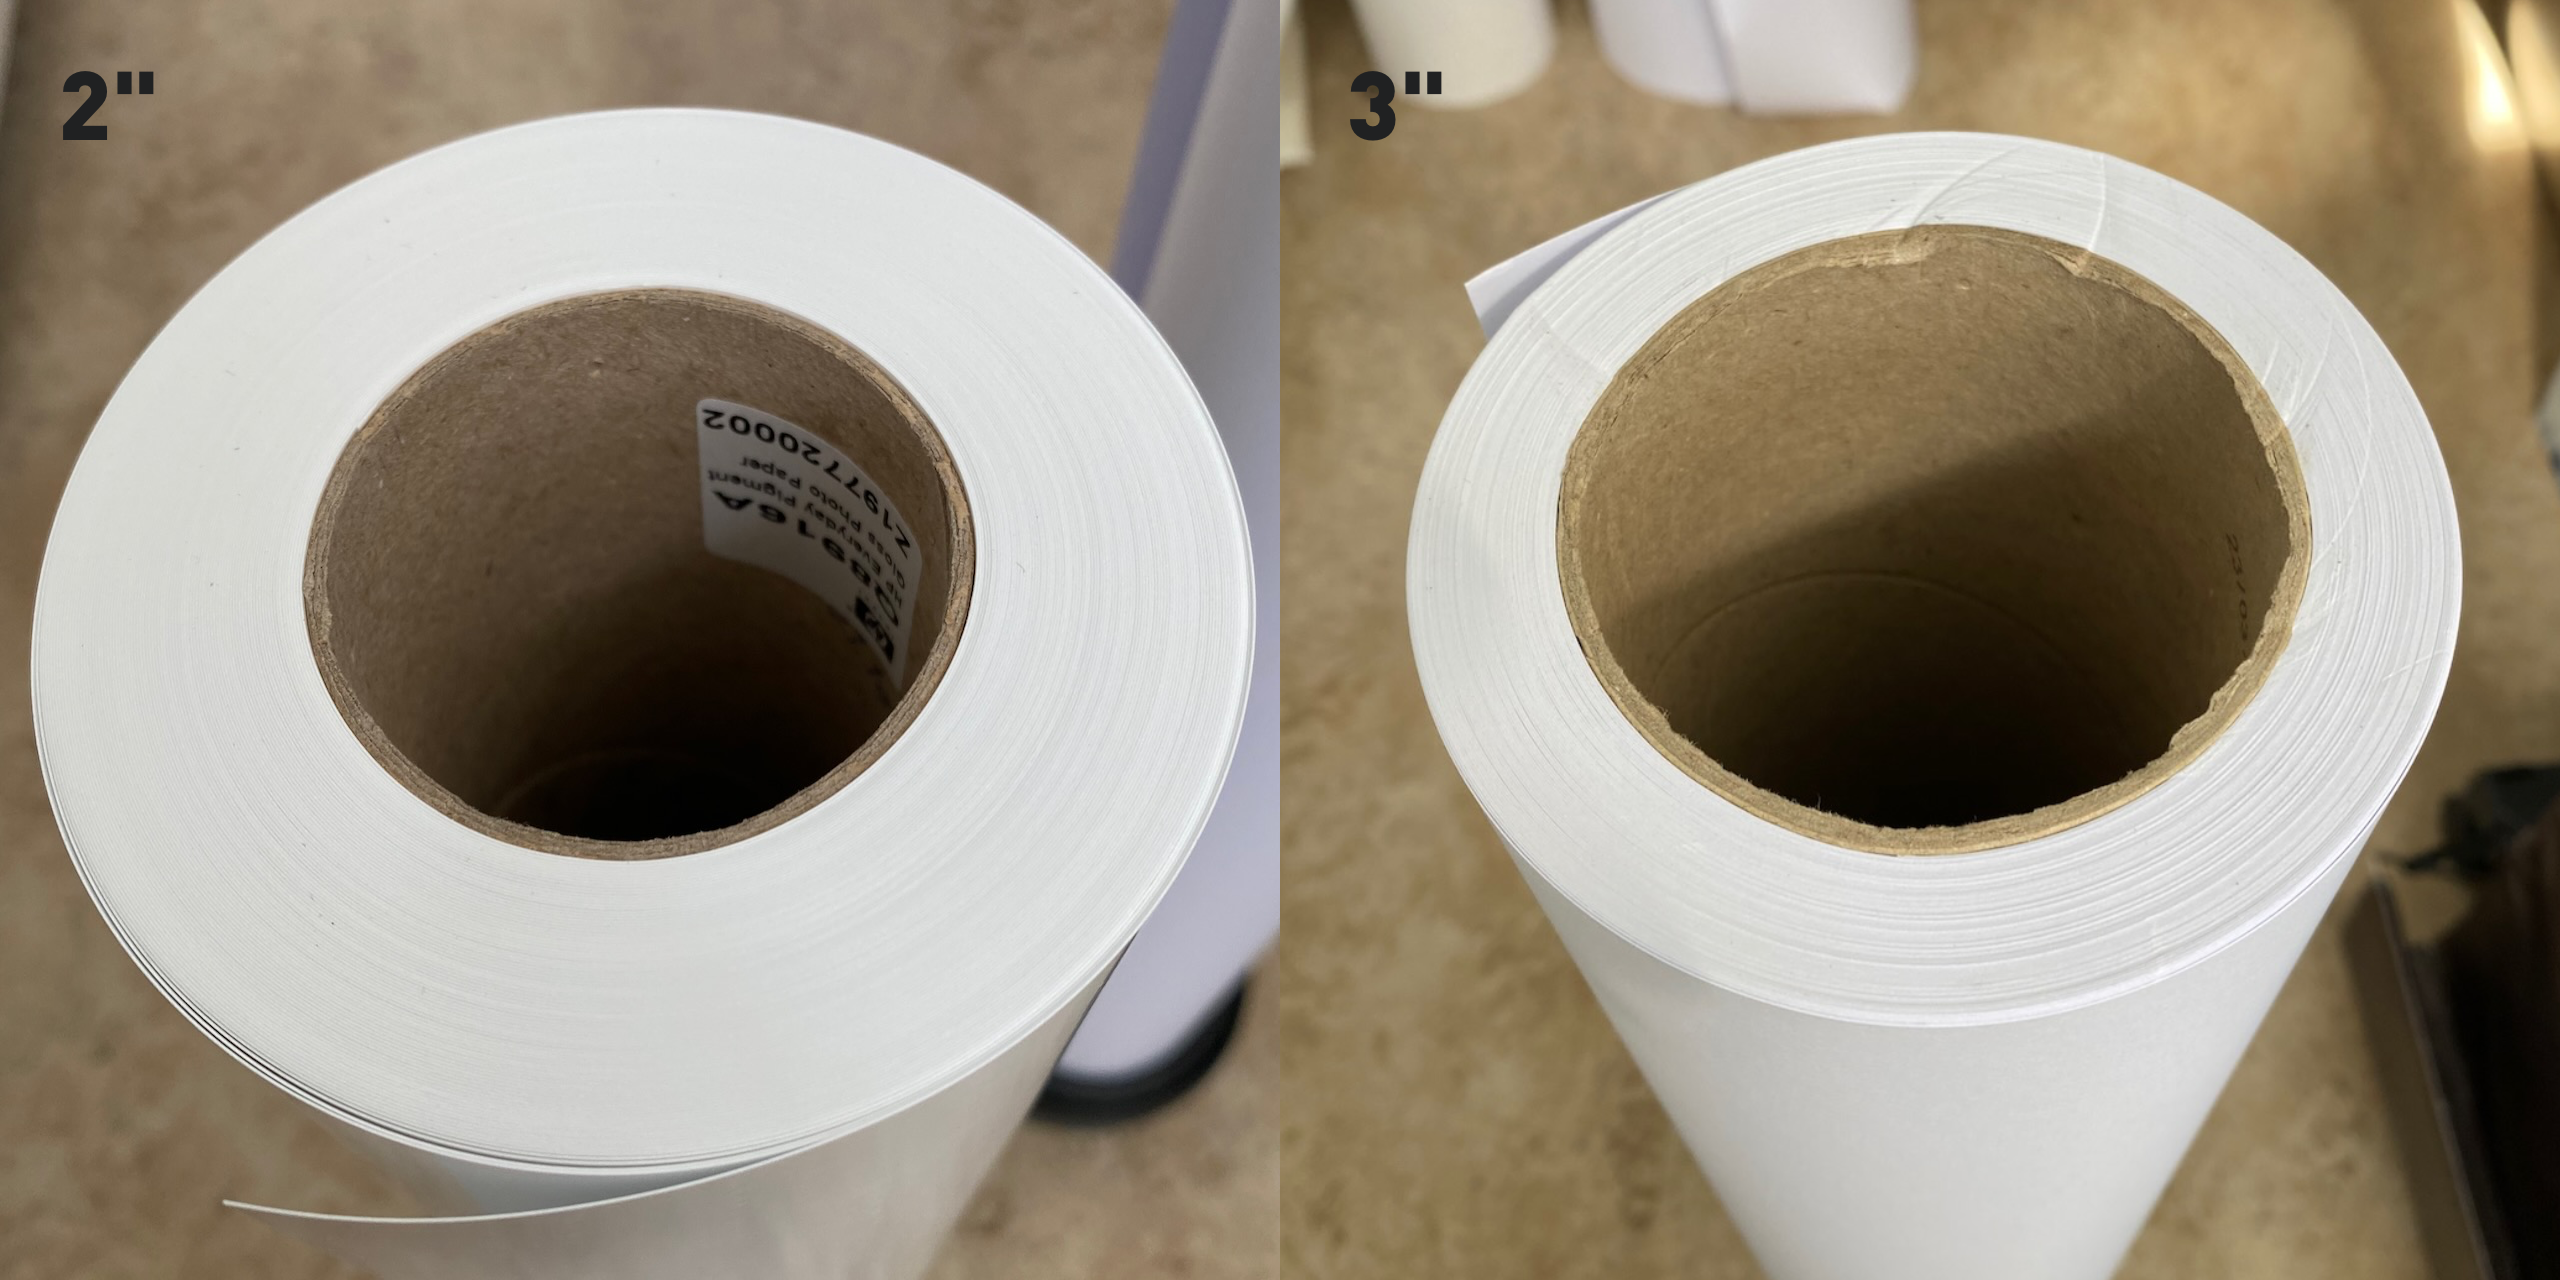
- Step 5 - Make sure the roll-adapters are set for the right spool size (either 2" or 3") and mount them on the roll.
Step 6 - Place the new roll in printer. Slide the roll onto the right axel and slide the spool-holder into the roll-adapter on the left. (See Step 3)
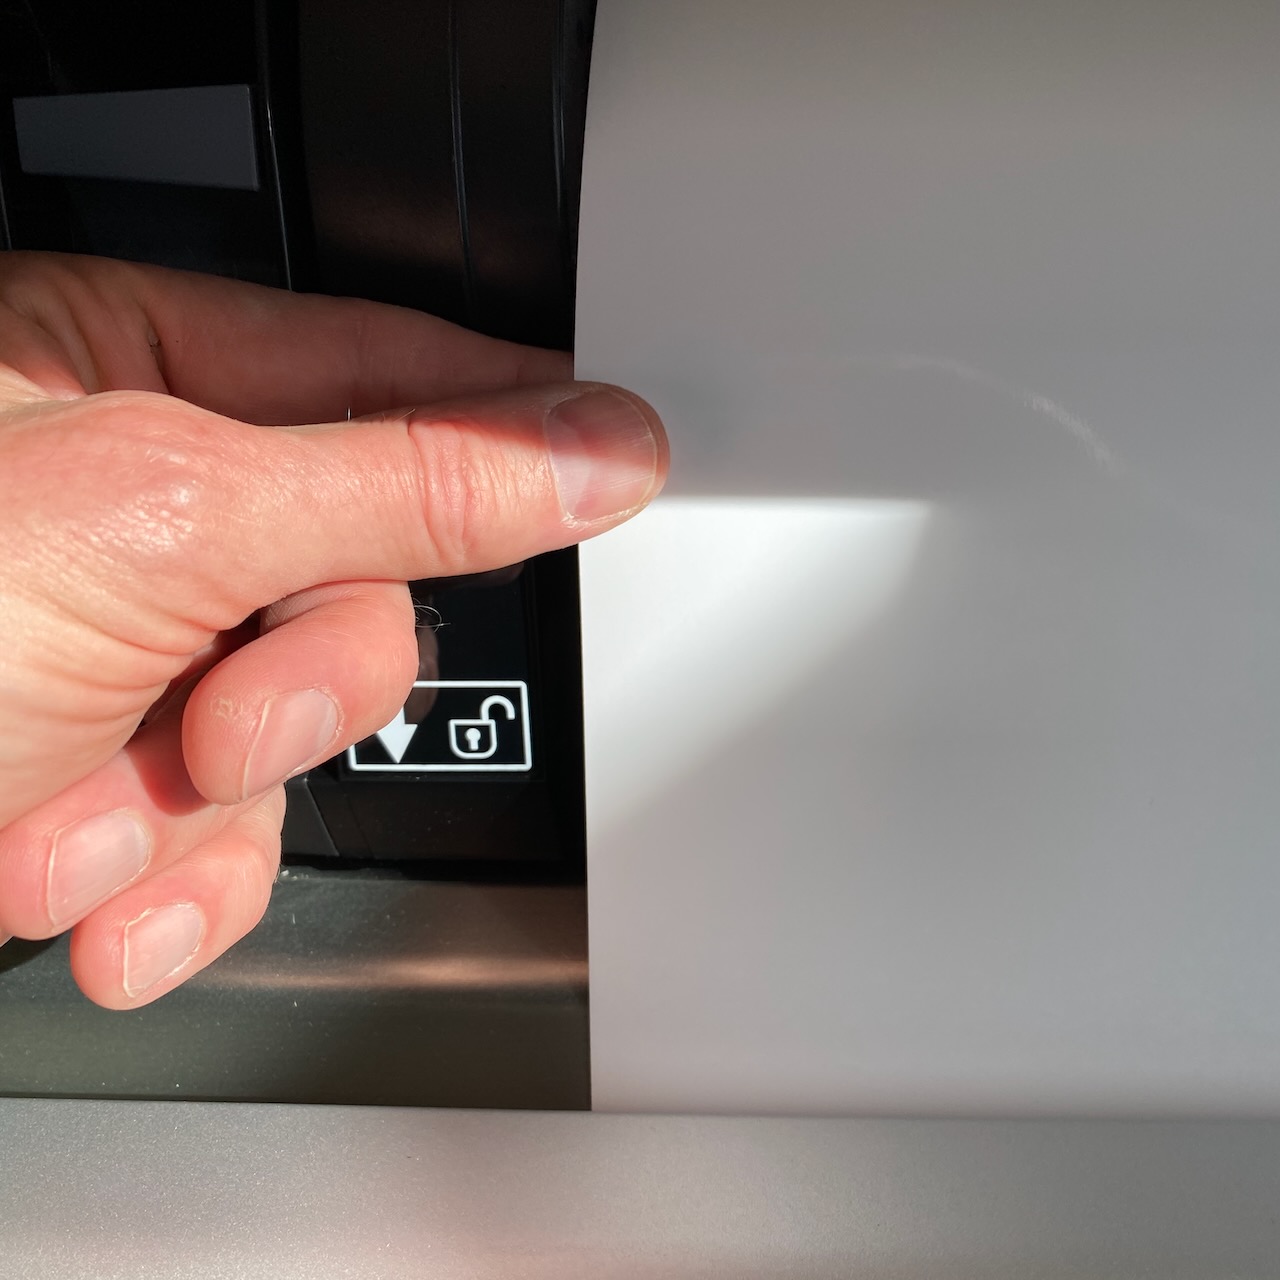
Step 7 - Slide the paper into the printer using your hands on both sides in tandem. The paper needs to exit the printer at the bottom.
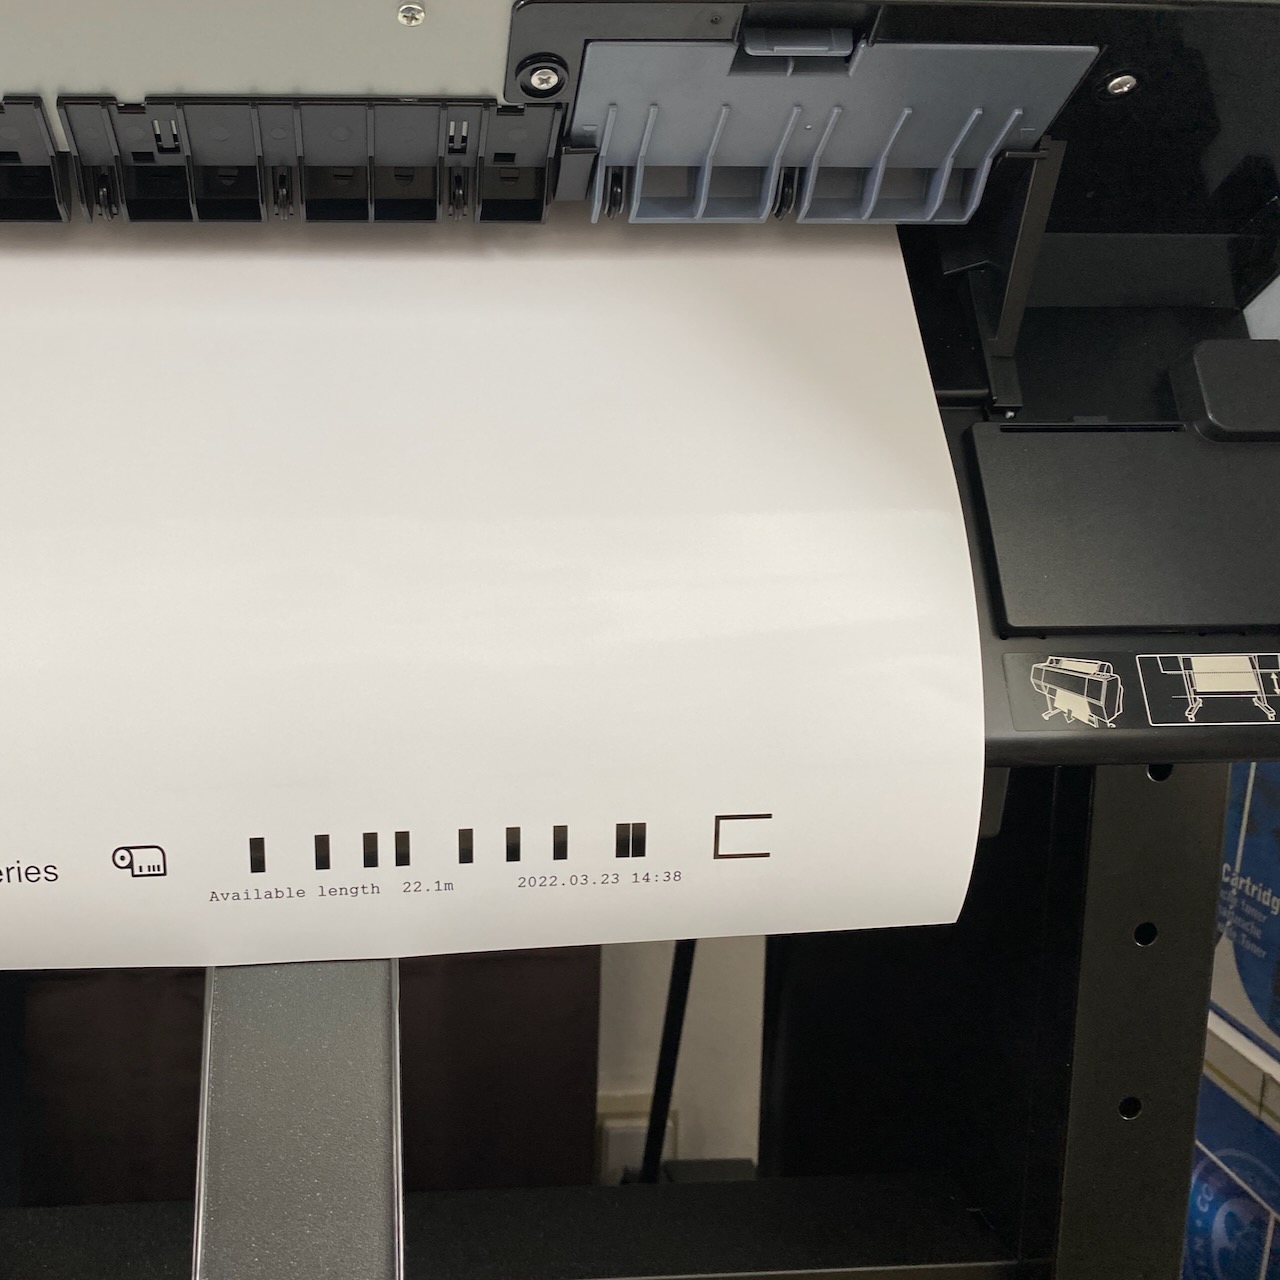
- Step 8 - Press the "Change Paper" button again and the printer will start the loading process and read the paper type from the printet code. If the roll is new the printer will ask you to set the paper type manually. The type is usually on the box otherwise ask a FabLab employee.
Change ink cartridge
Step 1 - Check which cartridge is low in the display. The 5 on the left is placed in the compartment on the left side of the printer. The 4 on the right is in the right compartment. Then press the "Open Ink Compartment" button next to the display. Choose which side compartment should open.
Step 2 - With the compartment open find the cartridge and press in. It will pop out and you can pull and remove it.
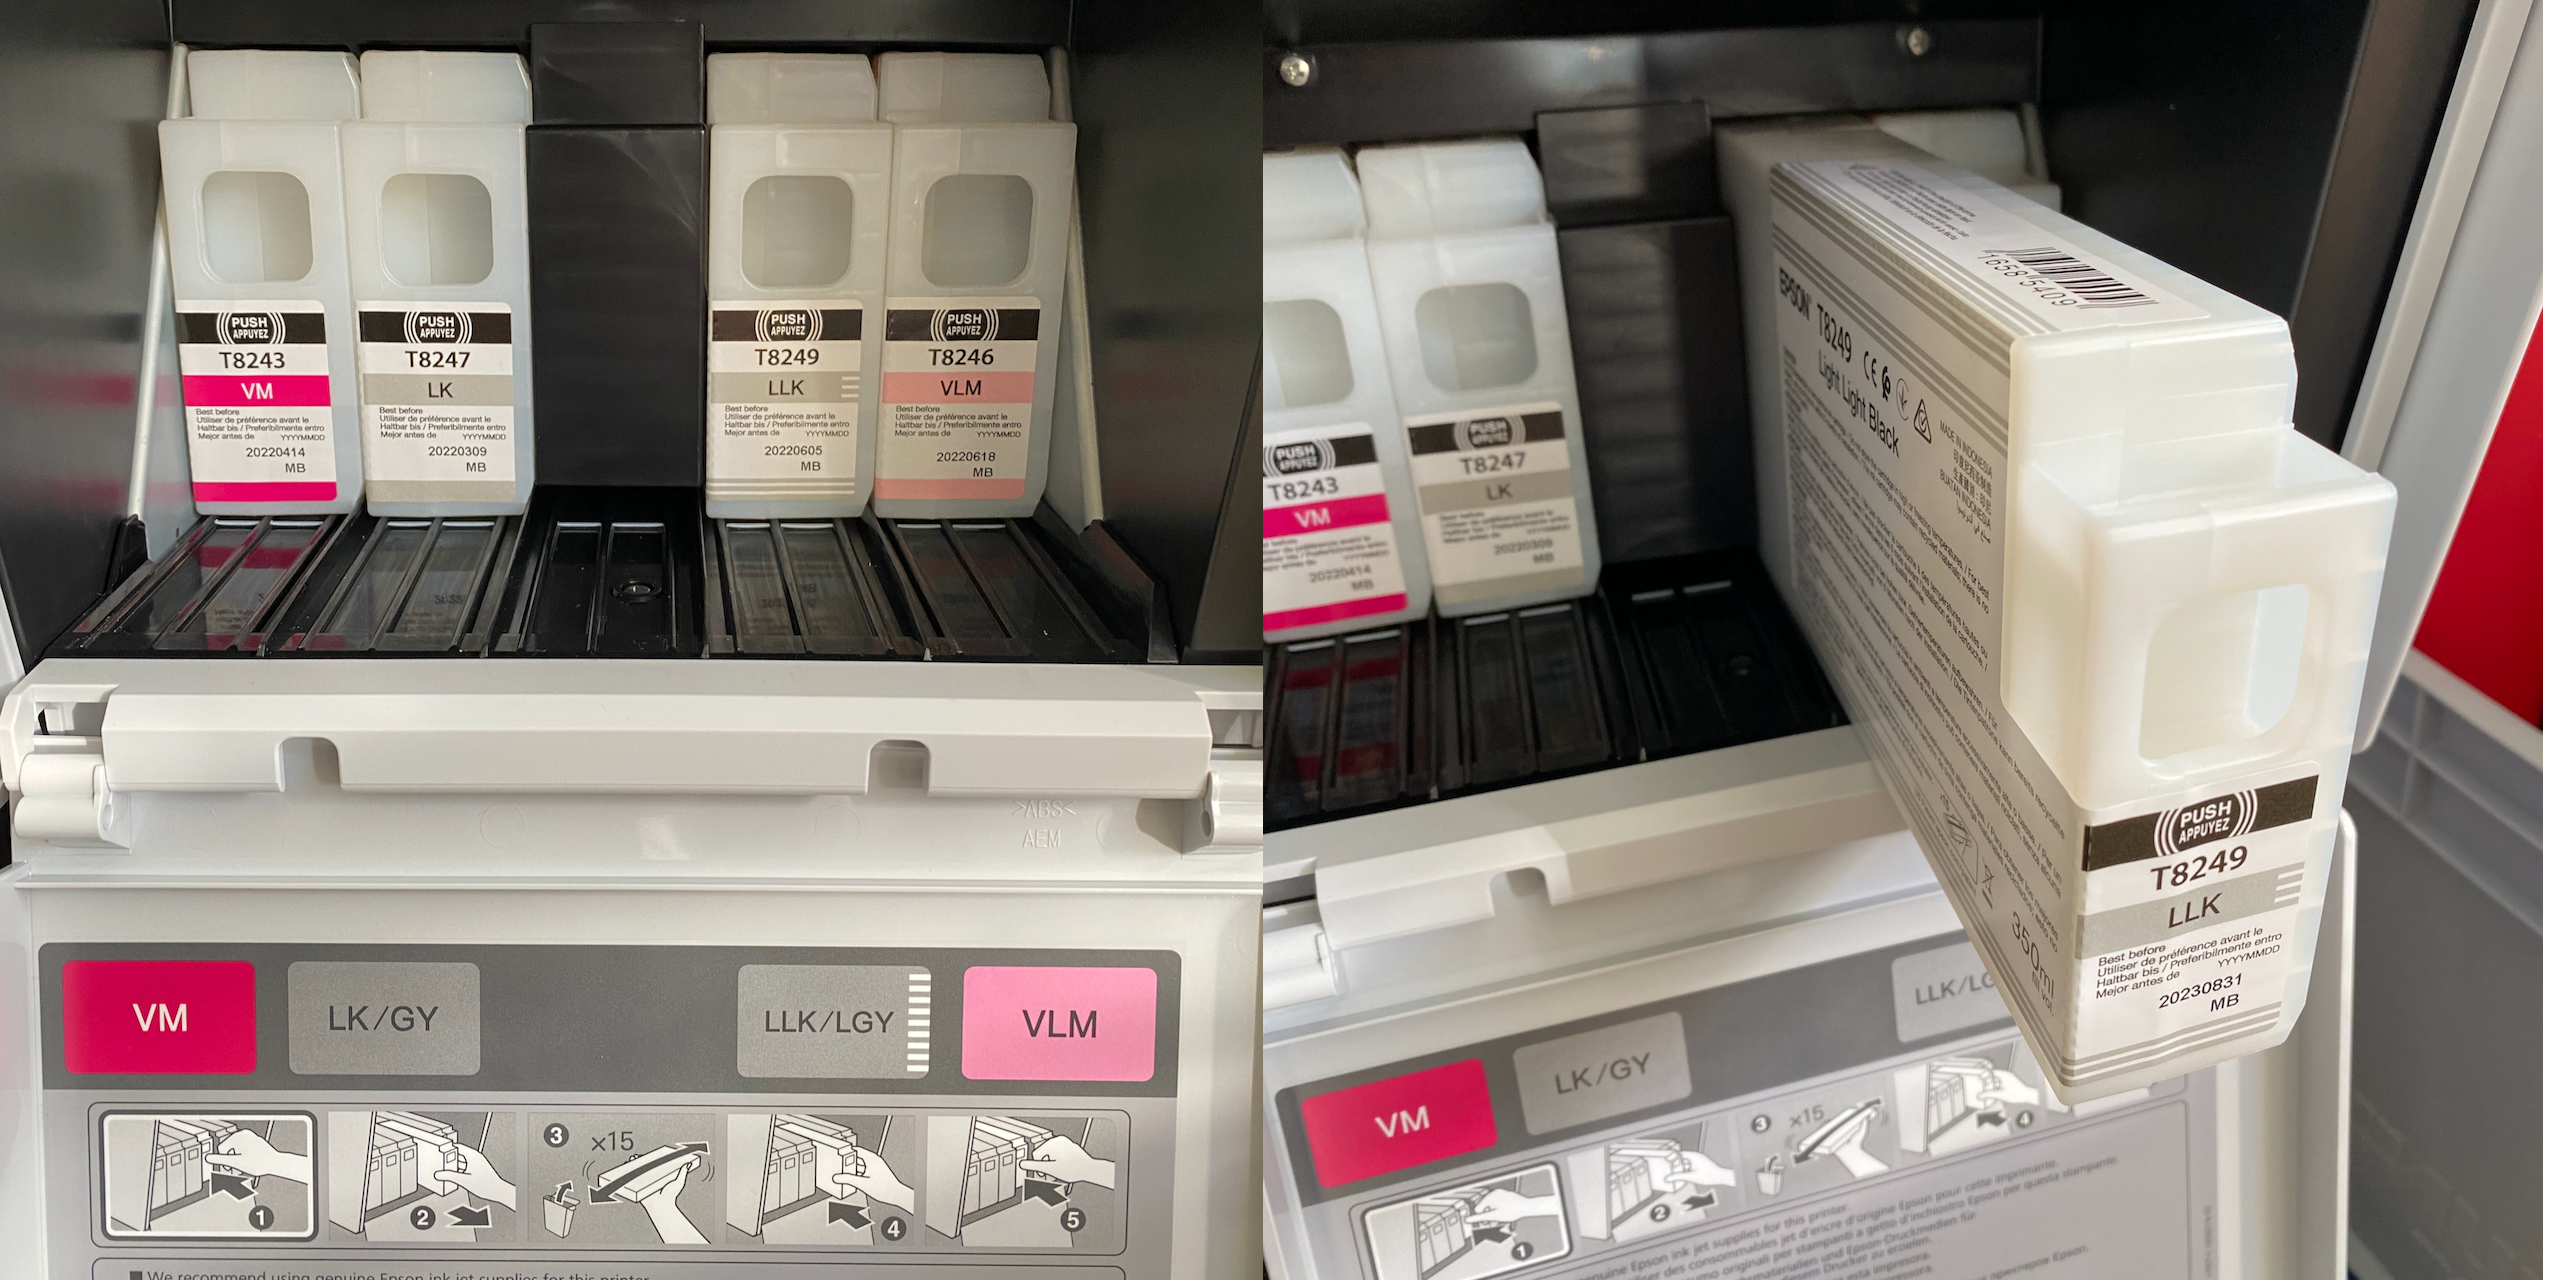
- Step 3 - Find the new cartridge. The name here is Light Light Black that matches the abbreviation LLK. The printer uses the CMYK color schema where K is black. The container should be shaken about 15 times before inserting it into the open space in the compartment. Close the compartment door and the printer loads the new ink.
- Step 4 - Make sure that the printer lists the changed color as filled and show no errors.
Common errors
Some software cannot automatically resize your small document directly in the print dialogue, e.g. Microsoft Word. This will result in a wasted print, costing 150 kr.
If the installed paper type and the type you select in the printer driver on the computer isn't the same you can experience a failed print. Either the colors will be wrong, the ink isn't dry on the surface or the resolution is bad.
If the image you want to print is low quality (copy/pasted from a webpage or similar) the result will be diminished. Fx. you will see pixels.
It's important to start by making your new document in your chosen software the right size for the poster you want in the end. A4 is 210x297 mm - A3 is 297x420 mm - A2 is 420x594 mm - A1 is 594x841 mm - A0 is 841x1189 mm - Its important that your document matches one of these sizes.
