Multimeter intro
Introduction to multimeters
When making electronics, a classical multimeter is a very handy tool for testing and measuring. Two wires with pointy probes are plugged into the multimeter. Touch the two points on an electric circuit, select the relevant measurement on the selection knob, and read the result on the display.

Setting up
The tool carts under the workbench by the window should have multimeters. Otherwise, look at the big shelf in the large space. Look for the boxes labeled "multimeters" (D11).
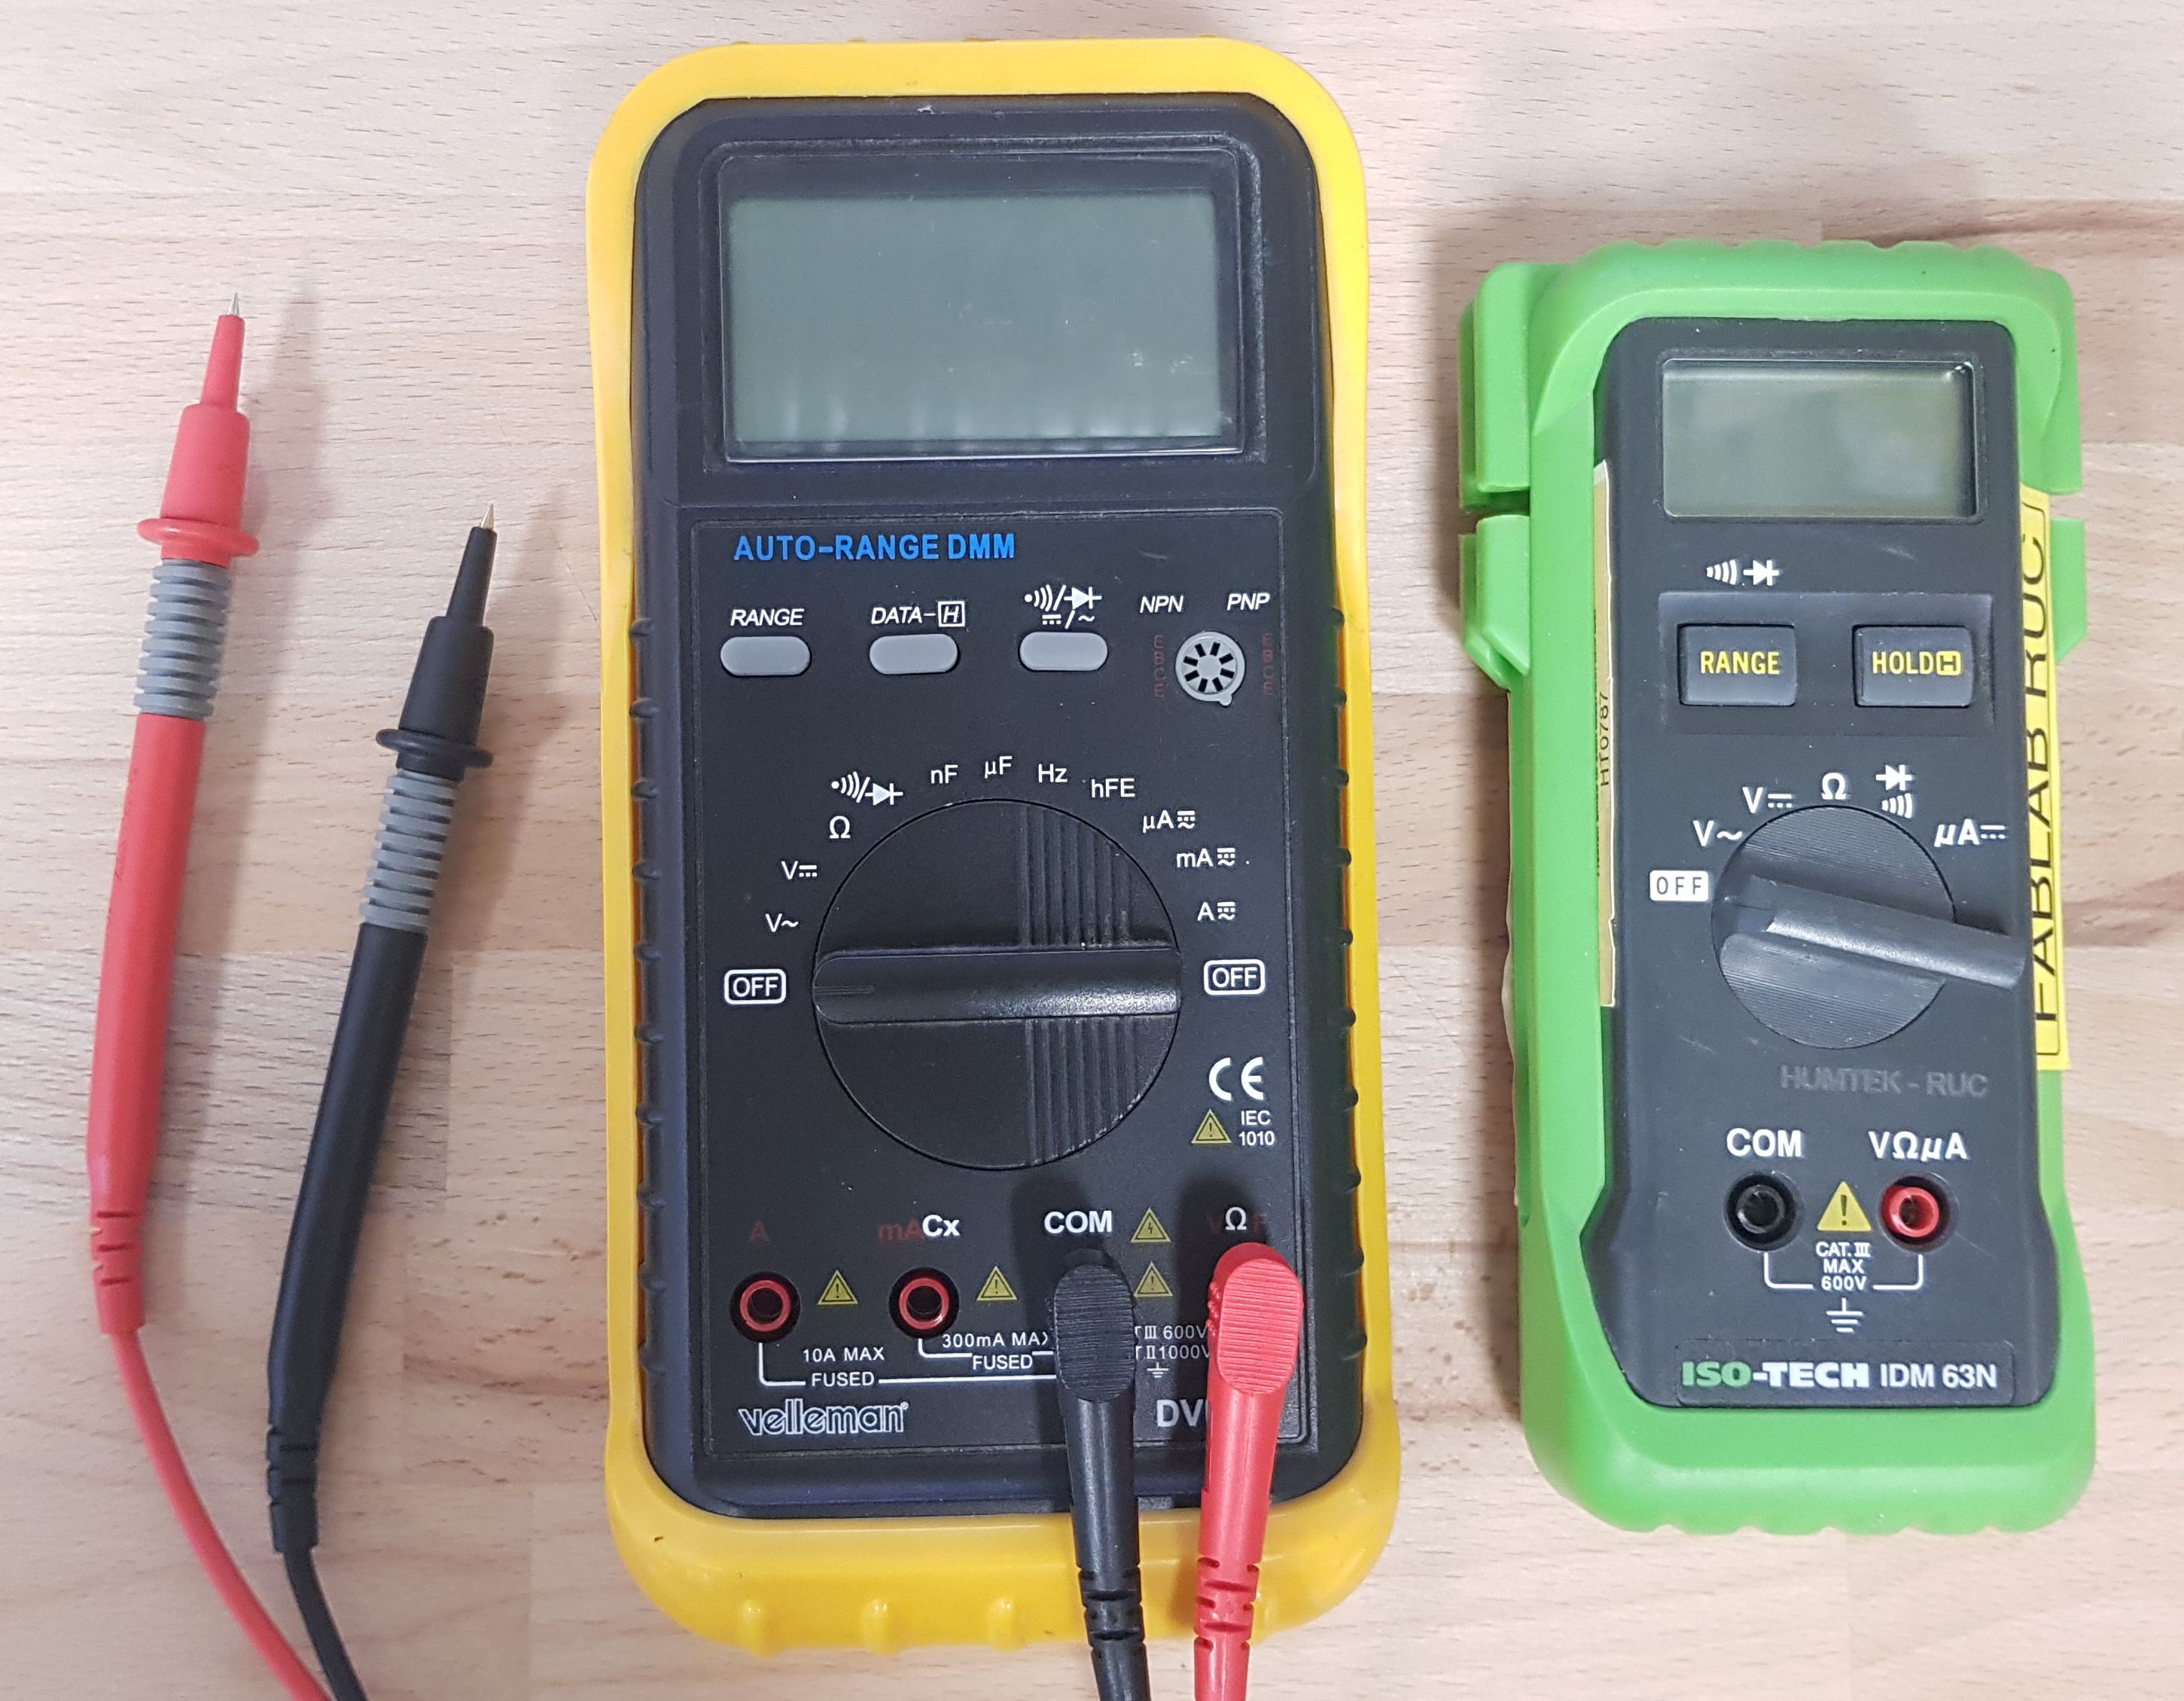
You should use a red and a black probe. The black probe goes in the COM port, the red one in the port on the right. Some multimeters have more ports, ignore them for now.
It's possible to get various types of probes that can plug into or latch onto circuits without being held by hand, look in "test probes" (D12), "crocodile clips" (O8) and "banana cables" (P10).
Continuity

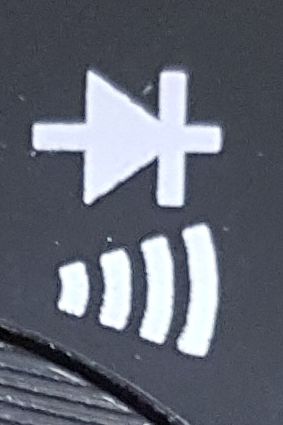
A very common use is testing whether your newly built circuit is actually connected. Select the continuity icon, and touch the two probe tips together. You should now hear a beep while they're connected. Touch points on your circuit to check if your connections are good. You can also check if you've accidentally connected things that should be separate.
Voltage
Select the appropriate icon, depending on whether you want to measure alternating (V~) or direct current (V⎓) voltage. Normally this would be direct current, unless you're testing a 220V wall plug, lamp socket or similar installation. In that case TAKE CARE where your fingers go, you might get badly shocked.
Touch the circuit with the probes, and the display will show the voltage between the two points. Take note whether the unit shown on the right is mV (milliVolt) or V (Volt). You'll likely see a fluctuating background noise of a few milliVolt even without touching anything, it will stabilise when you contact something with an actual voltage difference.
The black probe is your "zero" voltage: If you get a positive reading, it means the red probe is at a higher voltage than the black, a negative reading means the red probe is at a lower voltage.
Resistance
Choose Ω on the knob. (Ω is the greek letter Omega, here it's pronounced "Ohm" which is the measurement unit of resistance).
The display shows OL ("Over Limit") because the resistance is infinite when there is no connection. Try touching the probes together. You should now see the resistance dropping rapidly and ending at 0.3 Ω or something like that. Notice how the unit on the right changes from MOhm (MegaOhm) to kOhm (kiloOhm) to Ohm as the value drops.
When measuring resistance the direction doesn't matter, you can switch black and red probes and get the same result.
Current
The multimeter can only measure the current that actually passes through it. This means that you must set it up so all the current you want to measure has no way around it, but is forced through the multimeter. (Coupled "in series", not "in parallel" in electricity language) Typically you have a power supply / battery connected to your device. Then remove one of the leads to the device, and replace it with the multimeter: couple one probe to the power supply and the other to your device. If you want to measure the current through some connection inside your device, you must likewise cut that connection and replace it with a new one going through the multimeter.
Avoid damaging the multimeter: not all multimeters can tolerate high currents. The one on the right says μA on the selector, which means micro-Ampere, a pretty small current. The one on the left is more capable, it can measure up to Ampere-level, and you are unlikely to need anything higher. It can also handle alternating current.
This is where you need the extra plugs in the multimeter. Before switching on the power, plug the red probe in the plug that is marked with the highest current (10A MAX), and set the selector in the "A" position (the black probe is left in the black plug all along). If you see no current, switch the selector to "mA", then try "μA". If you still get nothing, you can start over, with the probe in the "300 mA" plug, before finally trying the last plug. The exact number of plugs and Ampere ratings vary between multimeters, but the same principles apply.
If you read a positive number in the display, it means the current flows in through the red probe, and out through the black, a negative number means it's opposite. If you're measuring alternating current, the display should always read positive.


