Laser Cutter guide
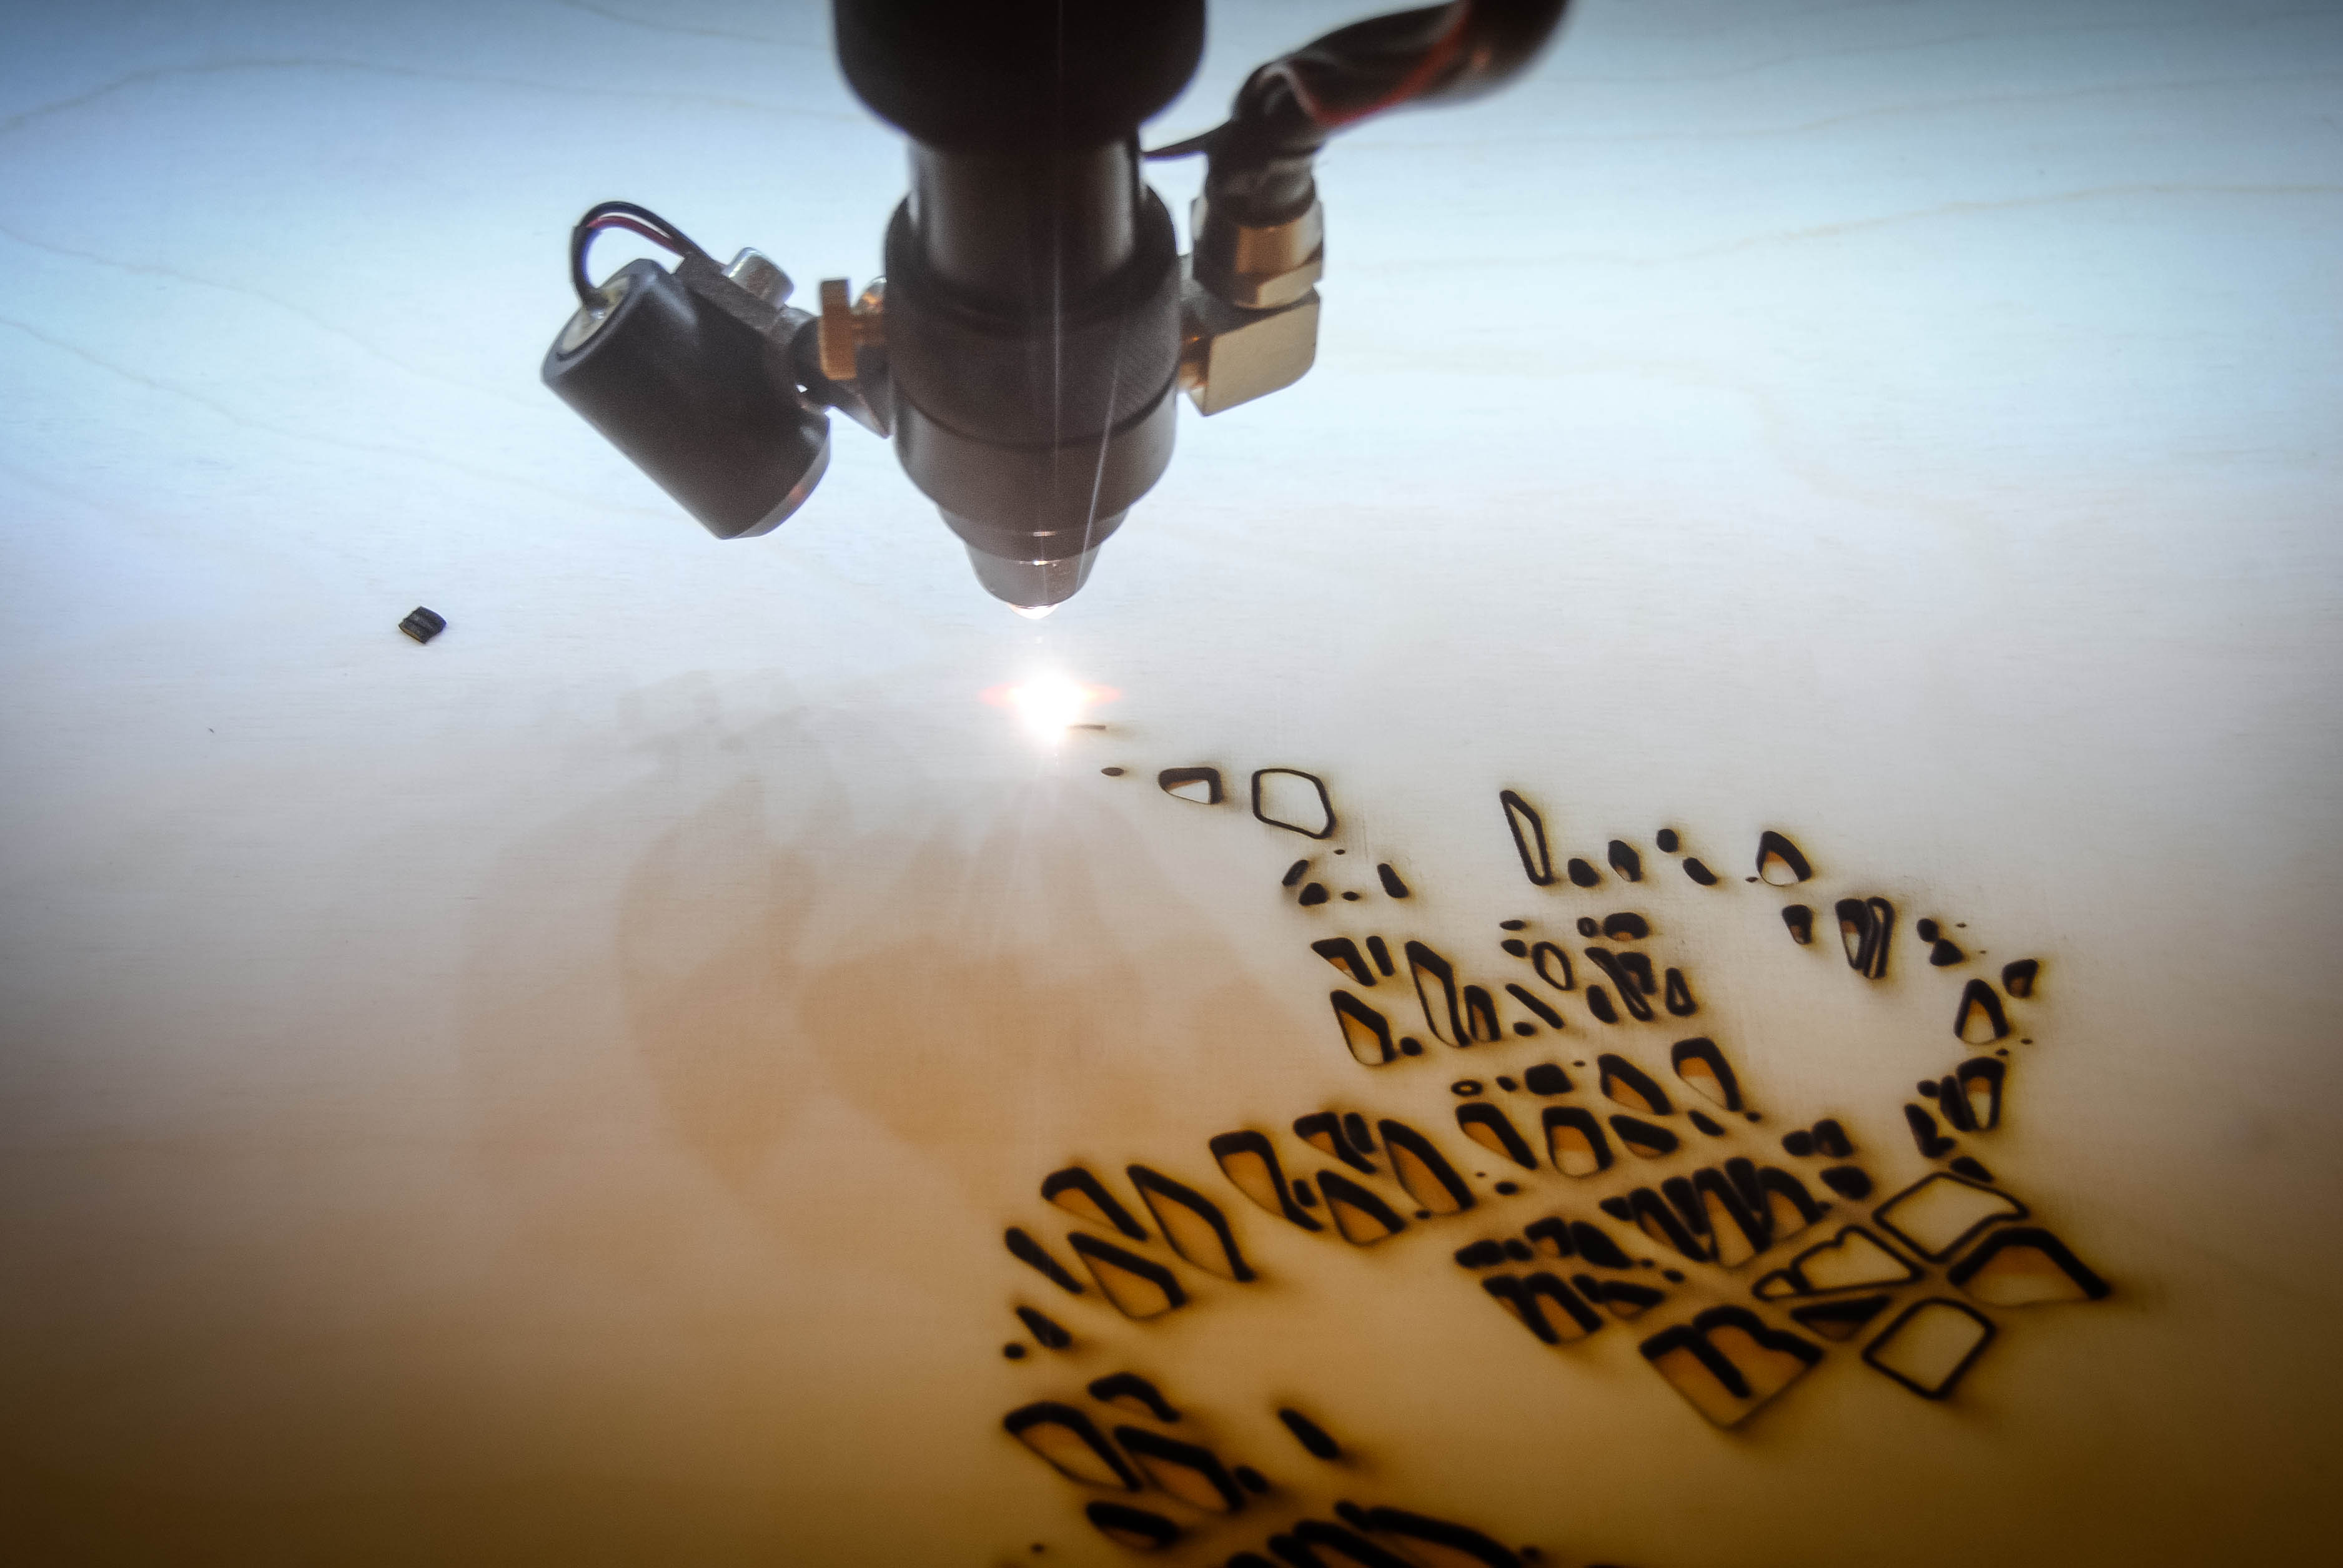 The laser cutters have a working area of 1200x900 mm. You may cut up to 6mm thick materials - over 6mm we prefer you use the CNC Plexiglass/acrylic, plywood, HDF, MDF, wood, cardboard. Cloth can also be cut. You must ask a Technology Guru before cutting any plastic you are not 100% sure whether or not is plexiglass/acrylic - some plastics give off poisonous fumes or damage the machine.
Standard size of HDF board:
3 mm or 4 mm
1055 x 825 mm
It is required to have watched this safety video before using the lasers:
IMPORTANT:
Do not leave the laser cutter while the machine is cutting, due to fire hazard. You can make agreements with other users to keep an eye on each others' cutting jobs, but leaving the laser unattended is dangerous and will result in immediate expulsion.
Keep fumes in the room to a minimum - do not open the lid immediately after cutting is finished. Instead, open it 2 cm and give the ventilation 10 seconds to suck the smoke out and slowly open the lid.
Throw away leftovers in the containers outside the basement door, as specified on signs. Leave only useful leftovers on the shelves. Do not leave materials anywhere else.
Guide
The workflow for laser cutting is in three steps.
- Draw a model in Inkscape (or CorelDraw, AutoCAD etc.), and
- Export the model to a .DXF or .SVG file.
- Import to Lightburn (the Lasercutting software by the computer next to the laser cutters) and Cut.
(Misc. In the 3d Printing room there's a few usb sticks avaliable to use.)
Below is a step by step guide describing the two last steps: How to get from an existing Vector file to a finished cut out model. If you want to learn how to draw your own vector files, come down to the lab!
Step 1: Export the model to a .DXF or .SVG file
Open your model from the menu: file -> åben (open)
It should look something like this:
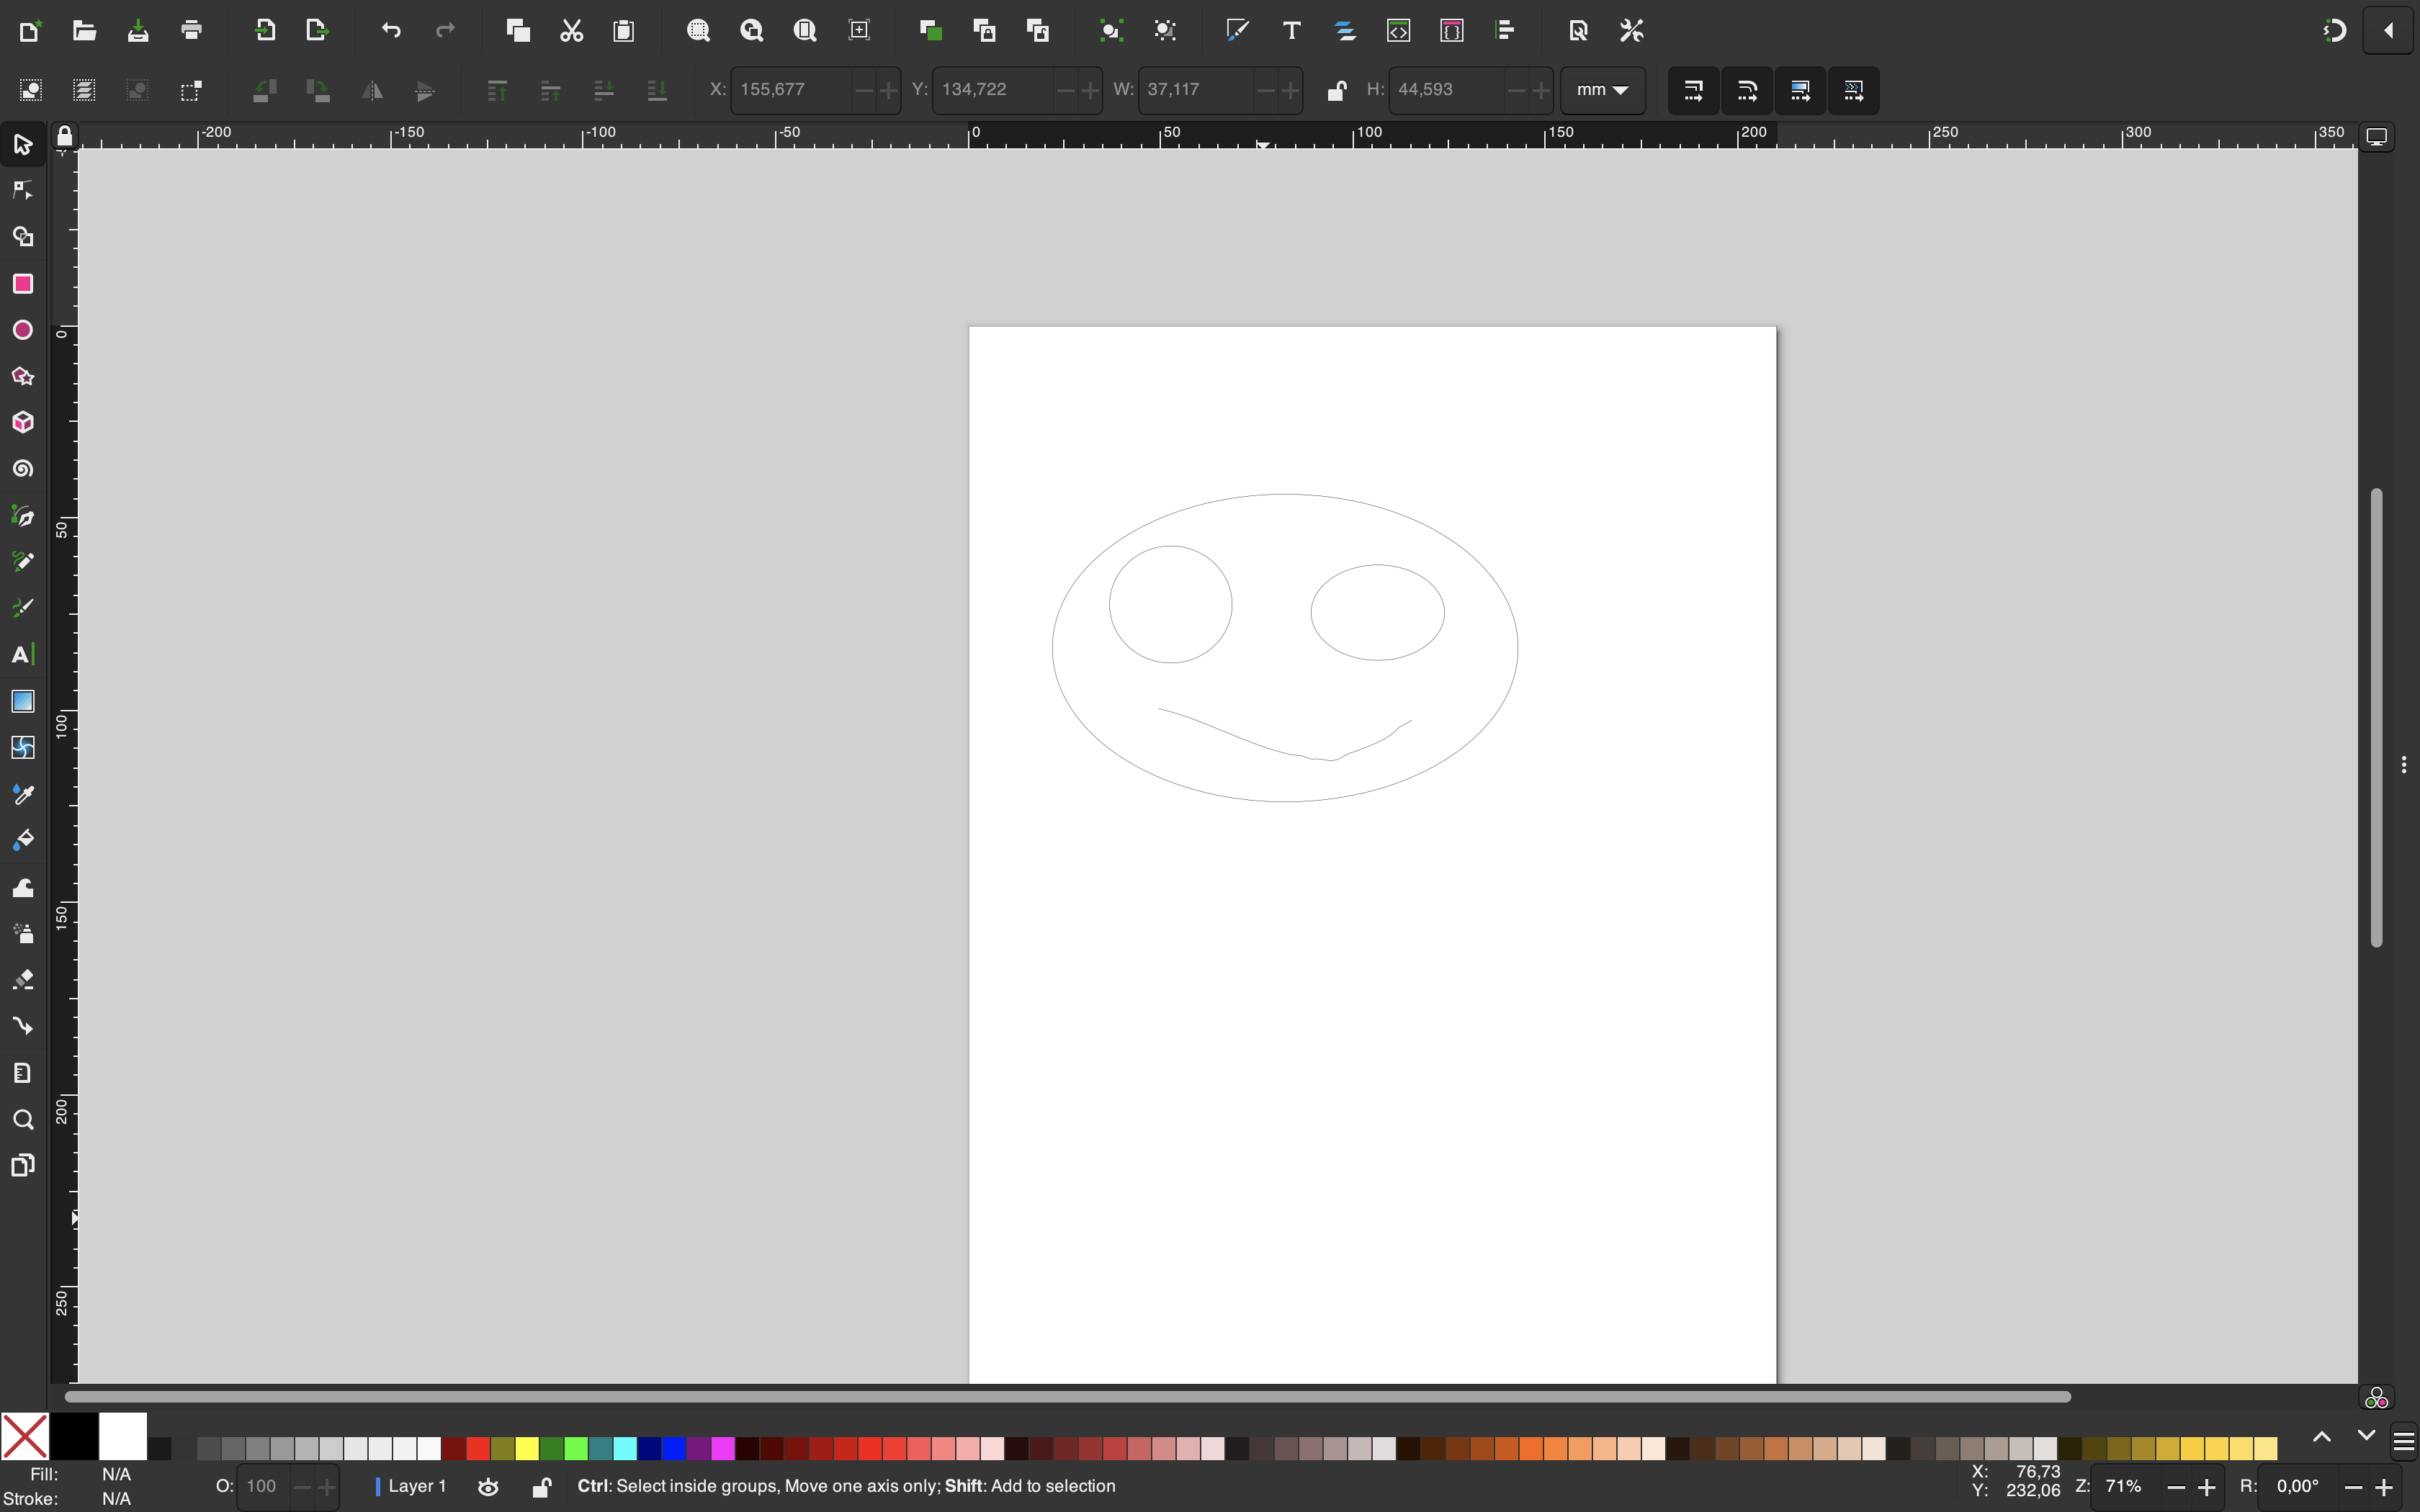
Next step is to export the model. This is done by choosing export in the file menu. file -> export:
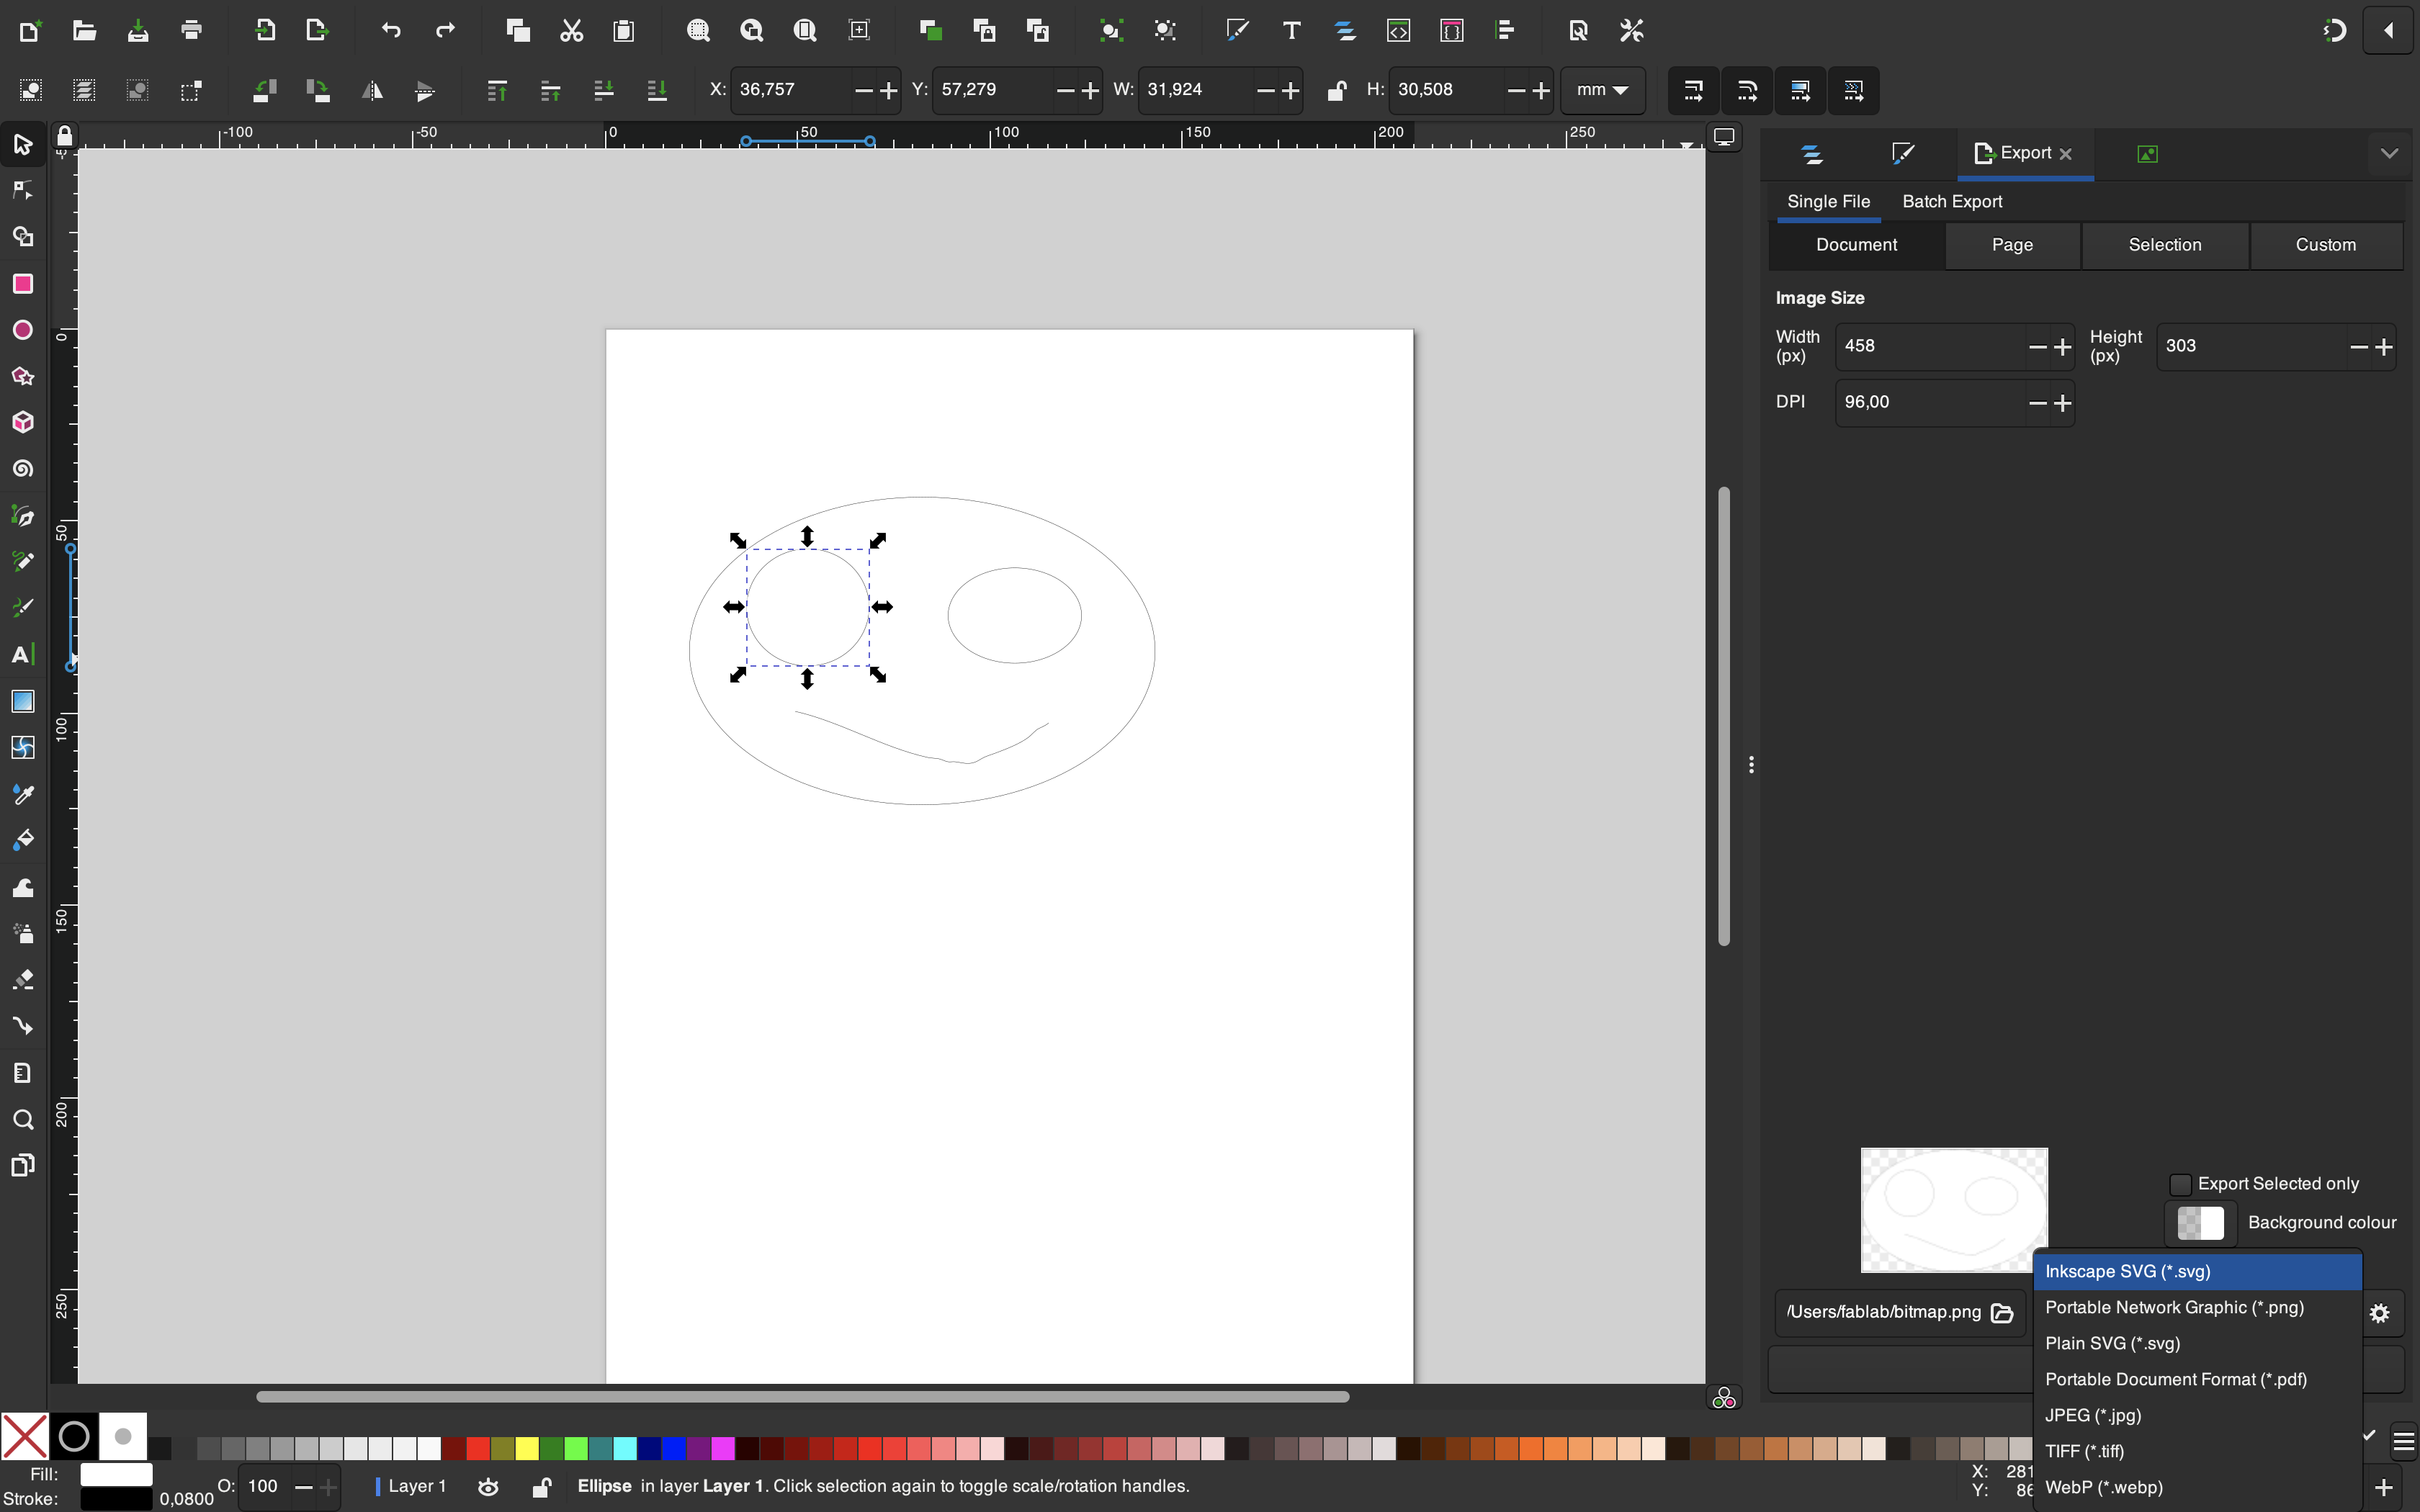
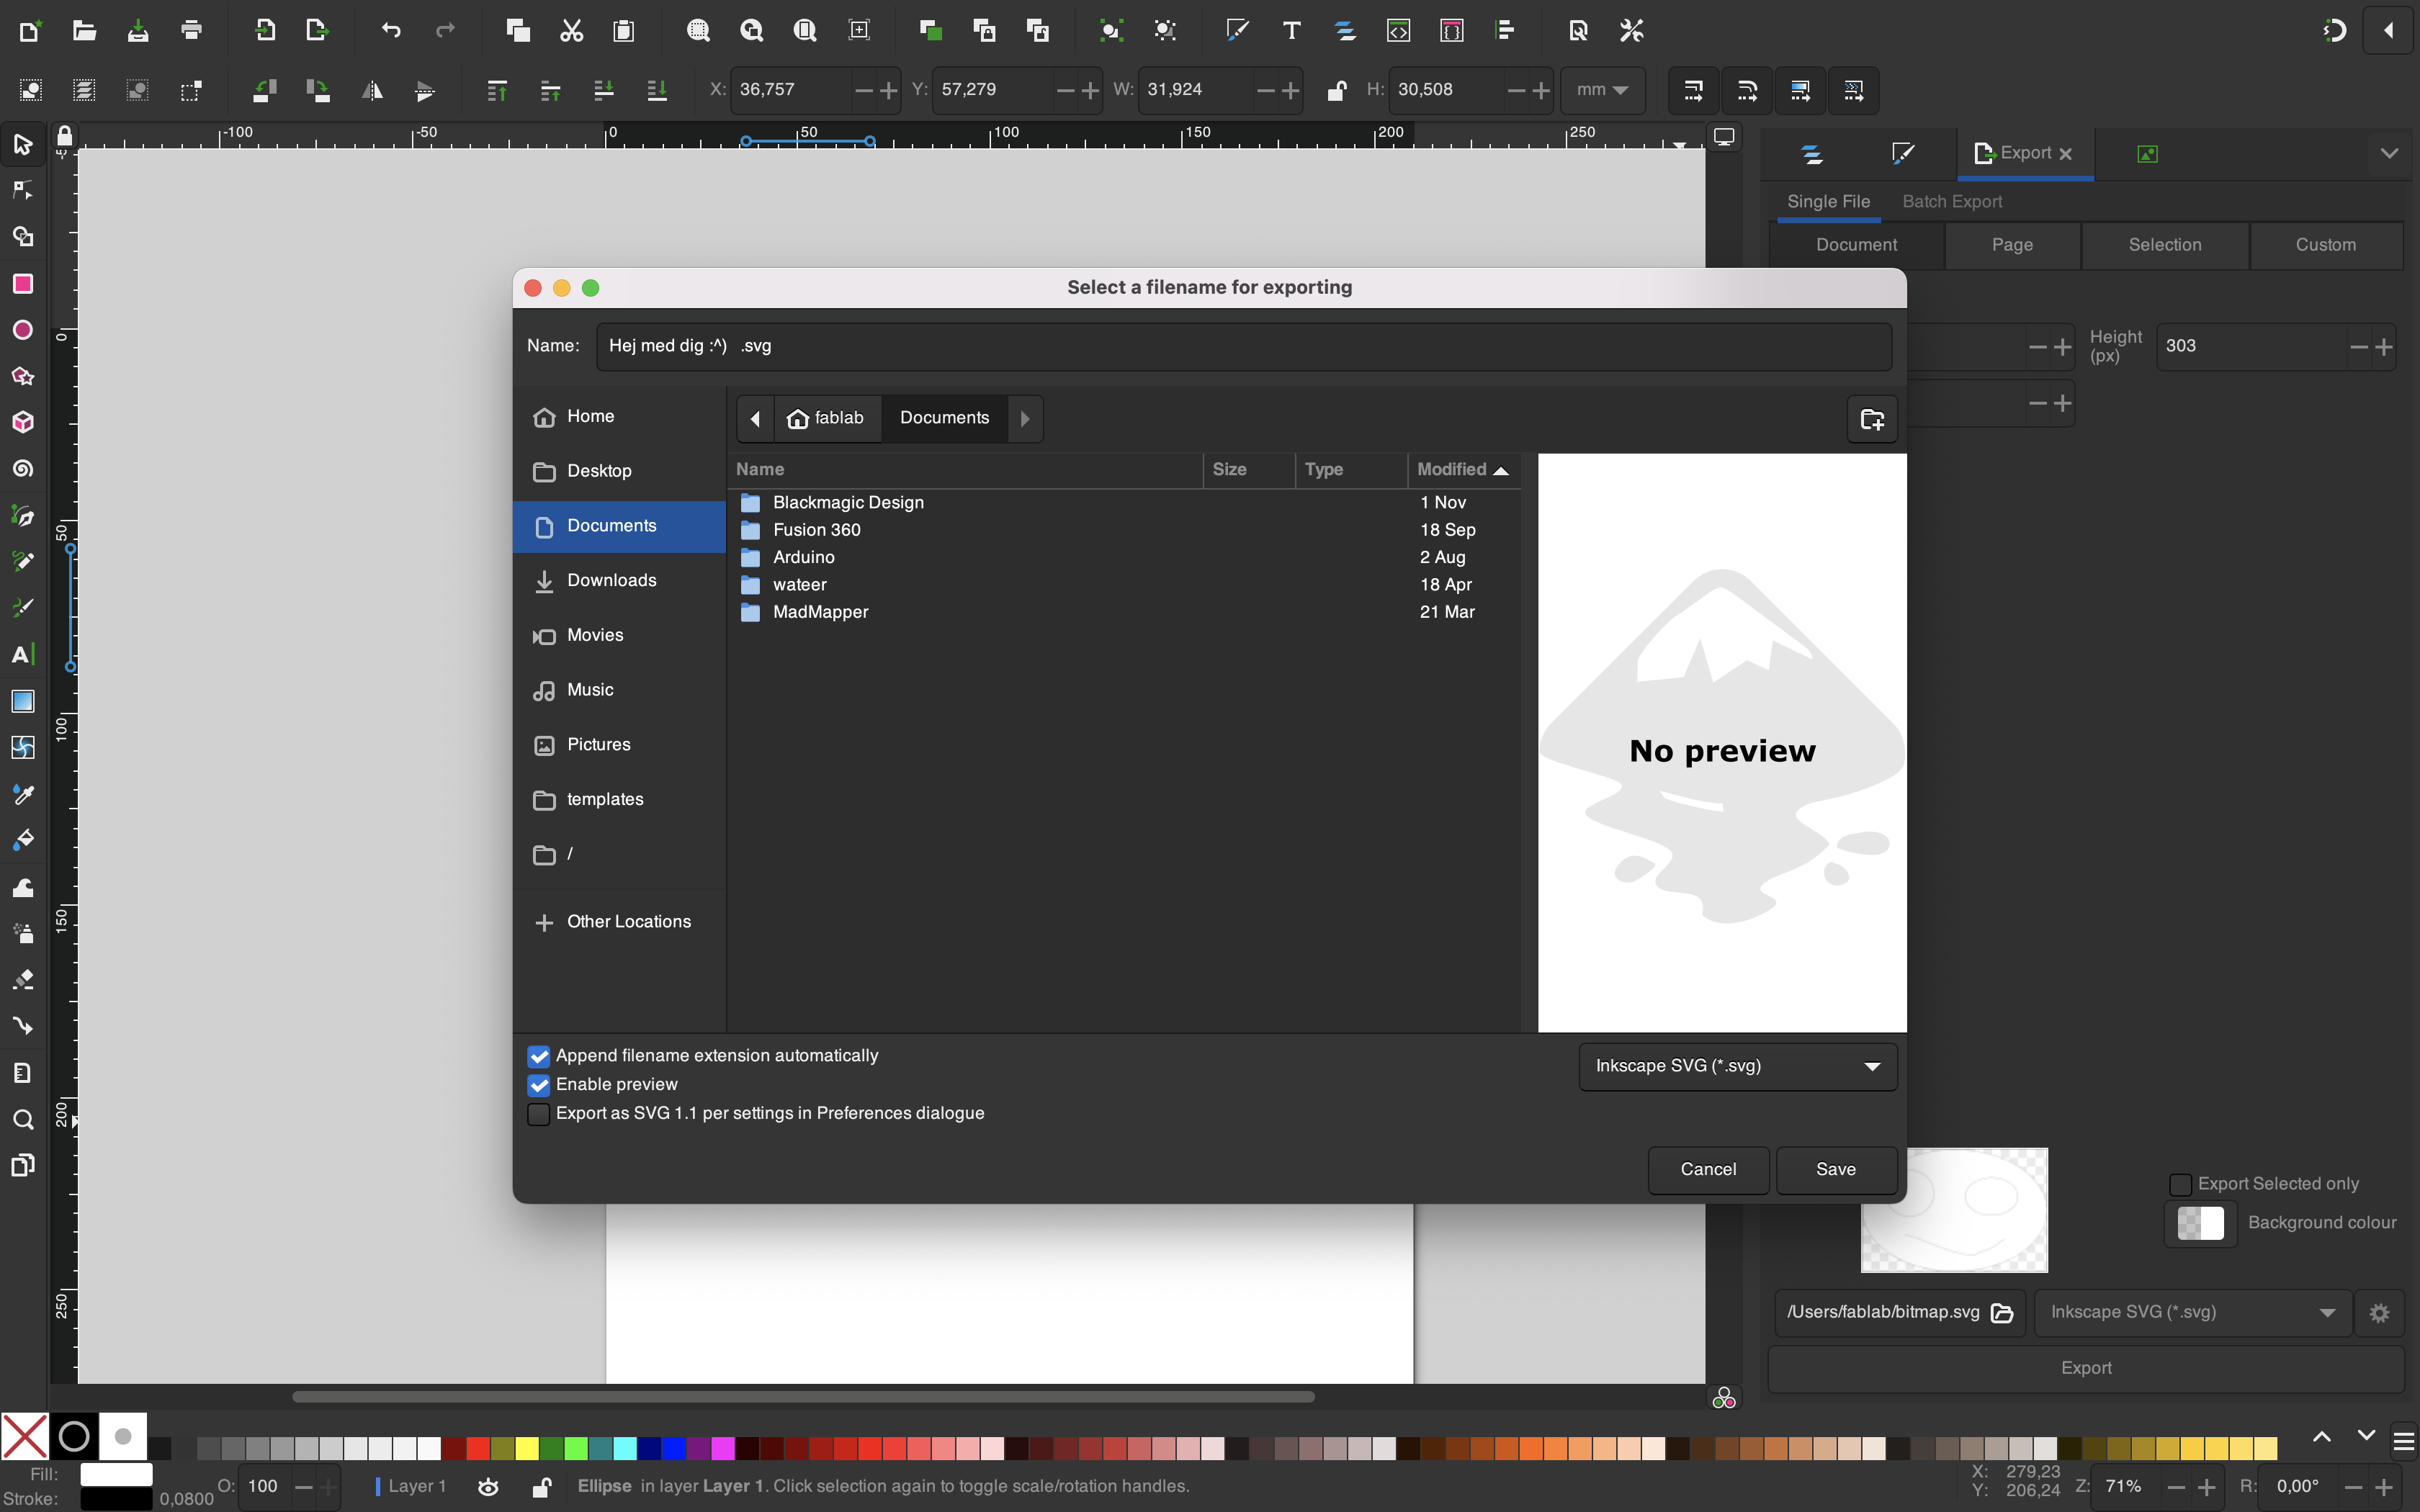
Now choose a name and a location for the file, and make sure the file type is .SVG or .DXF Then press Save:
Using the laser
#1
After creating your drawing, export it as .DXF or .SVG file on a usb stick.
#2
Open Lightburn and import your file. Let’s assume it looks like this:
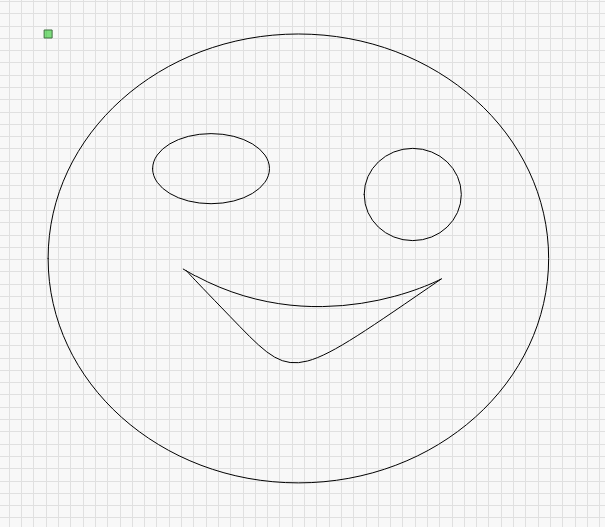 If you want to engrave some areas on your drawing and cut others, keep reading. If you're ready cut, you can skip to step 6.
#3
In this example, the eyes and mouth are to be engraved while the contour of the face will be cut through. Thus, they should be on different layers, but by default everything is on the same layer. Firstly, select all the shapes to be engraved and change their colour (bottom-left corner).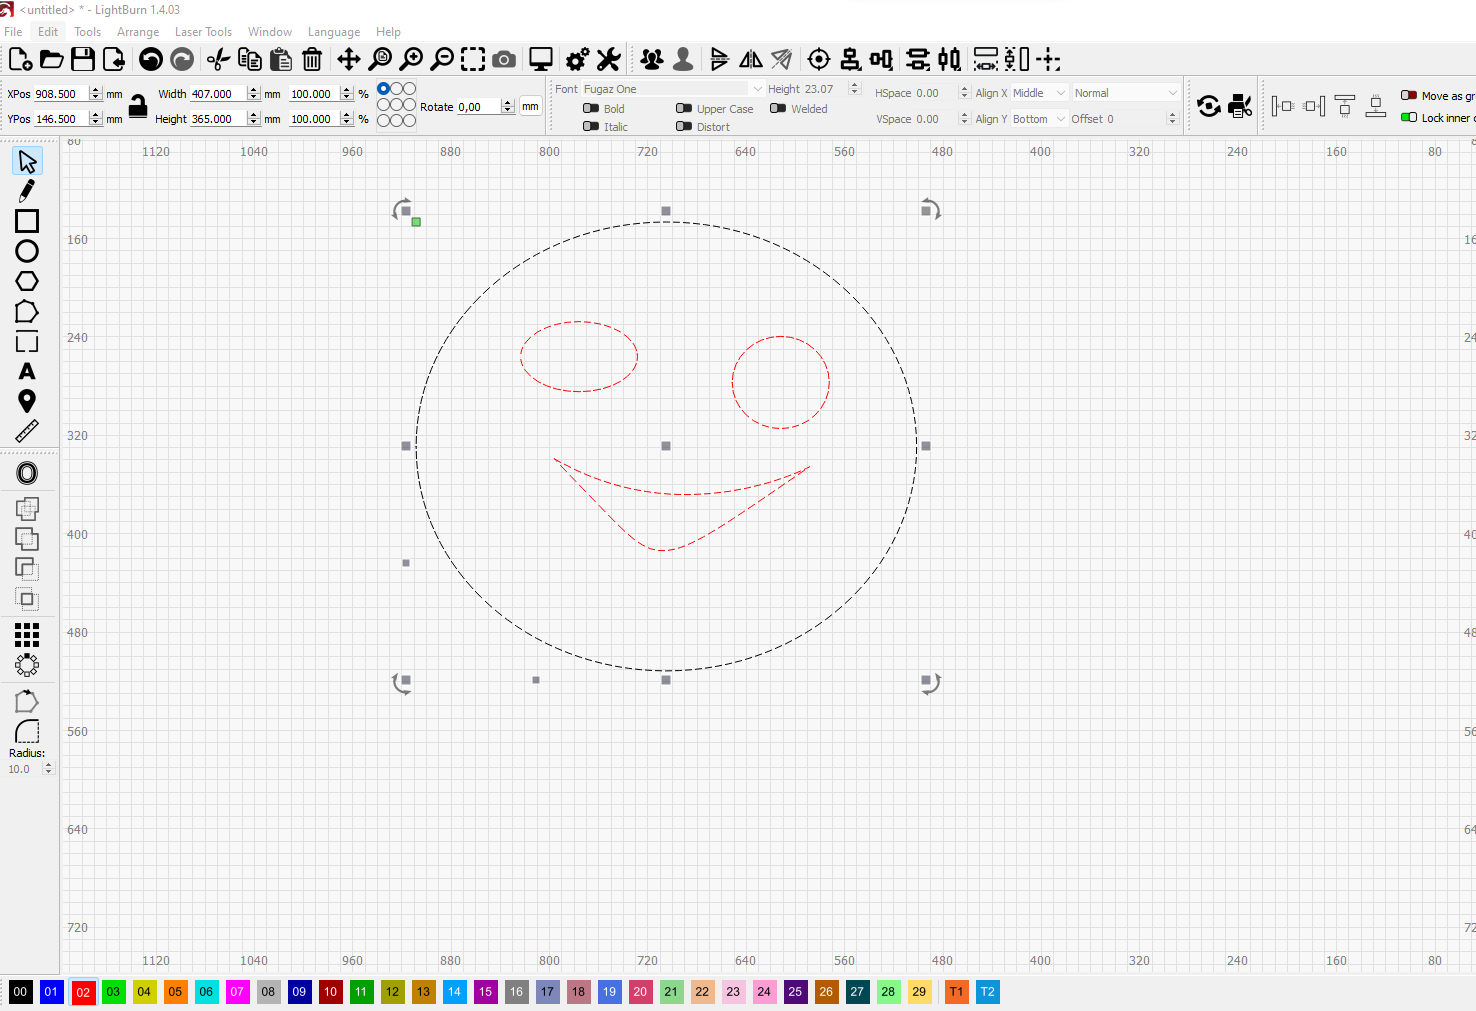
#4
A new layer has just been created and can be seen on the top-right side, containing all chosen colours. Double click on it to edit it.
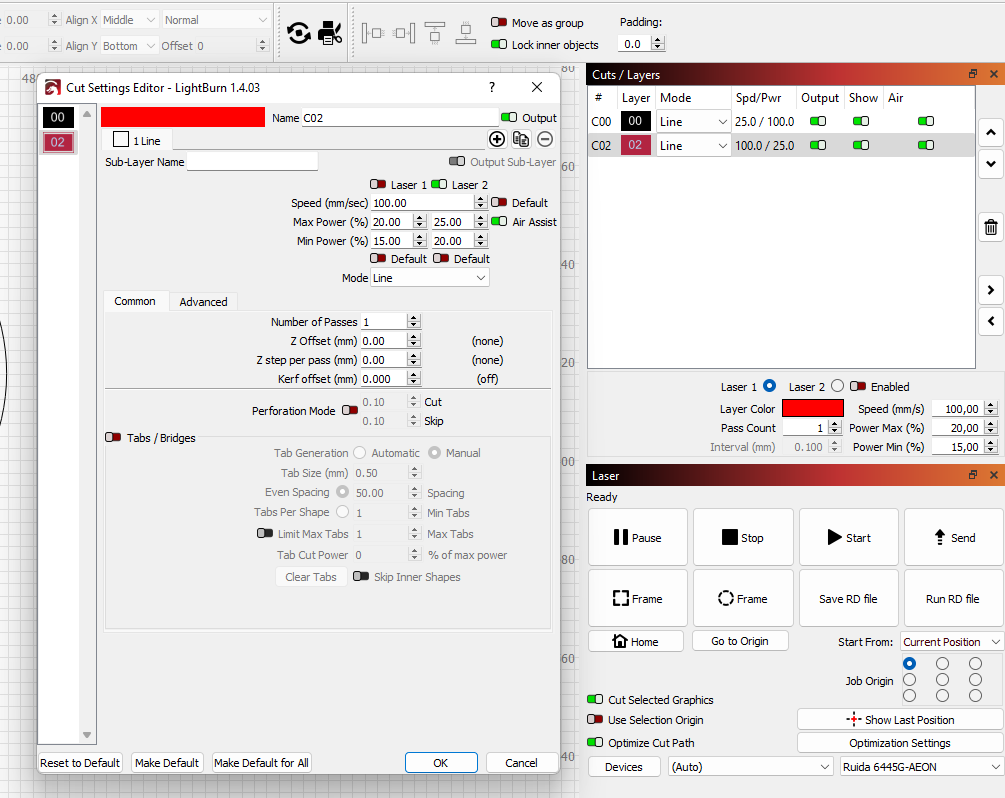
#5
In the upper right window, called "Cuts/Layers", there's different choices for cutting/engraving. Depending on your needs change the cutting Mode from “Line” (default) to “Scan” (as in the picture above).
#6
In Lightburn you can find a tab for the proper values of speed and power for all materials used by FabLab and looks like this:
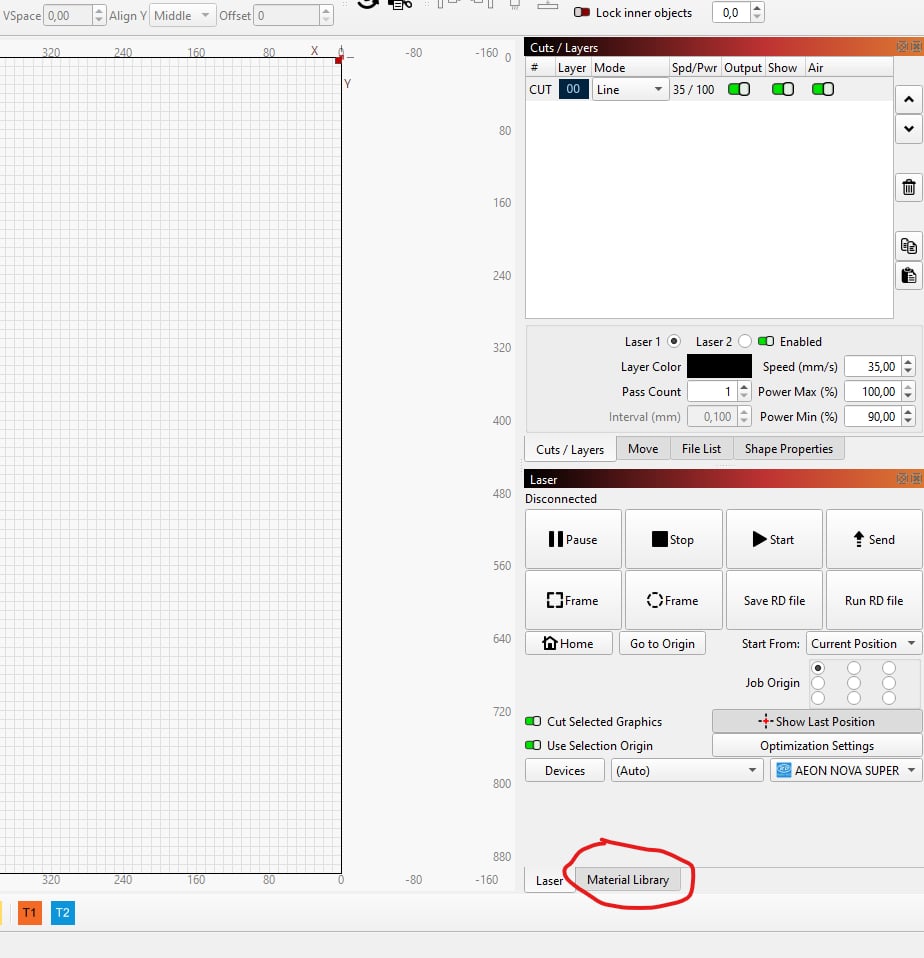
Find the material you're using and assign it to the right layer.
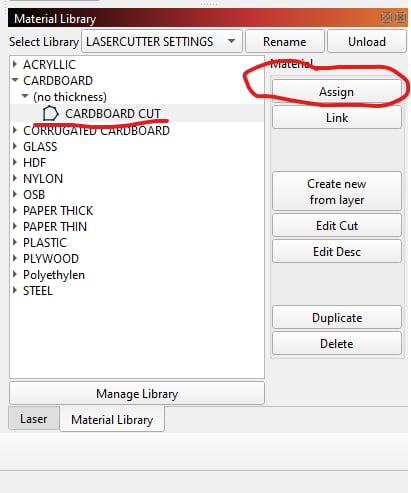
We chose 4mm HDF for this project and the values for engraving are speed: 400 (mm/s), PowerMax: 30(%) and powerMin: 30(%). These values can be inserted by using the material library or in the pop-up window from step 5 or on the right-hand site menu and can be adjusted for lighter or darker shades.
#7
Choose “Cut” and insert the appropriate values for power and speed (see picture at step 6) for all layers that will be cut through.
Note that “minPower” is the laser power on corners and “maxPower” means the intensity everywhere else. These values are listed but can be slightly adjusted if needed.
#8
Get your material and check the thickness then place it in the machine. 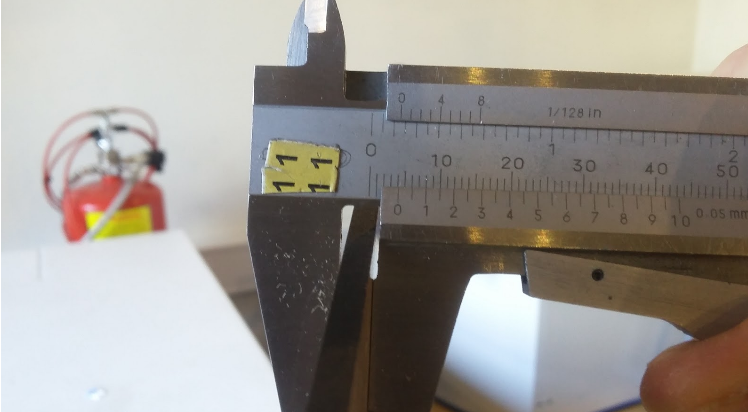
#9
Important note!
This step describes a process only needed if you're using the Bodor Laser cutters.
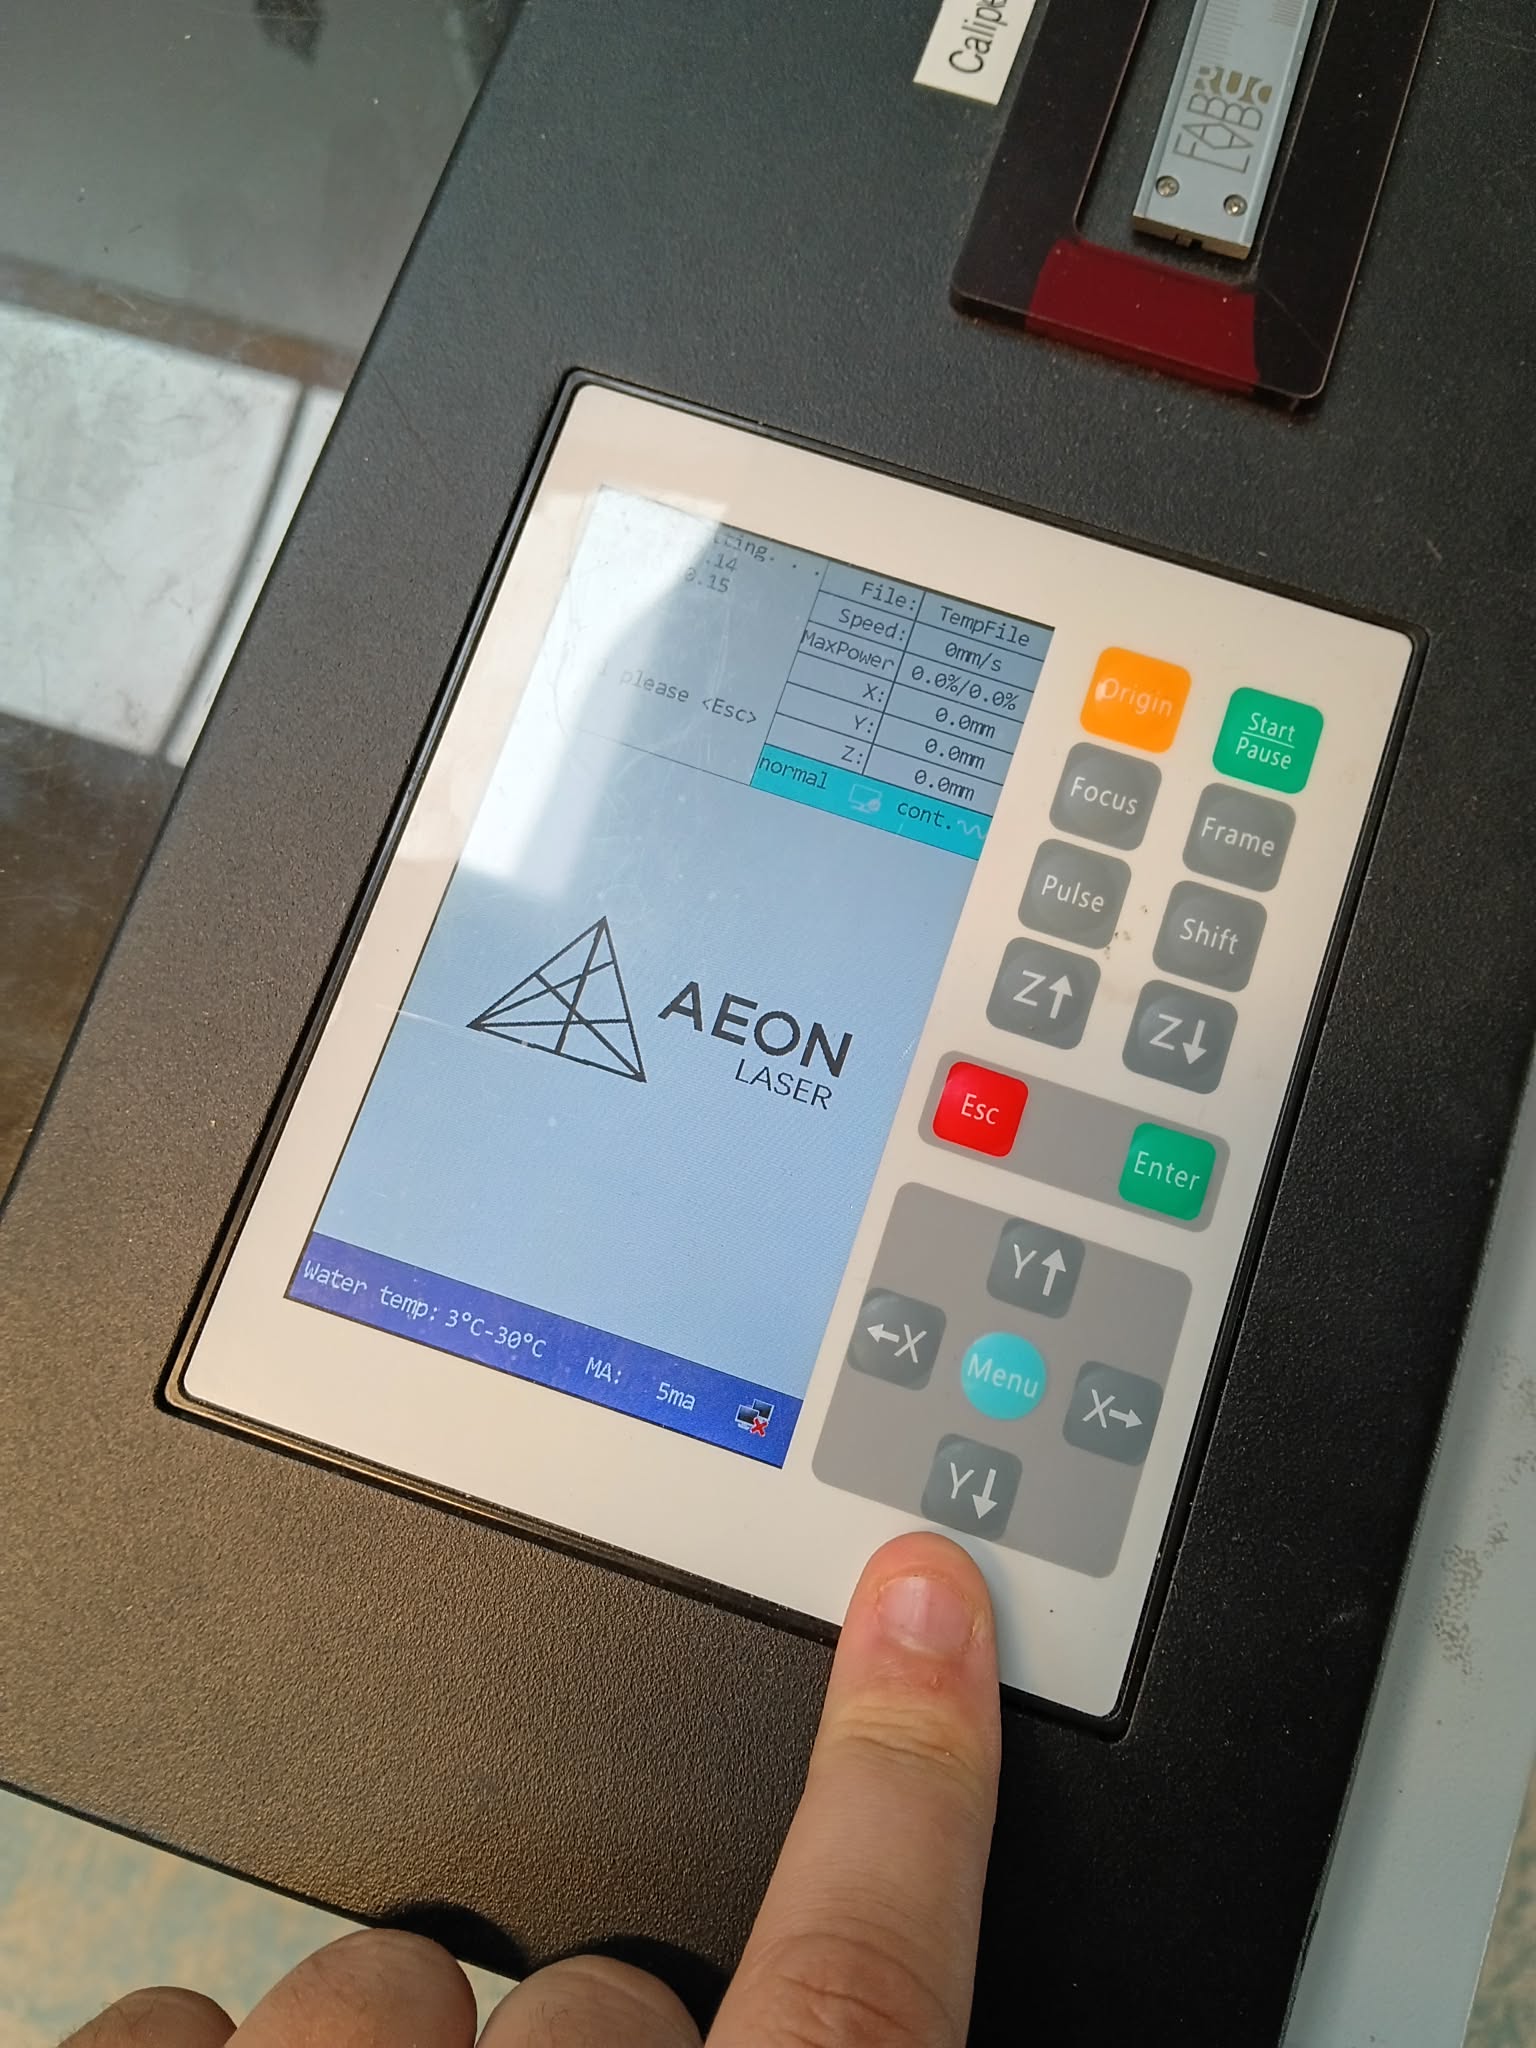
The Aeon Laser cutters have a button labeled "Focus" that can be pressed to adjust the focal distance.
Remember to have your chosen material under the lasercutter nozzle, when adjusting the focal distance on both types of lasercutter.
If you're using a Aeon Lasercutter you can proceed to step 10 after adjusting the focal distance.
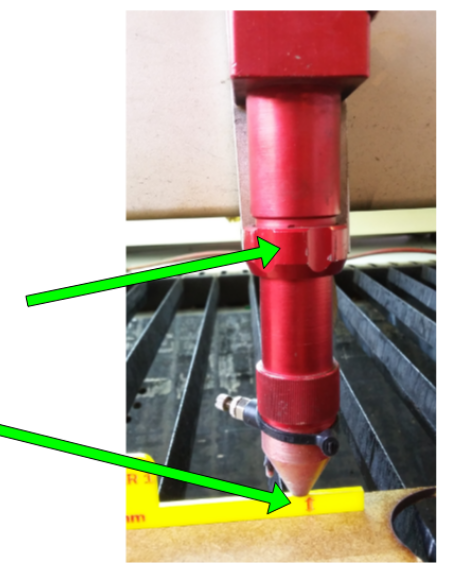
Adjust the distance between the laser head and the material (focal distance) by unscrewing the highlighted nut, sliding up or down the lens’ housing and using the nearby plastic spacers to get the correct space between laser and material. When you have the right distance, fasten the nut again (not too tight!)
#10
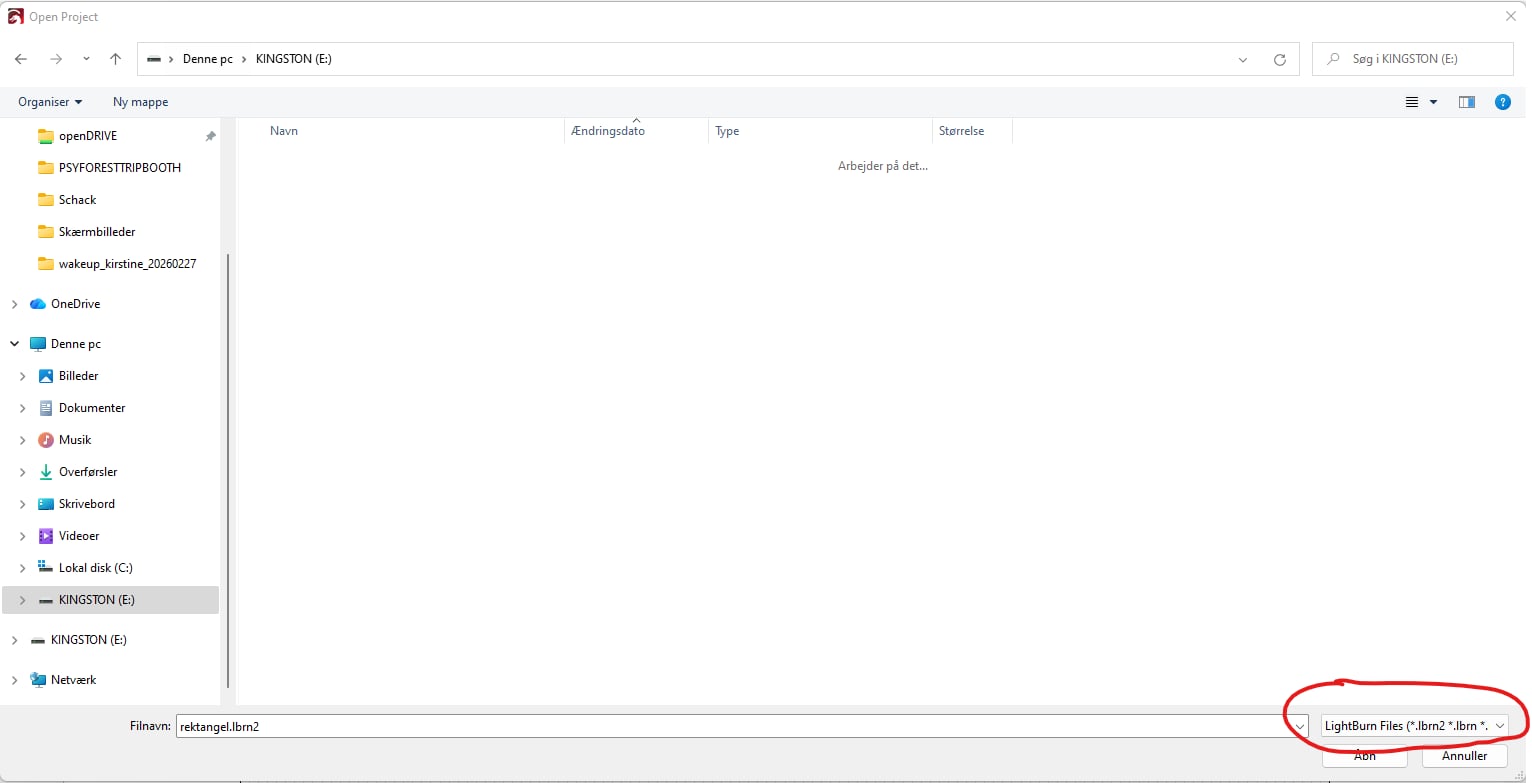
Now to can open you can open the file from the usb stick on the PC to. If you're unable the find your file, try changing the file search from "Lightburn file" to "All Supported"
#11
Now that your file is open in Lightburn, you should see a green square representing where the laser cutter will start its work from. To change the origin point, use the "job origin" menu as show in the picture below.
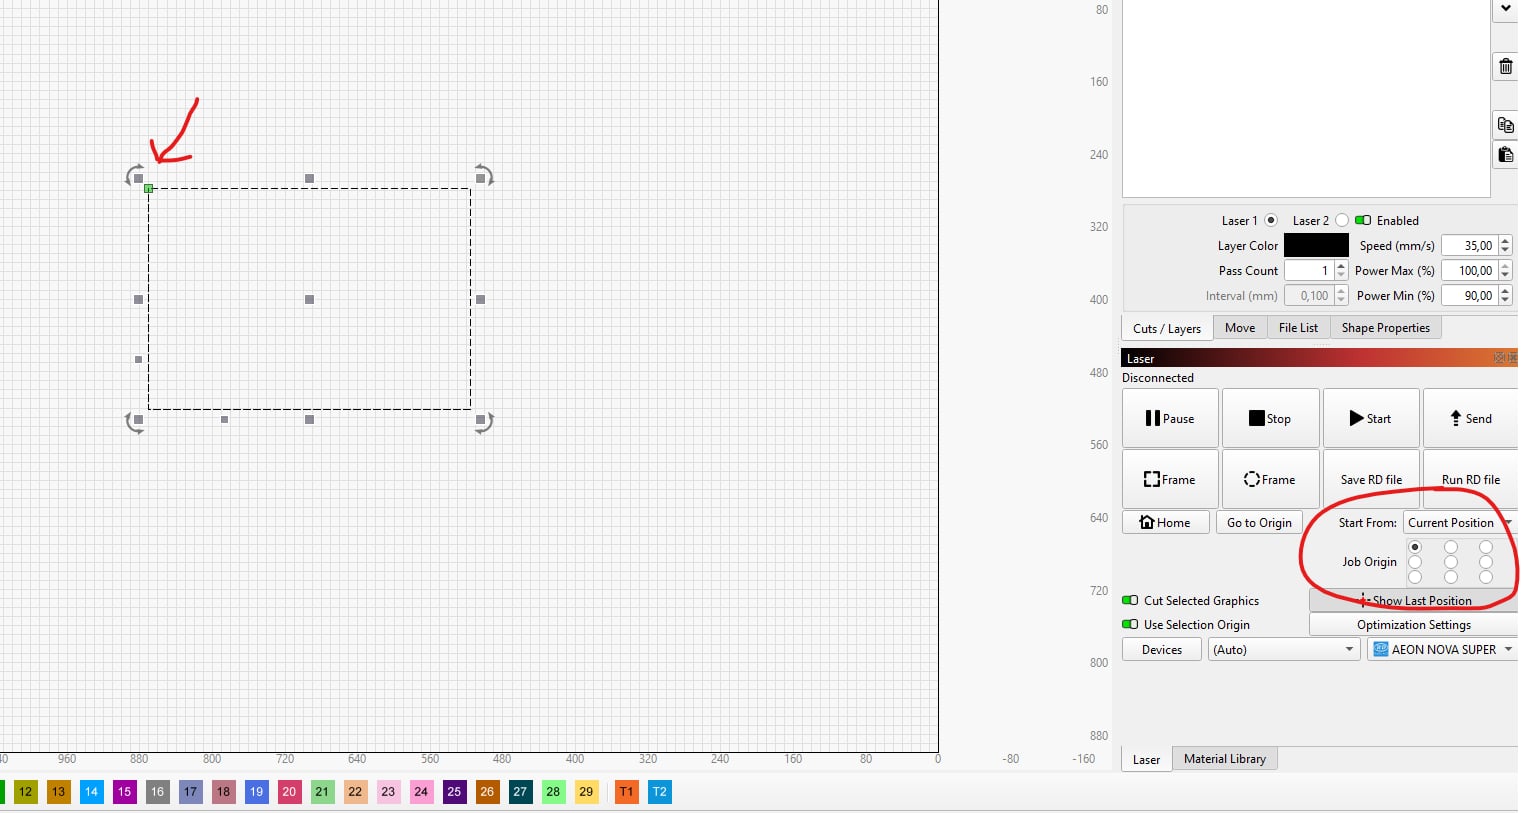 Clicking on one of the Job Origin cirles will reposition the green square.
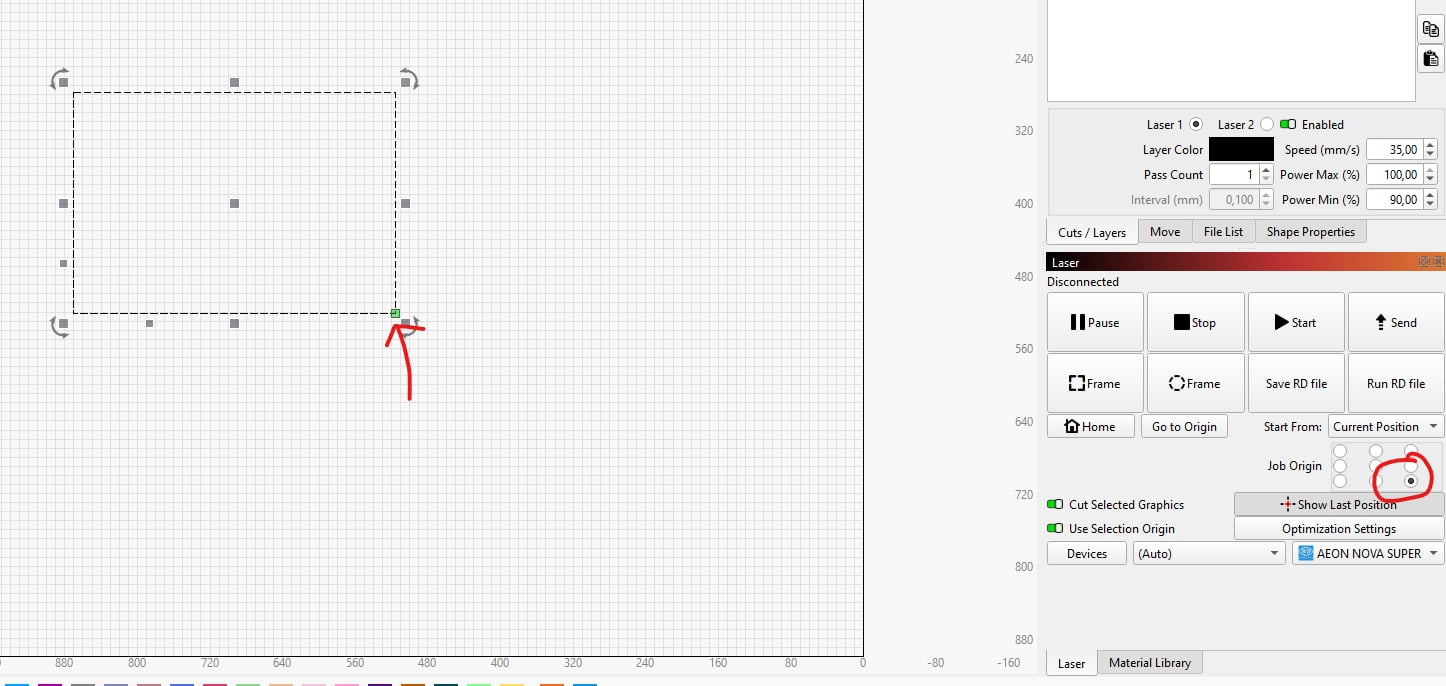 Don't Forget to also move the laser head itself by using the arrow keys on the laser cutter.
#12
Press “Origin”. To check whether the drawing fits on the sheet, press “Frame” on the computer.
#13
Place weights to ensure a constant level of the material and check the focal distance once more to avoid material waste.
Always make a small scale test in cardboard first! All variables can change with time and this is a chance to adjust the settings for best results with minimum waste.
14
Before laser cutting your material, please locate the following item, to minimize the risk of a fire hazard.
Pause button (first action in case of fire)
Small fires can be extinguished by pulling out the material and stomping on the fire, or you can use the CO2 fire extinguisher
ONLY USE LAST STEP IN REAL EMERGENCY SITUATIONS:
- Foam fire extinguisher (this one will destroy the laser cutter).
As a rule of thumb, if a fire occurs, pause the machine. If the fire does not die out within 4-5 seconds, take the material out and put out the fire by “jumping” on it or using a fire extinguisher. After the fire is out notify the staff about the accident.
#15
Press “Start” and enjoy the show!
#16
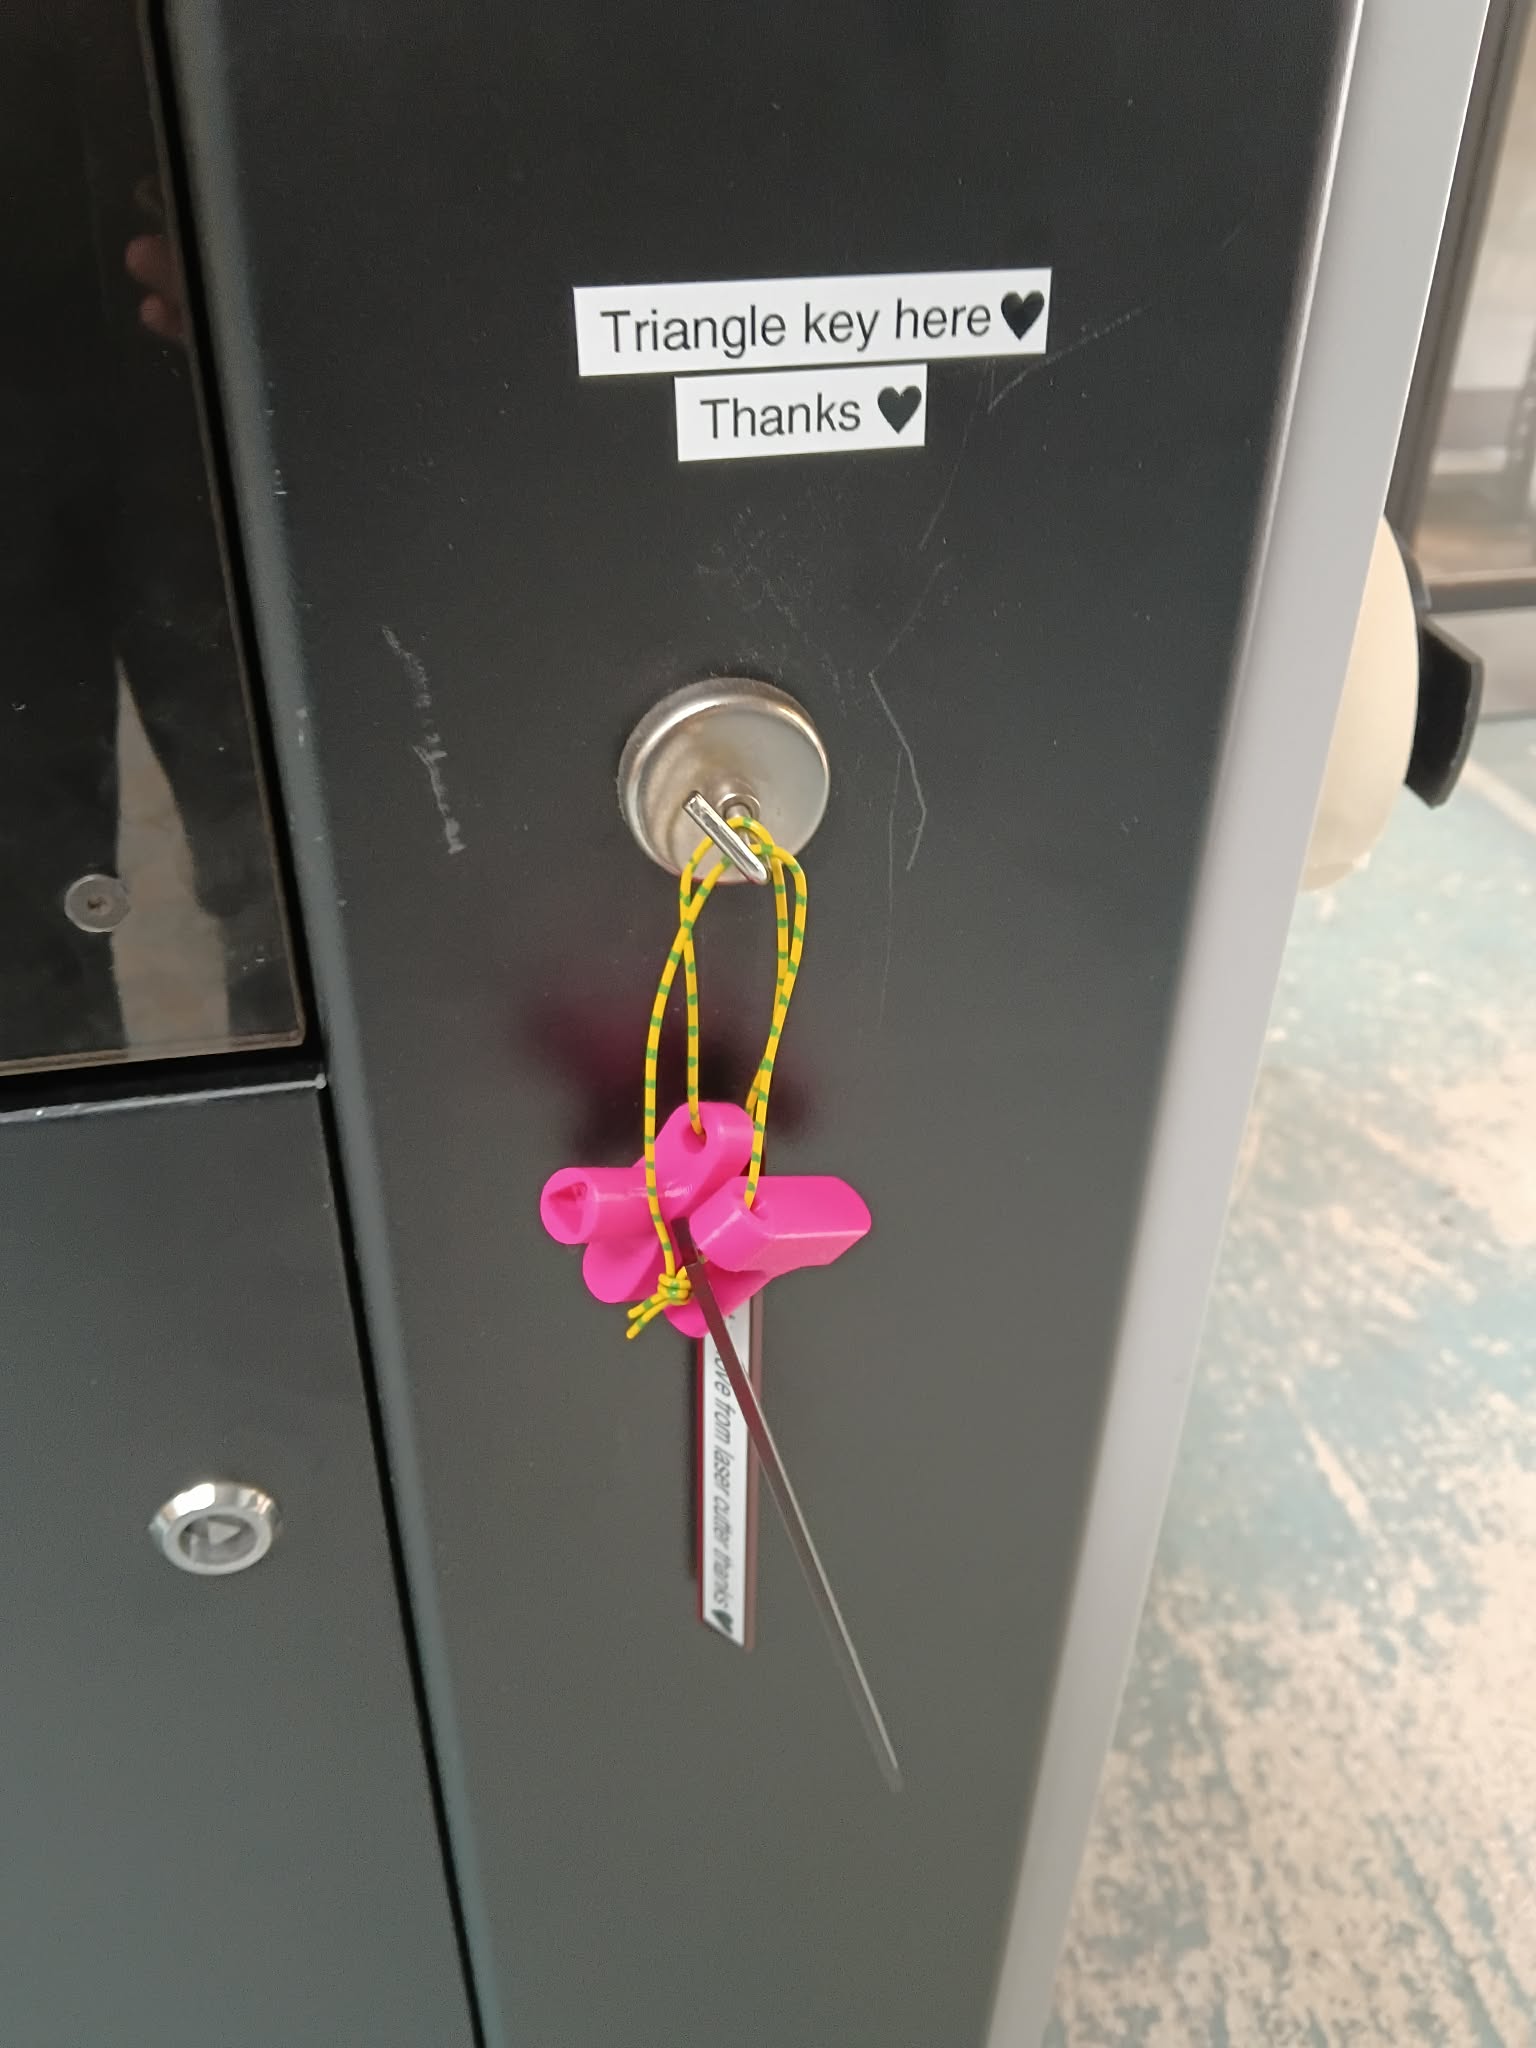
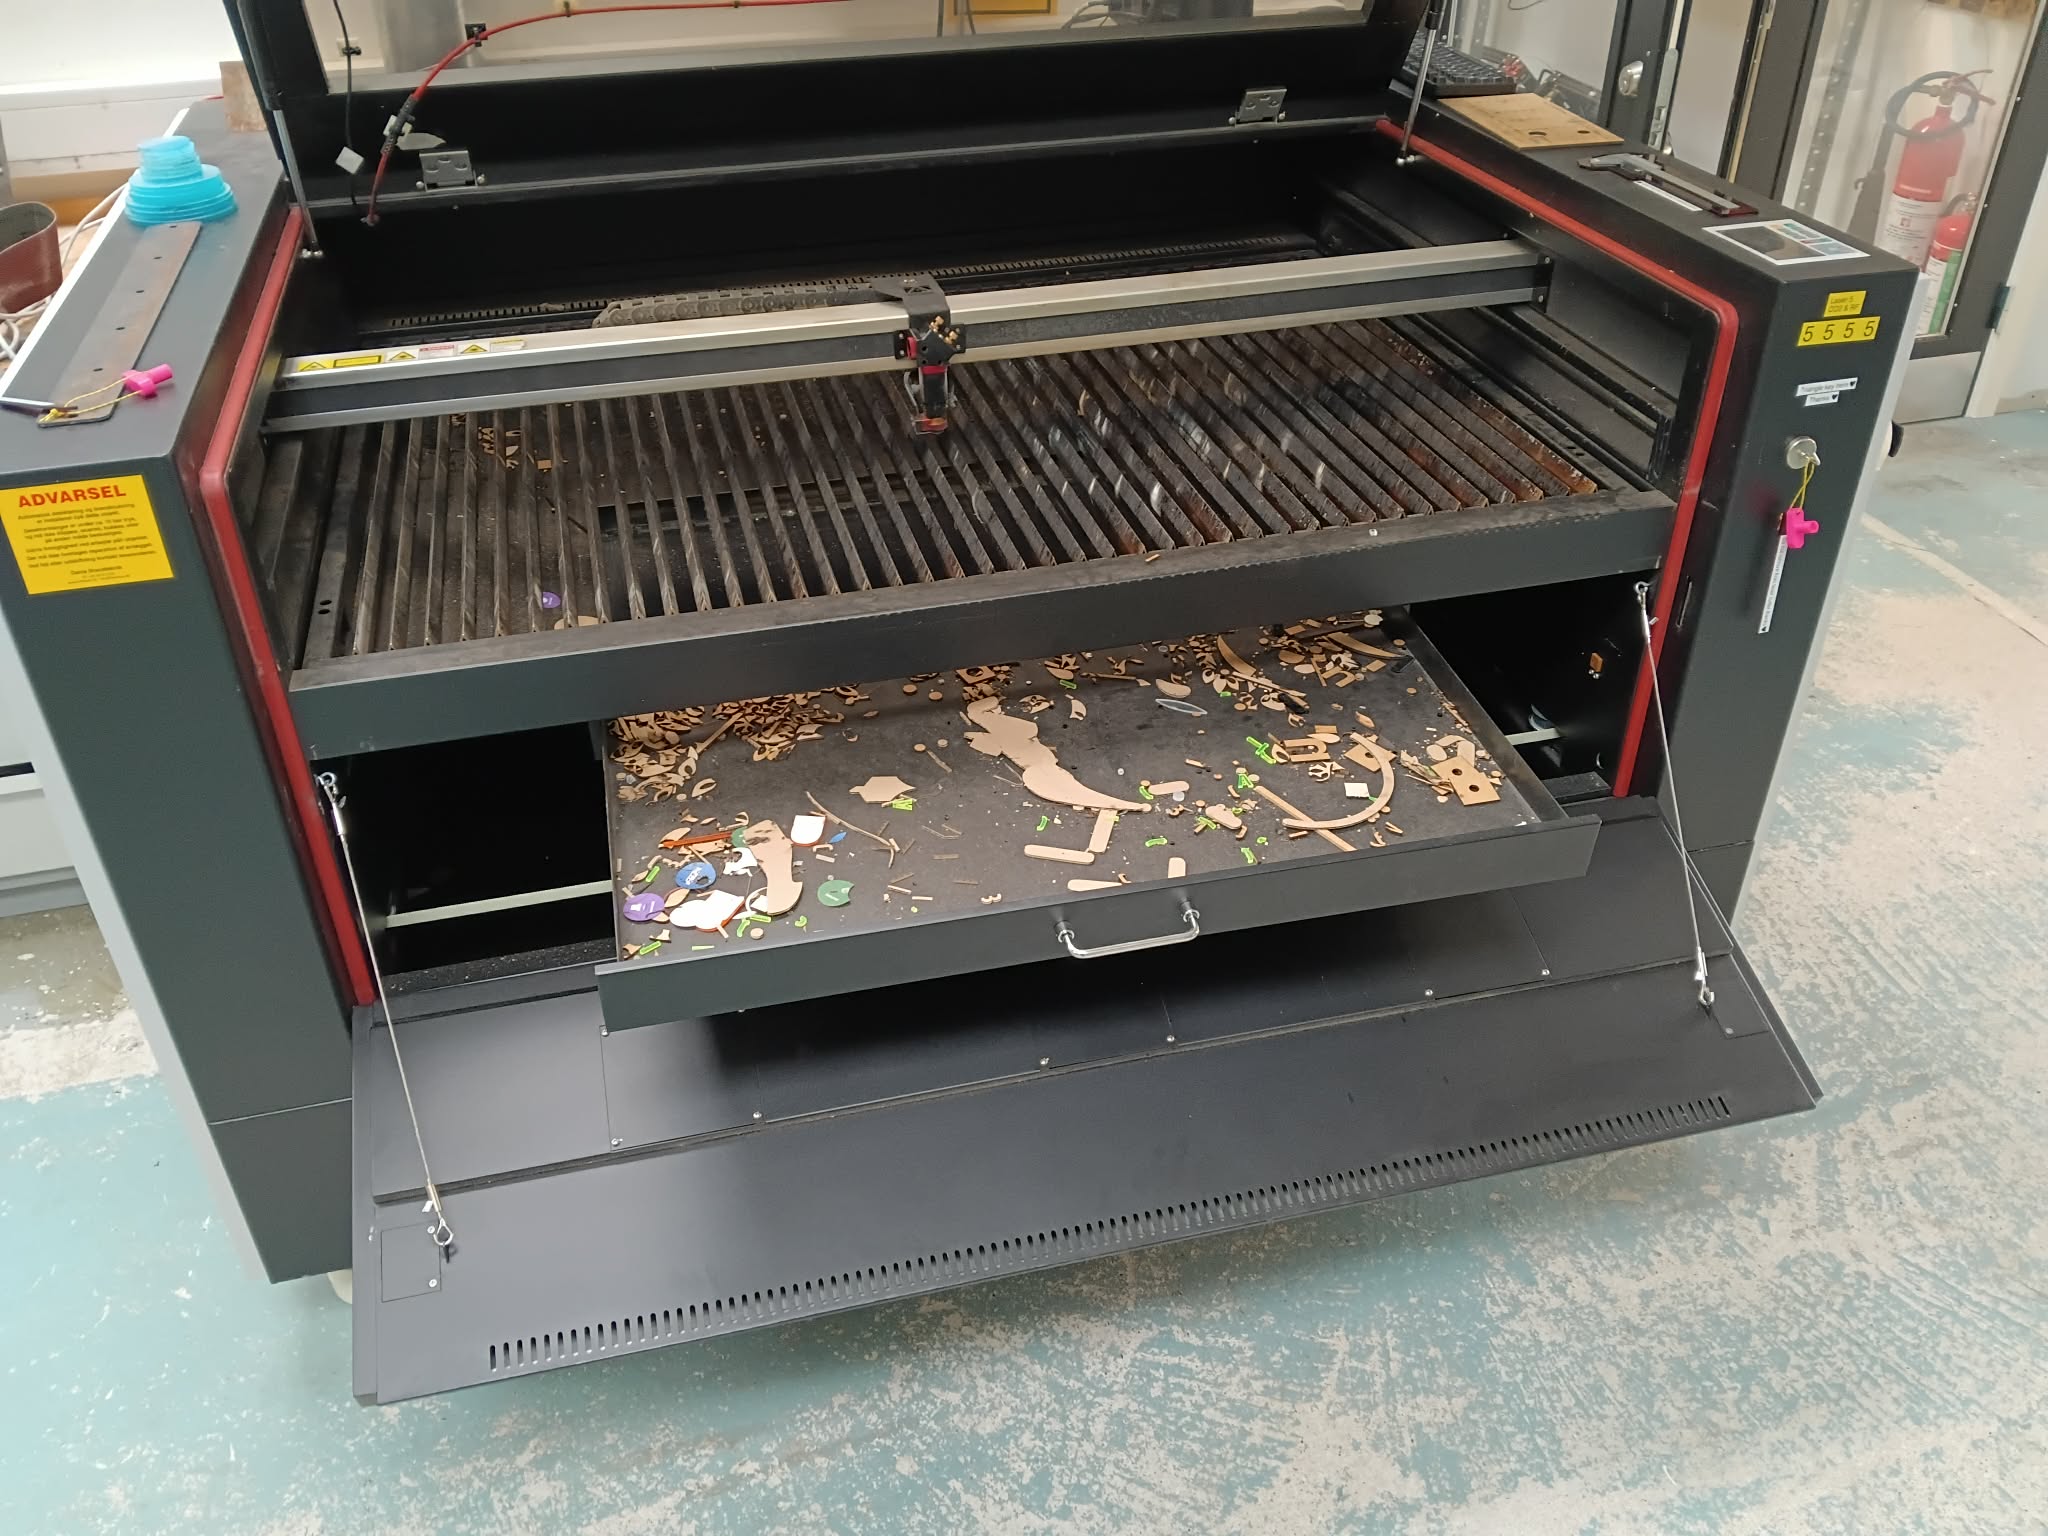
Upon completing the job, clean: empty the laser cutter and the bottom tray. Turn off the machine by hitting the red emergency stop by the side of the laser cutter. Place the pieces that can still be used back on the shelf and discard the remaining in the proper trash bins.
To open up the laser use the keys as show in the picture below
 Now you can simply open the front and pull out the tray.
Thank you for keeping the space nice and tidy and have fun laser cutting!