Embroidery Machine
Machine Embroidery & Free Motion Embroidery
With an embroidery machine, you can personalize clothing, experiment with conductive thread and smart textiles, or try your hand at free motion embroidery using one of our sewing machines.
Our Embroidery Machine
We use the Janome Memory Craft 550E, which is a:
- Single needle
- One thread
- Can only embroider (not sew)
Instructional Video
Design Options
You can use:
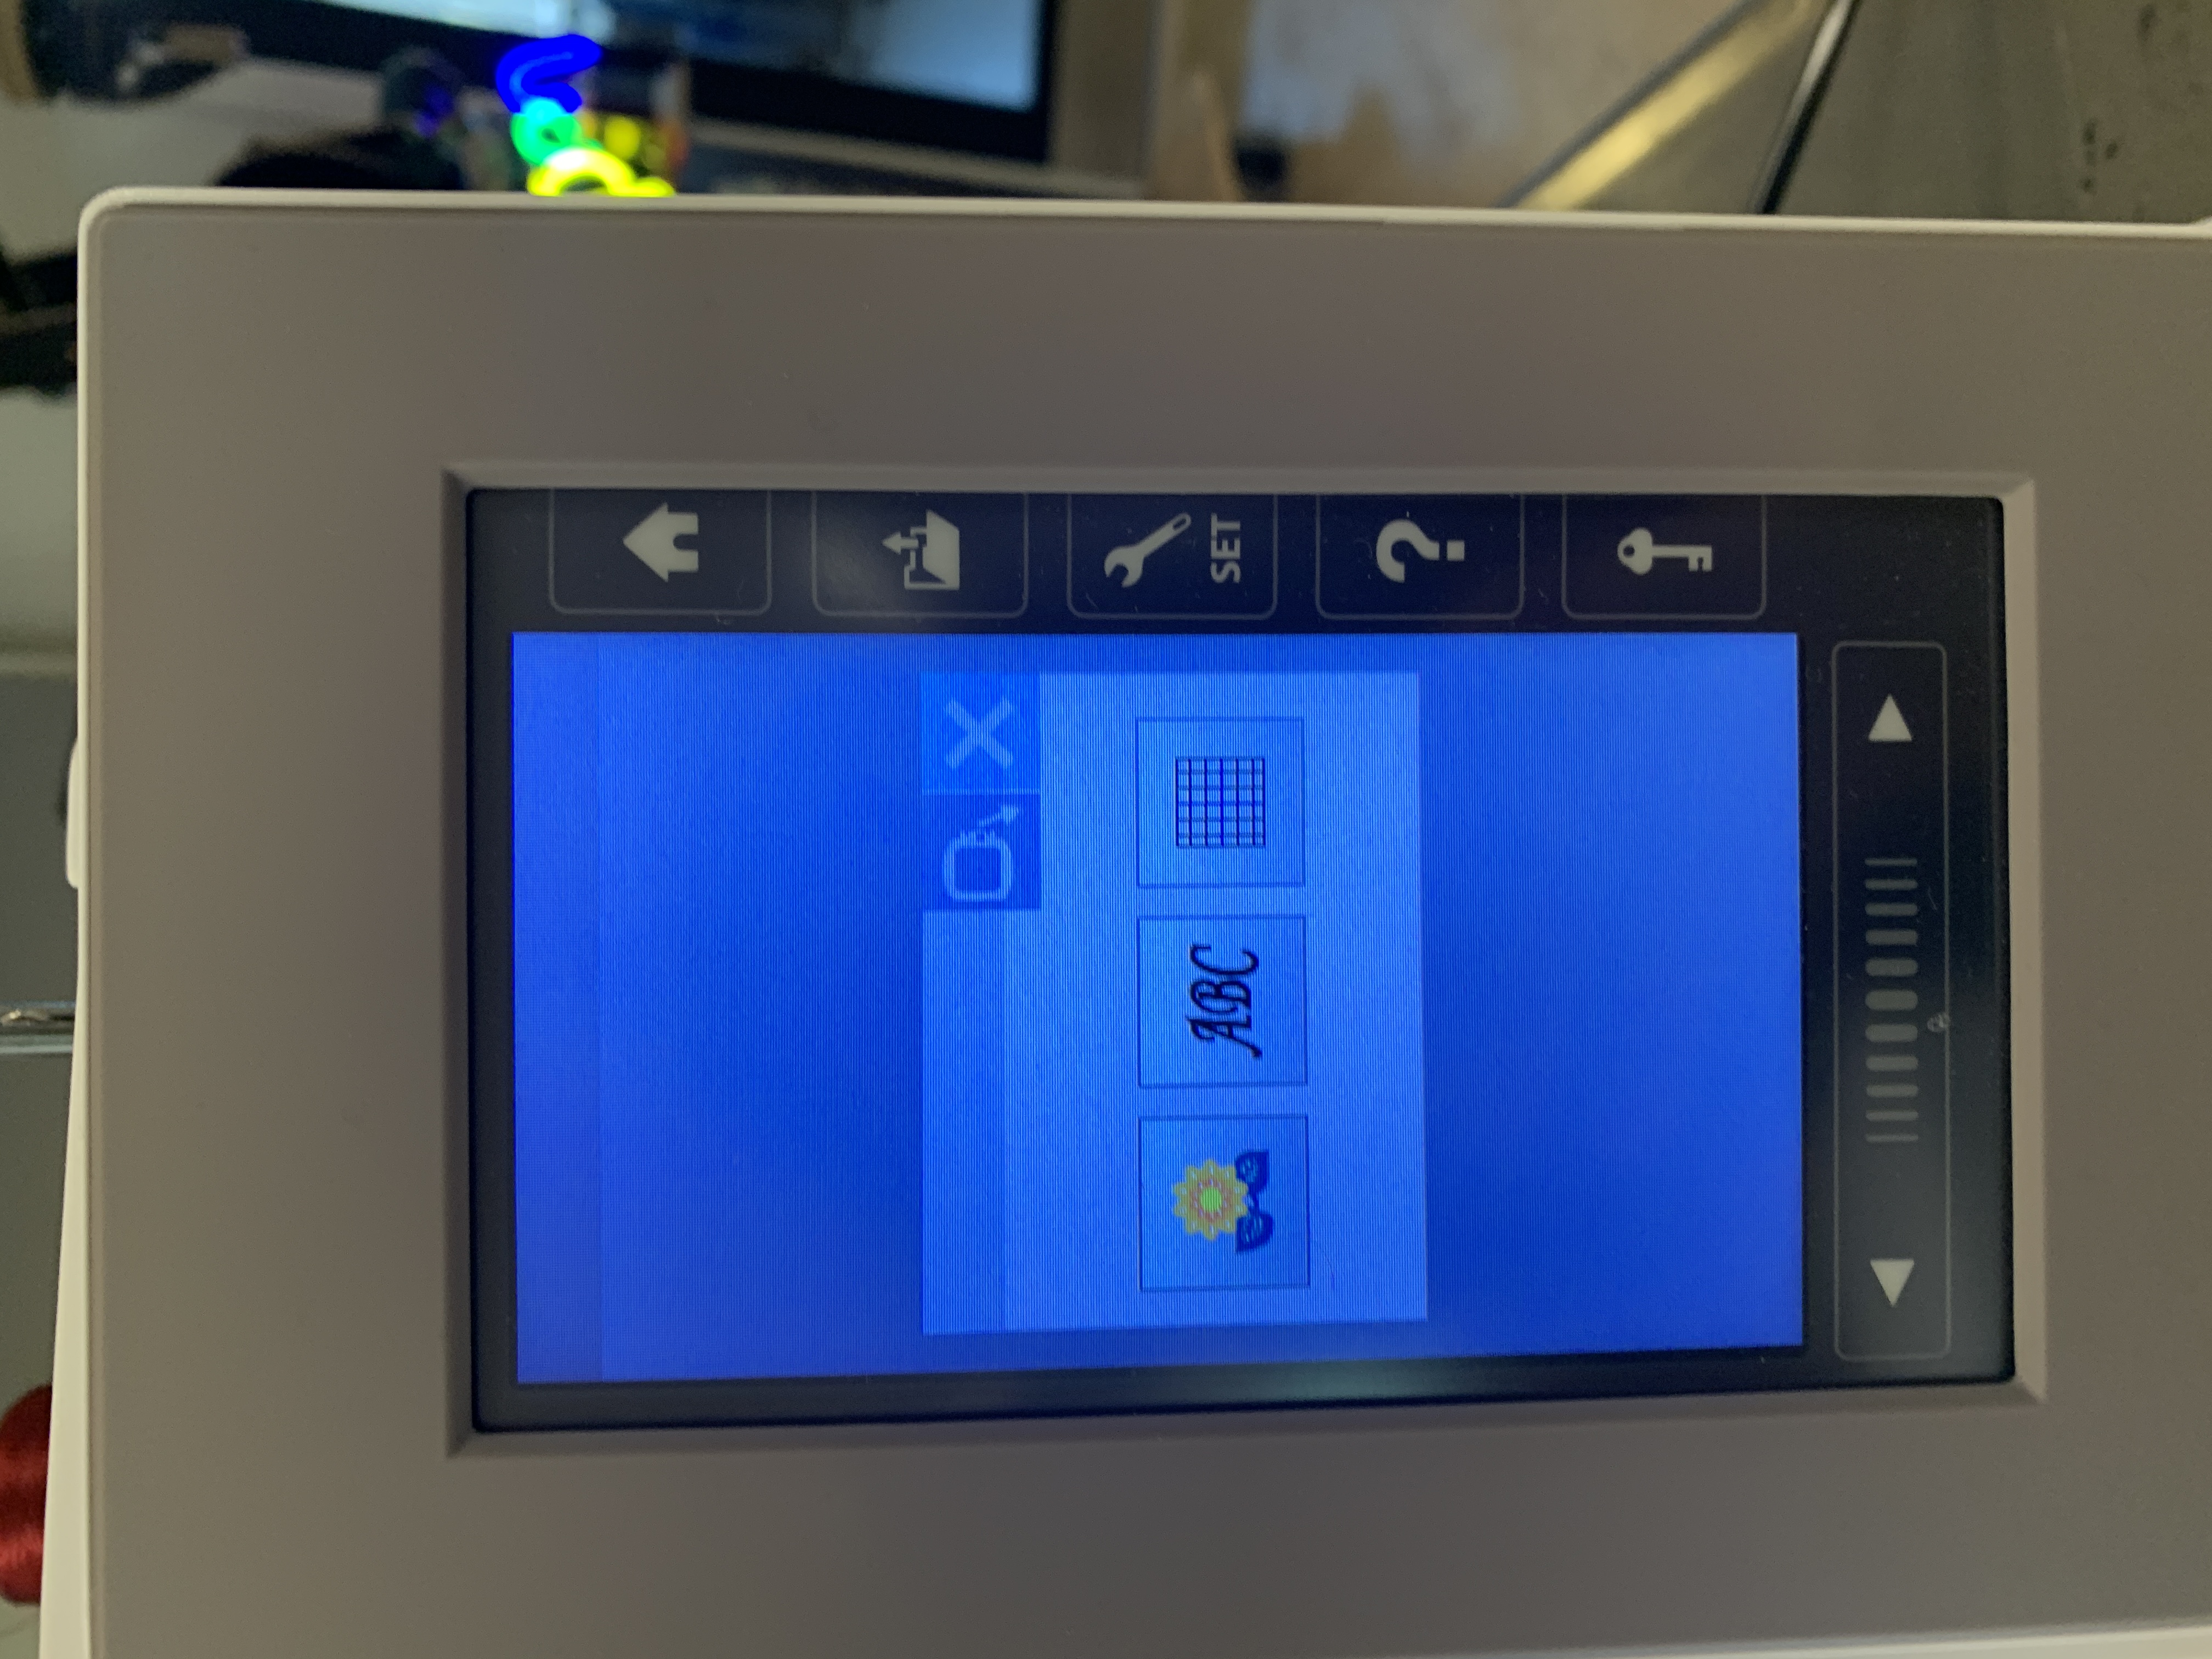
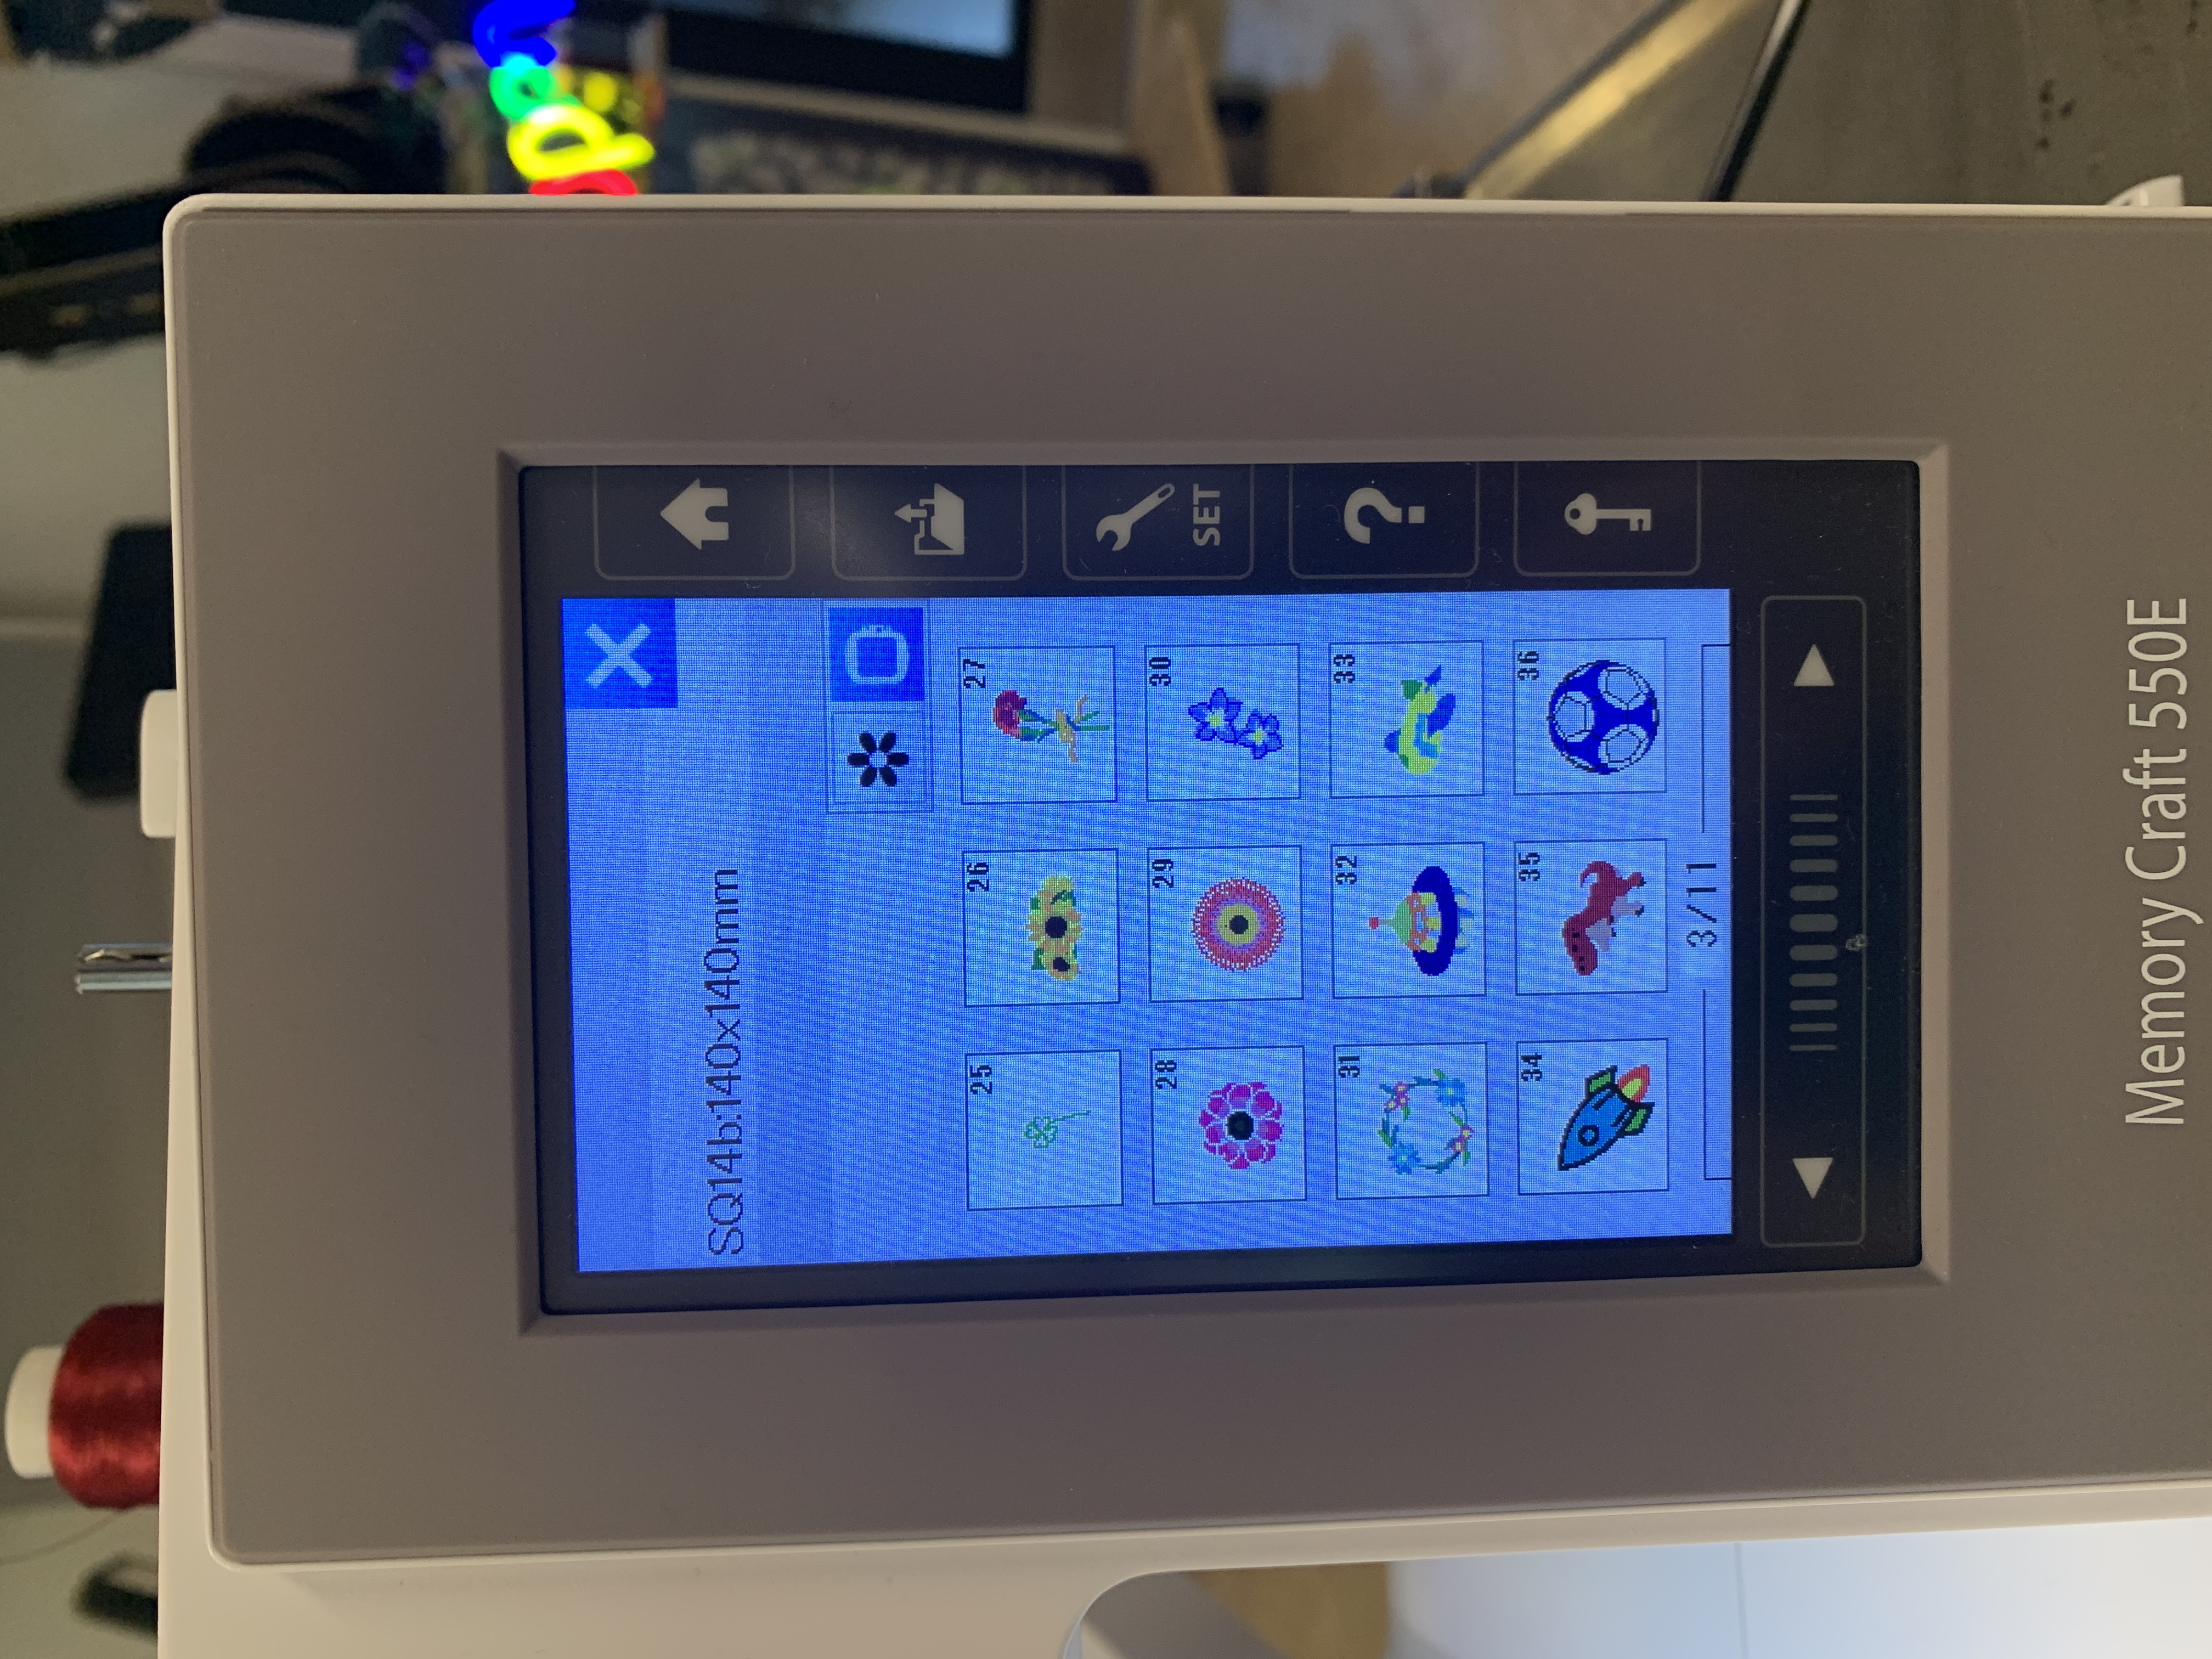
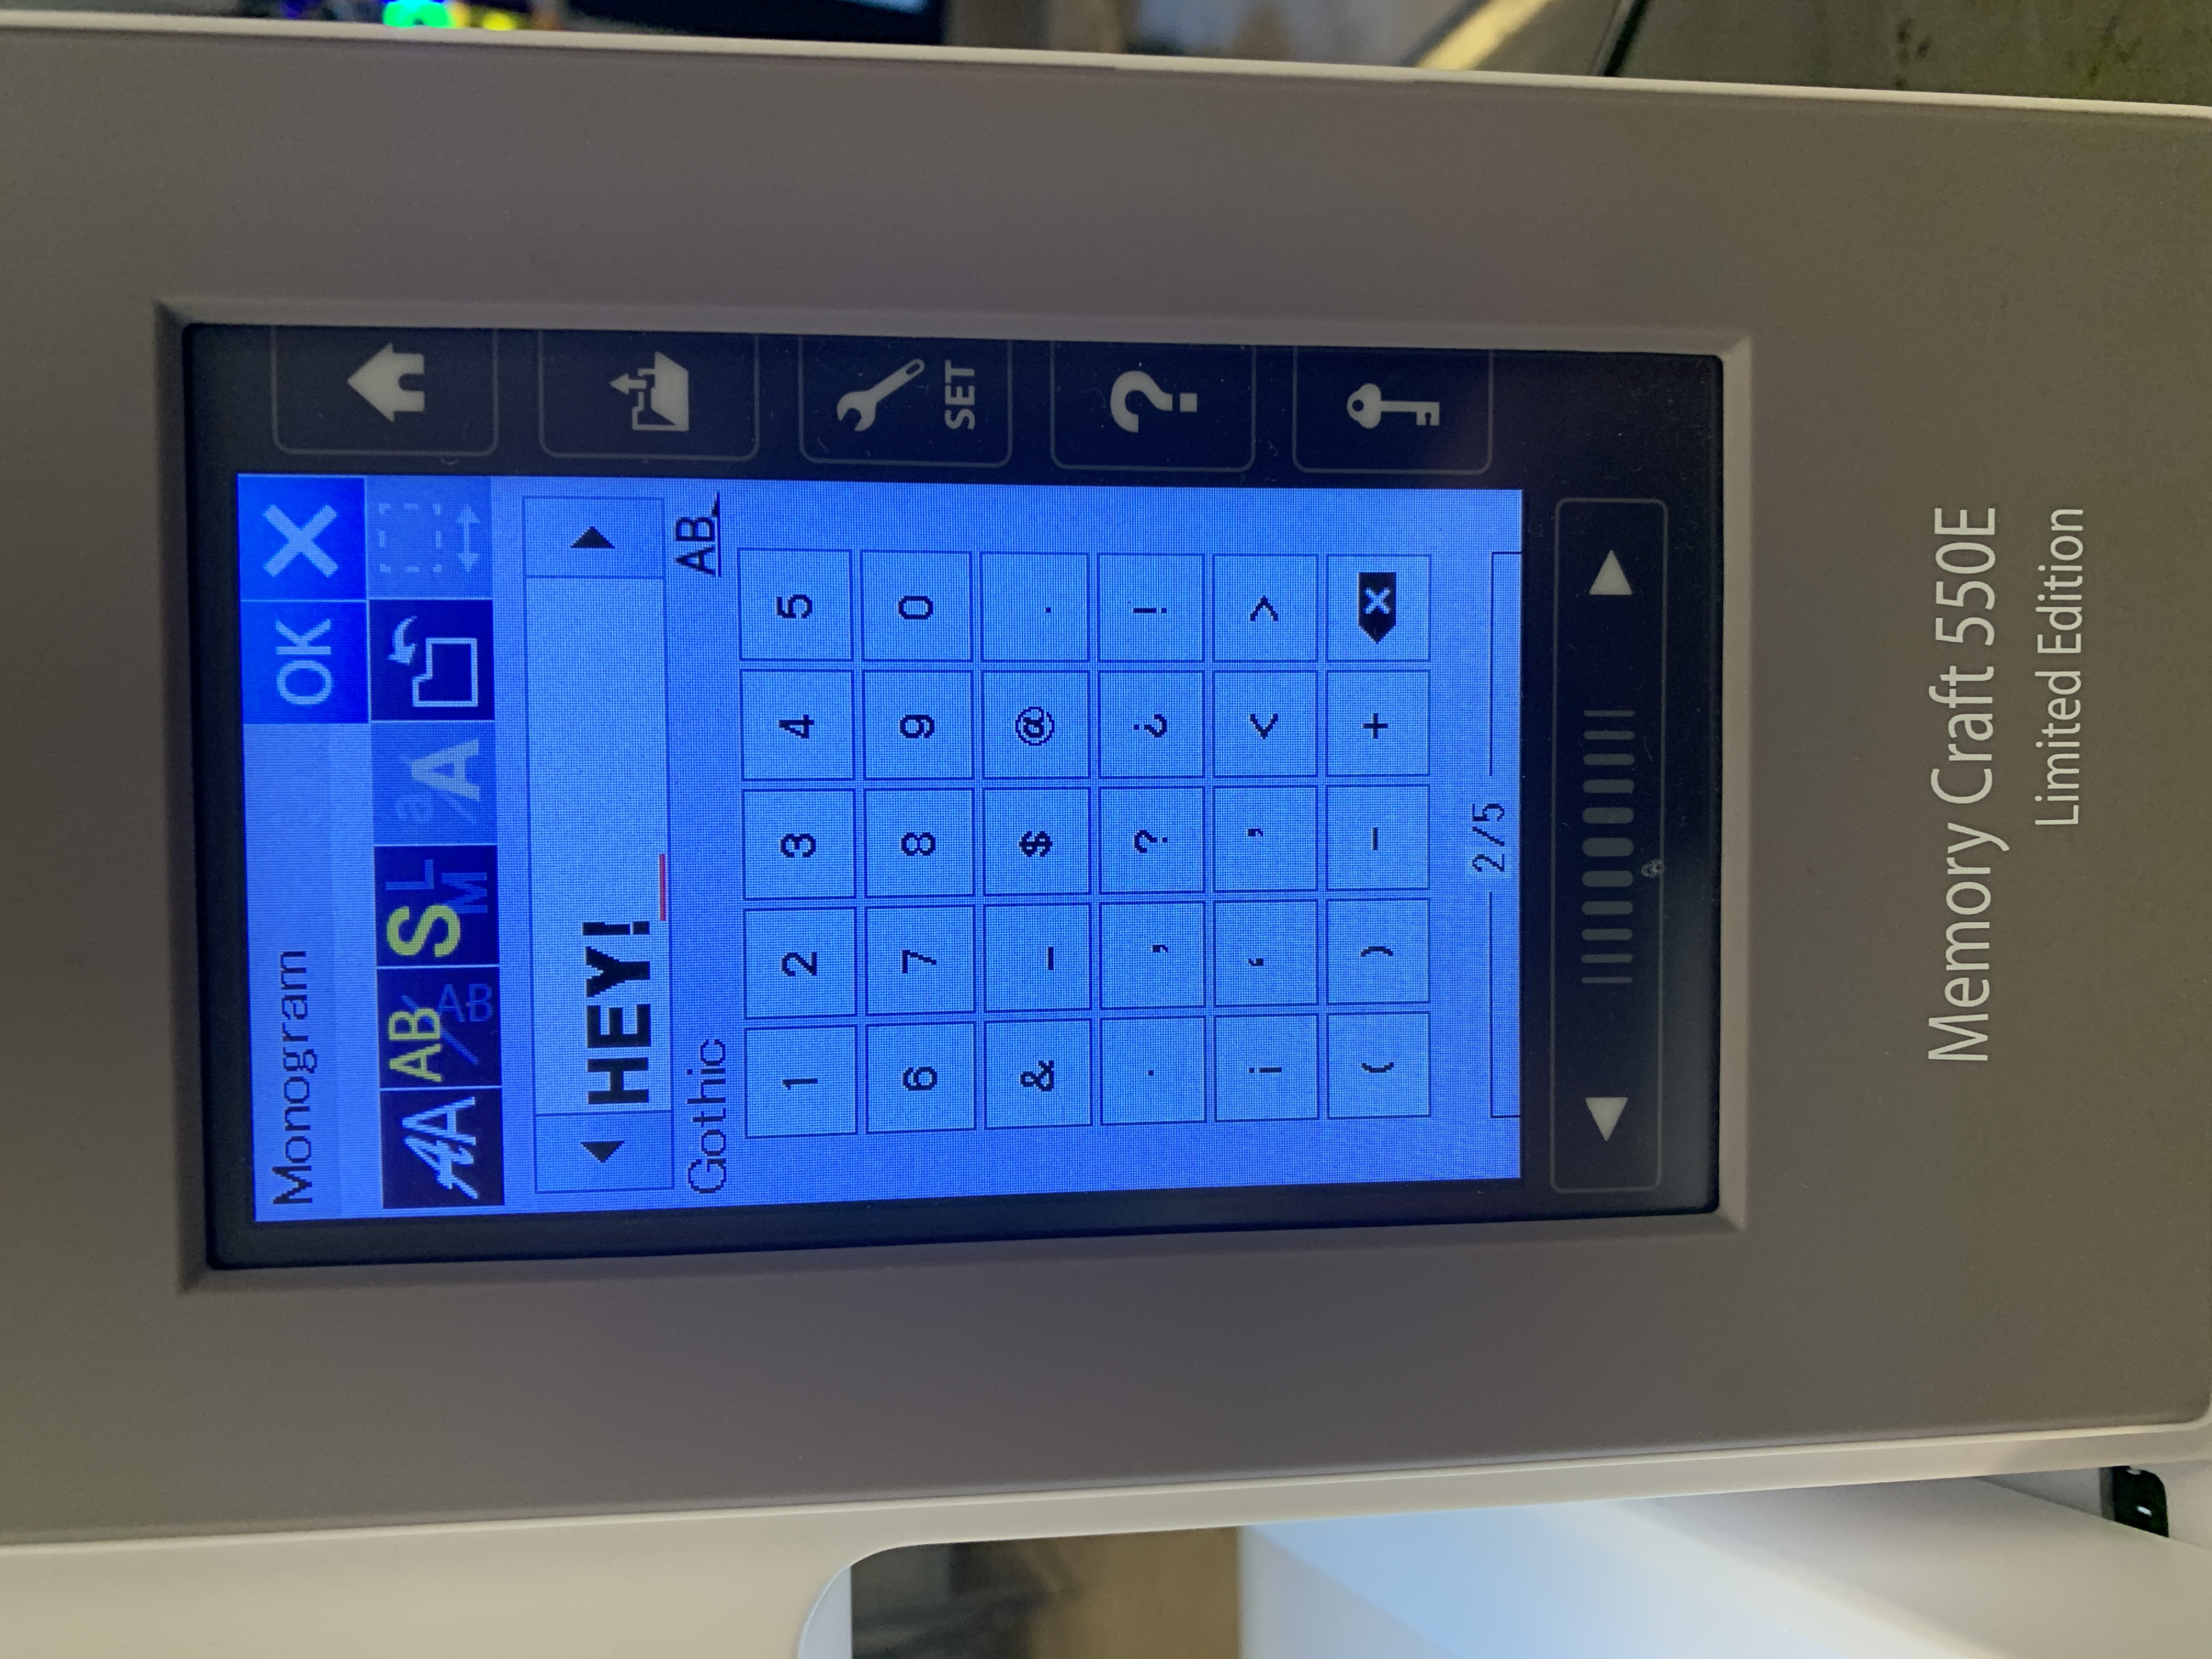
- Built-in designs and lettering - find it on the machine menu
- Your own designs created with Inkscape and the Inkstitch extension. For tutorials, visit Inkstitch Beginner Video Tutorials.


Inkscape / Inkstitch / Exporting Your Design:
You will probably have to see the inkstitch tutorial videos the first time, but here are the important steps to help you remember the following times:
- You need a vector drawing in inkscape. If you have a bitmap, right click/two finger click on it and choose trace
- Inkstitch does care about the fill and the outer line - in our experience, you want a fill color, and want the outer line to be see through (right/two finger click on the red X at the bottom in the colour pallete and choose "set stroke". Then the outer line will not be embroidered as an entity separate from the fill - which saves time and in our experience also looks at least as good.
- Text needs to be converted to curves. Click the menu path and then "object to path". Remember after this your text is not editable as text any more, so you may want to take a copy of the text or the whole file first.
- Select all items you want embroidered. Click the menu extensions -> Ink/stitch -> params
- In our experience, you can leave everything as the default.
- Click "apply and close" at the bottom.
- MAke sure your design fits the hoops. If it is to big or in the wrong direction you will no see the file on the machine.
- Export your design as a
.jeffile by menu file -> save as -> select .jef file type in dropdown at lower right. - We reccomend you also save an Inkscape SVG, so you can go back and alter things later.
- Copy the
.jeffile to a usb drive. - Put the USB drive in the embroidery machine. If you cannot see your file, on the touchscreen try going one folder up and down again, and try the right and left arrows. Make sure the design size fits the hoop.
Stabilizers
Its a good idea to use a stabilizer when embroidering. Choose the right stabilizer for your fabric:
- Cut-away stabilizer: Ideal for knitted, stretchy fabrics, silk, and satin.
- Tear-away stabilizer: Suitable for woven fabrics with minimal stretch, such as jeans and cotton.
- Wash-away stabilizer: Dissolves in water; perfect for fluffy, pile, or textured fabrics like terry cloth, fleece, and chunky knits.
- Iron-on and adhesive stabilizer: Use when the material cannot be hooped; iron or glue directly onto the fabric.
Sewing Applications
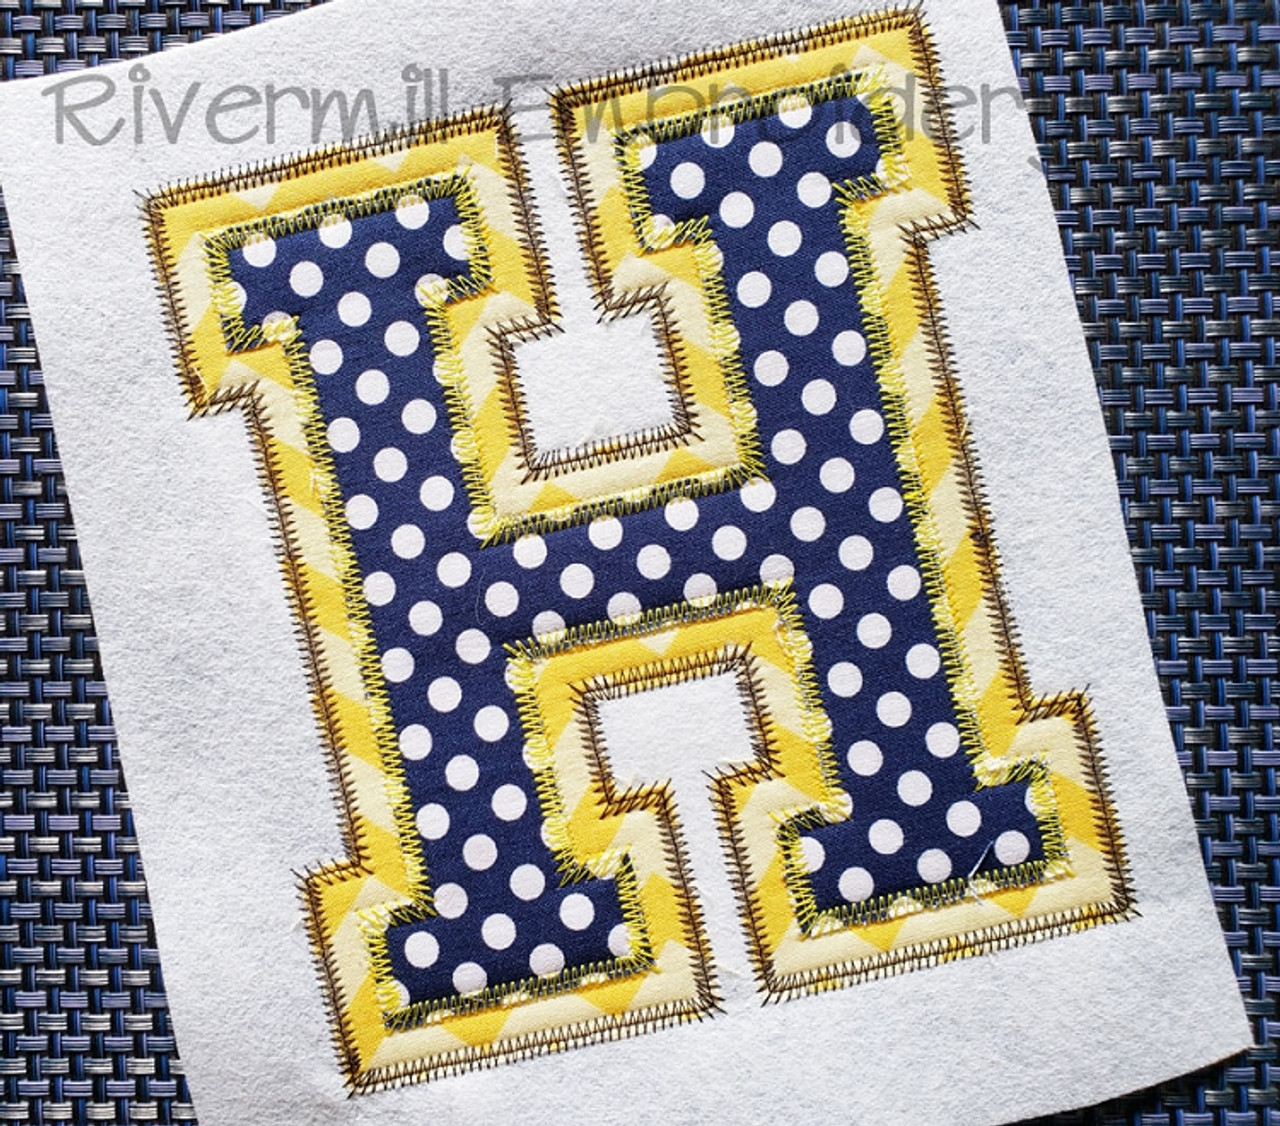
For appliqué work:
- Felt is a preferred material, but other fabrics do as well.
- Embroidery into the application material and cut it our using the applique scissor.
- Pin it onto the fabric.
- Sew around the edges using a zigzag or satin stitch to secure it. If done manually use the Needle Turn Applique technique.
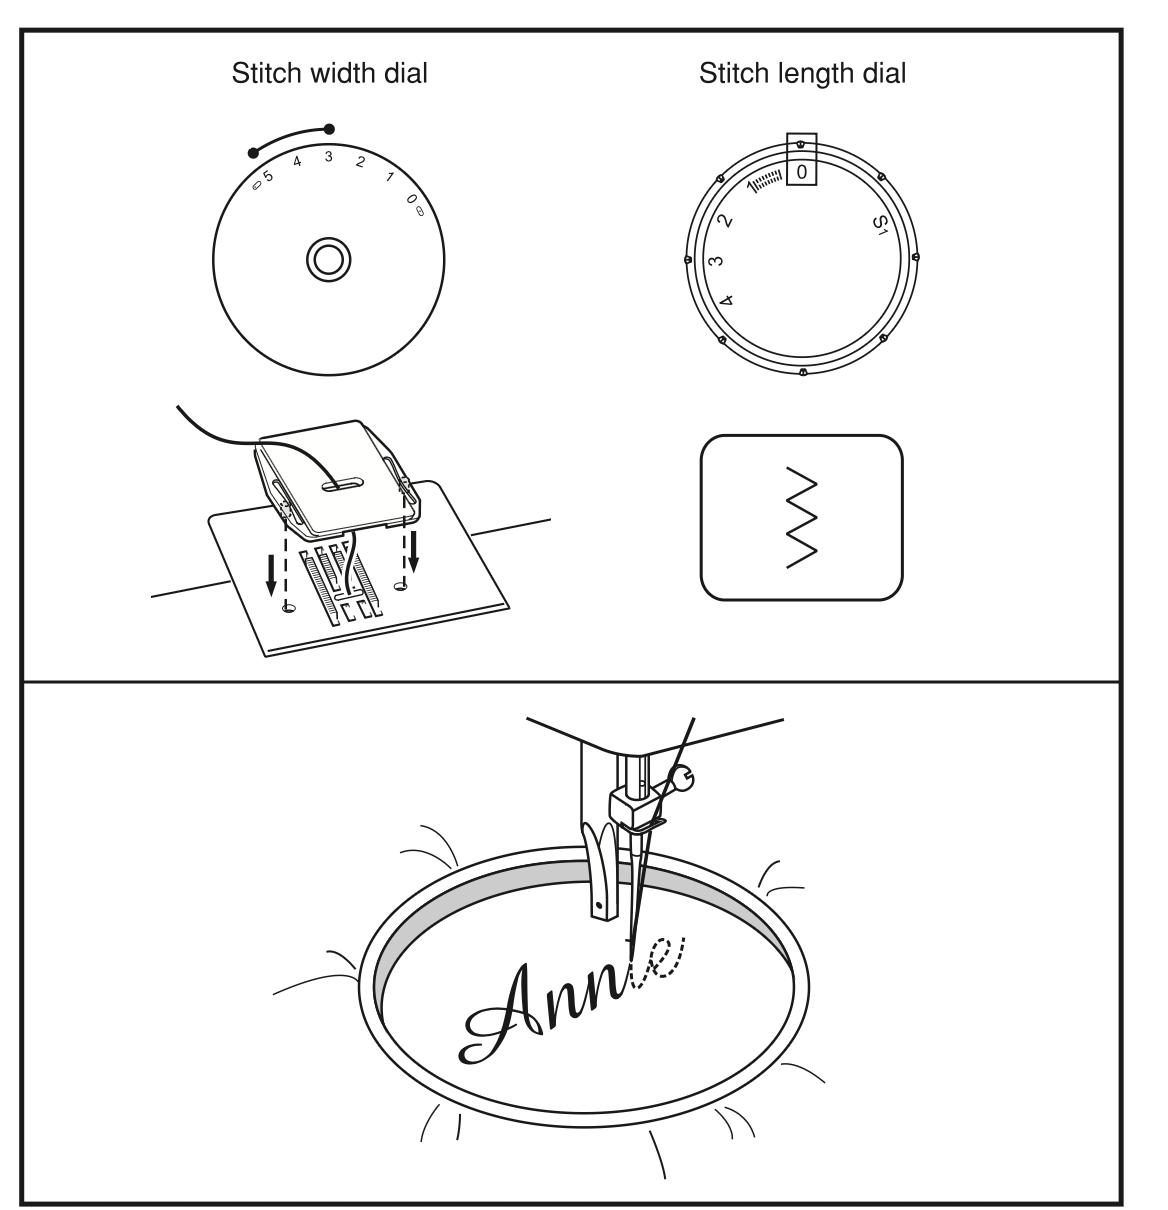
Free Motion Embroidery Setup
- Remove the presser foot or use a free embroidery foot.
- Attach the darning plate.
- Stretch the fabric on a hoop.
- Adjust the machine settings.
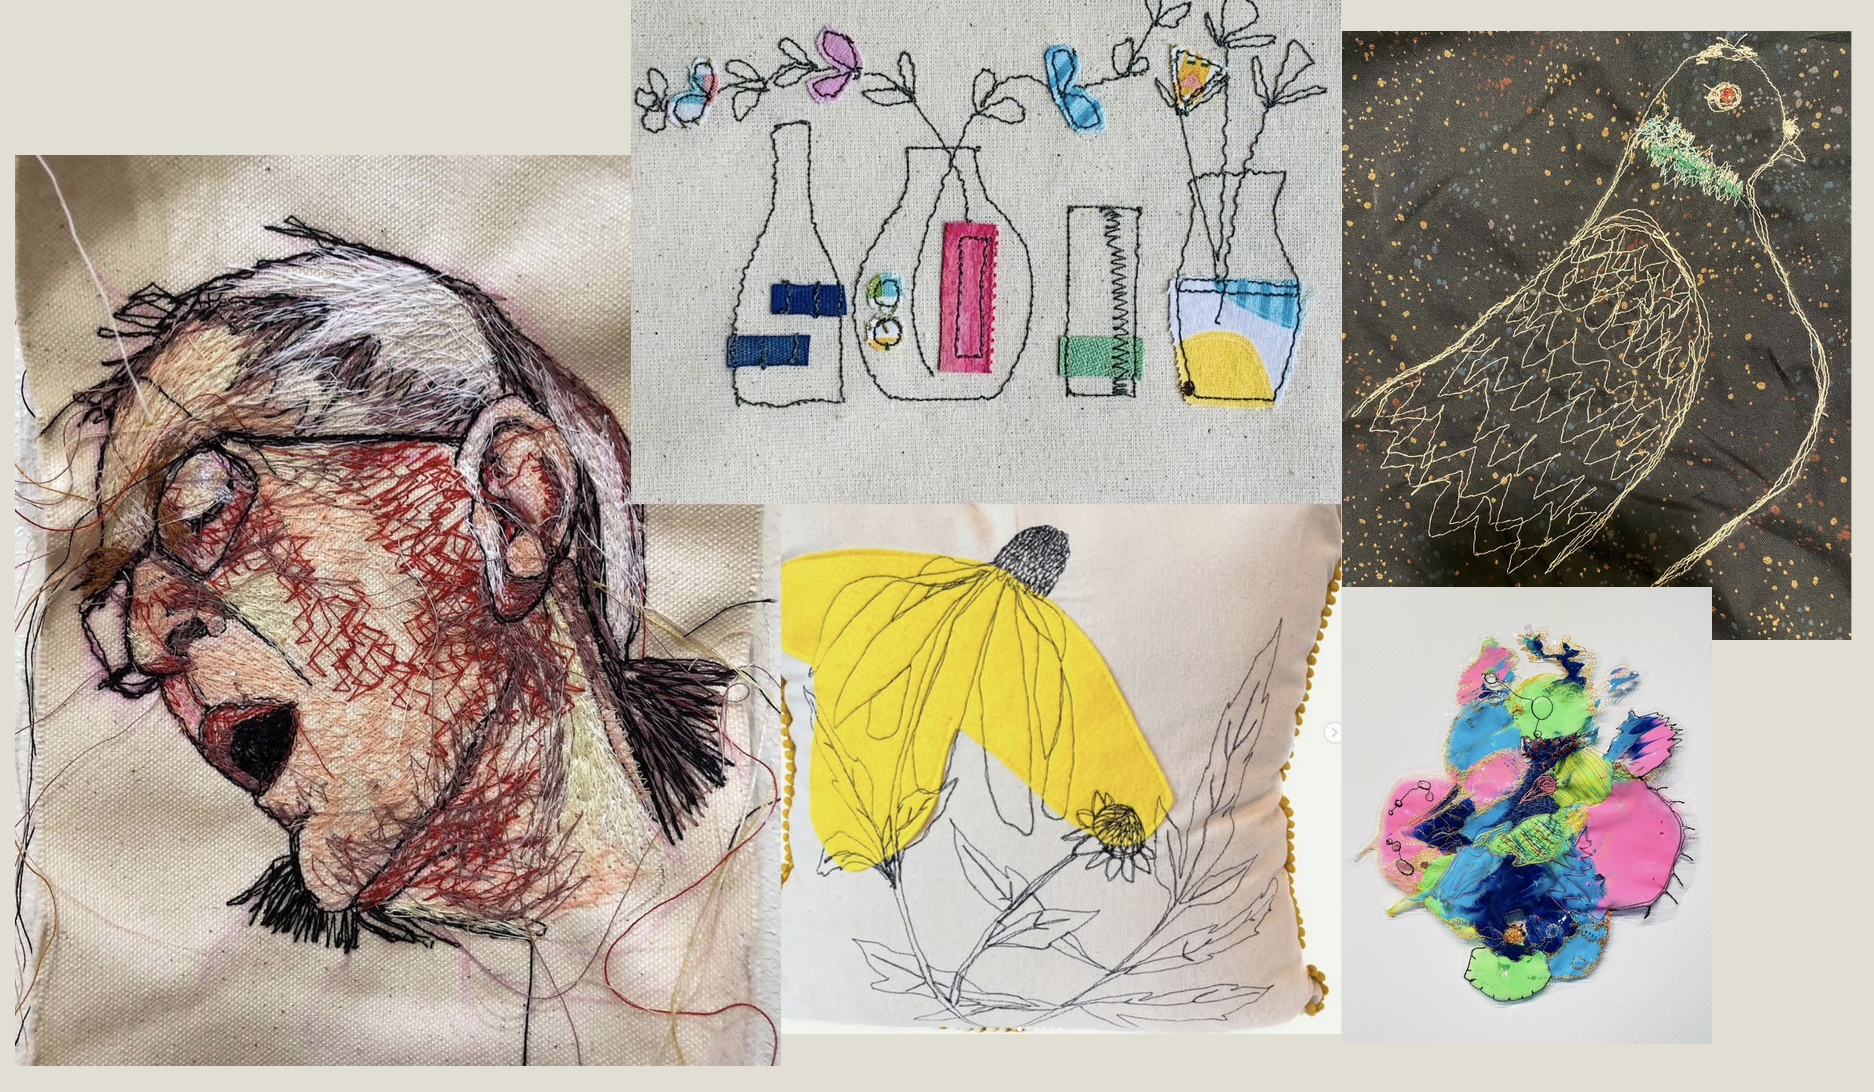
Examples of free embroidery
Tips and Tricks
Automatic Needle Threading:
You can thread without it - do it like on a sewing machine.But if you insist.
If the needle doesn't thread automatically:
- Ensure the machine is locked.
- Lower the presser foot.
- Raise the needle.
- An "OK" sign will appear on the screen once these steps are correctly followed.
Selecting the Correct Hoop:
- Make sure you have chosen the appropriate hoop size for your project.
Finding Files on USB: If your file doesn't appear:
- Navigate back to the previous folder using the back arrow in the top right corner of the USB menu.
- Use the next page button on the screen.
- The design needs to feet in one of the hoops - it will not appear if it is to big.
The instruction manual that follows with the machine is an excellent resource for any additional questions you might have.
Shrinkage: We have experienced that the thread shrinks during washing. Usually not a problem, but may wrinkle thin fabrics.
