Automatic Fish Feeder
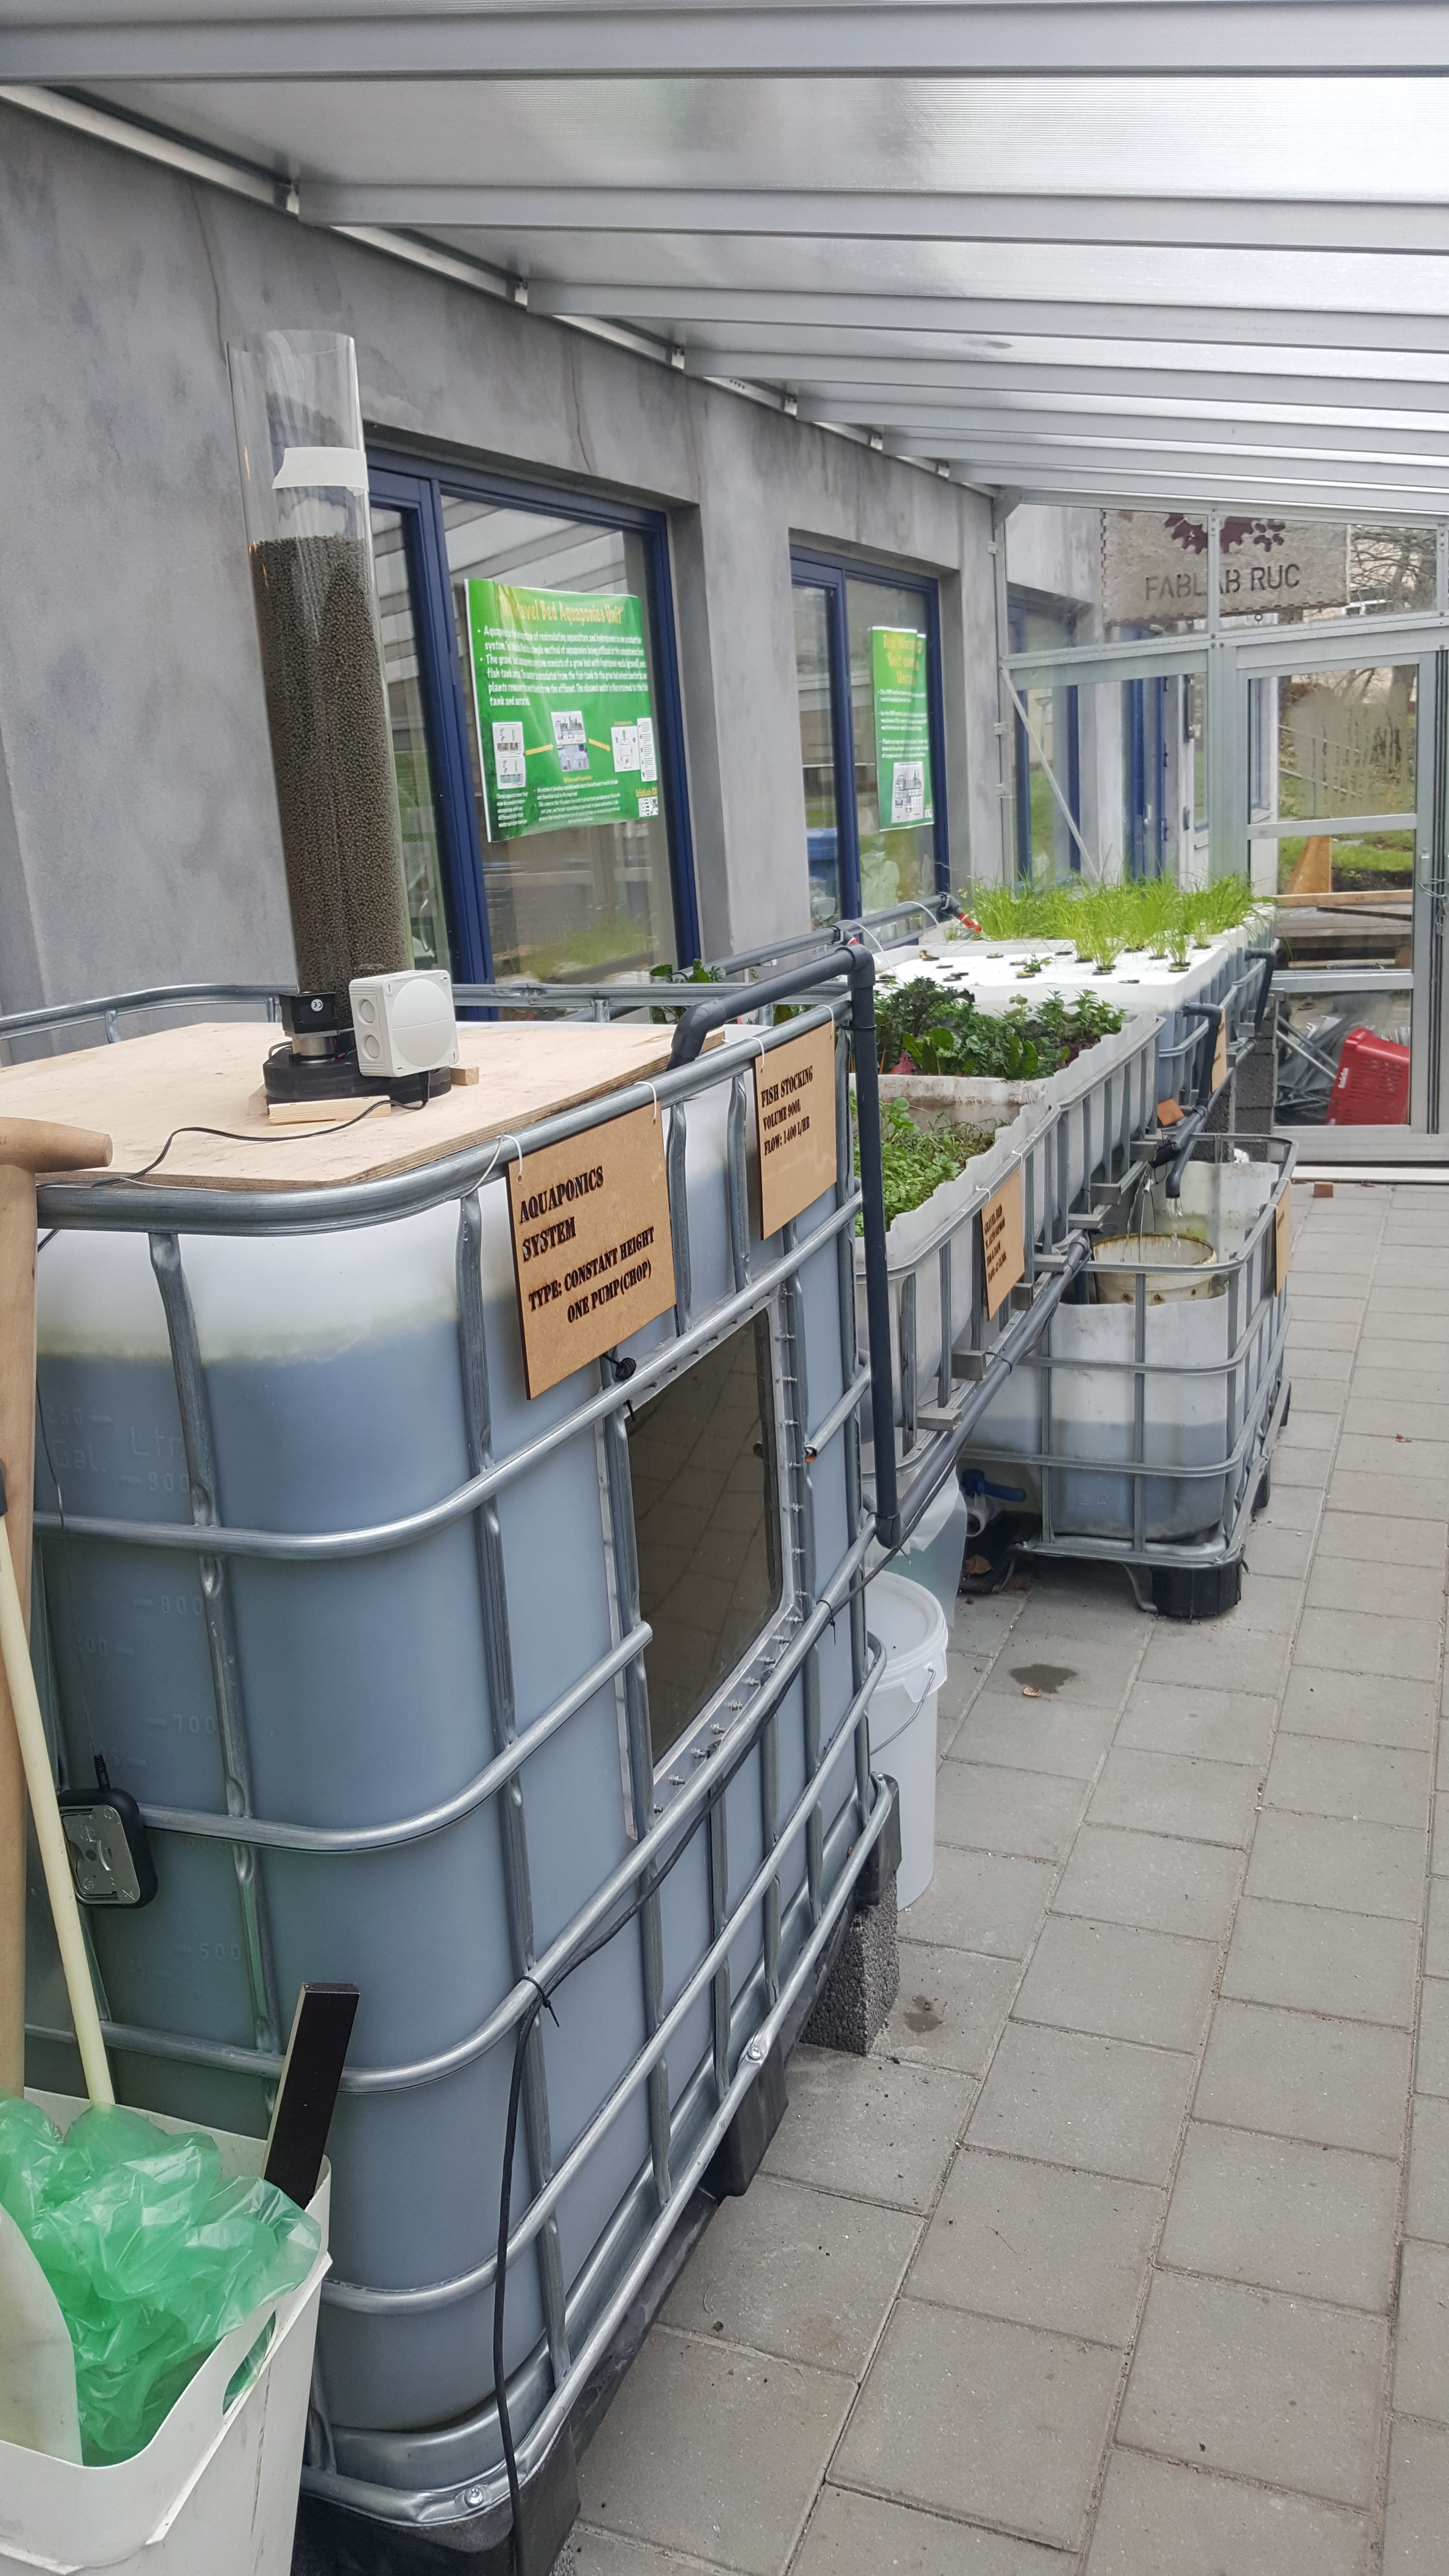
After building our new aquaponics system in the BioFabLab's greenhouse we quickly realised that we needed an automated feeding system to ensure the daily feeding of the fish in the right amount.
The feeder is designed for pellet / grain based food and can be used for a wide variety of other animals / applications.
This is a quick guide to show you how we made our Automatic Fish Feeder.
1. Bill Of Materials
1.1. Electronics
1X Arduino UNO
1X Stepstick
1X Reed switch
1X RTC DS1307
1X Proto Shield REV3
1X Geared Stepper motor
1X Female Pin-headers
1X Male Pin-headers
1X Electrolytic capacitor 16V 1000uF
1X R1 Resistor 10K
1X R2 - R3 Resistor 330R
1X Power adaptor
3X 2-Pin Screw terminals
1X Mounting wire
1X Solder wire
1X Micro USB wire
1.2. Mechanics
1X Electronics mounting box
1X 60cm Ø11cm Acrylic tube
5mm acrylic sheet
10mm sheet
Screws
Ball bearings
2. Electronics
The electronics design was mainly done by Kenneth
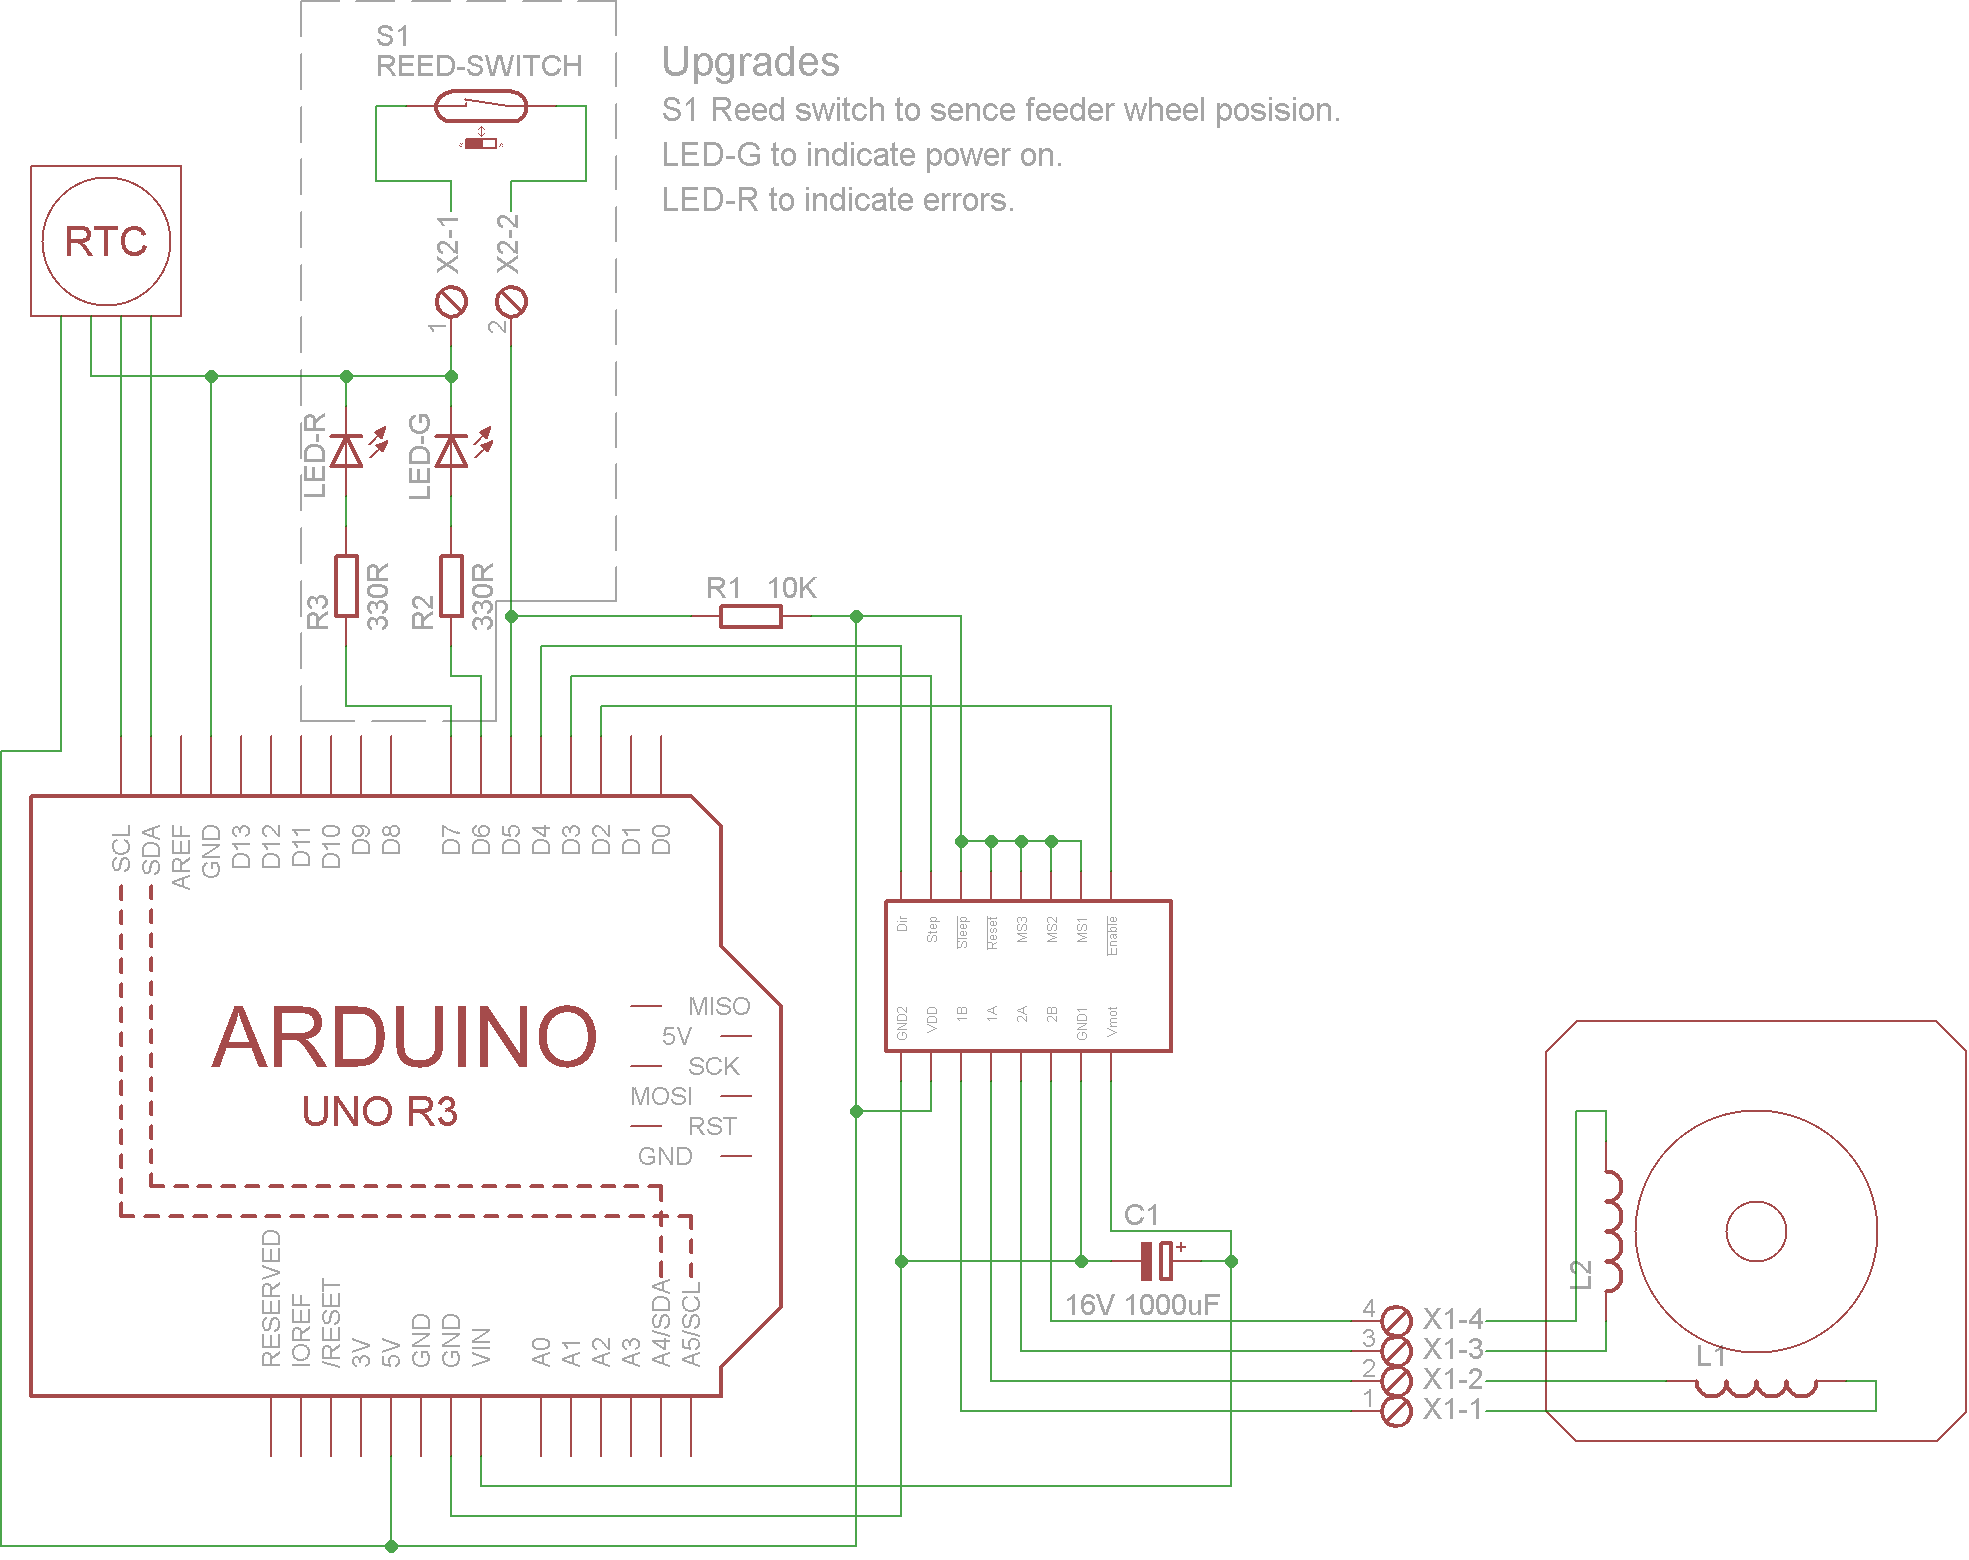
The schematic shows how the electronics is connected.
The parts in the grey box are not necessary for the feeder to run and have not yet been fully implemented, but they are on the "really nice to have" upgrade list.
The value of C1 is not that critical as long as the voltage rating is over the supply voltage and the capacitance is between 100 and 1000 uF.
The capacitor should be placed close to the Vmot and Gnd pin om the step stick.
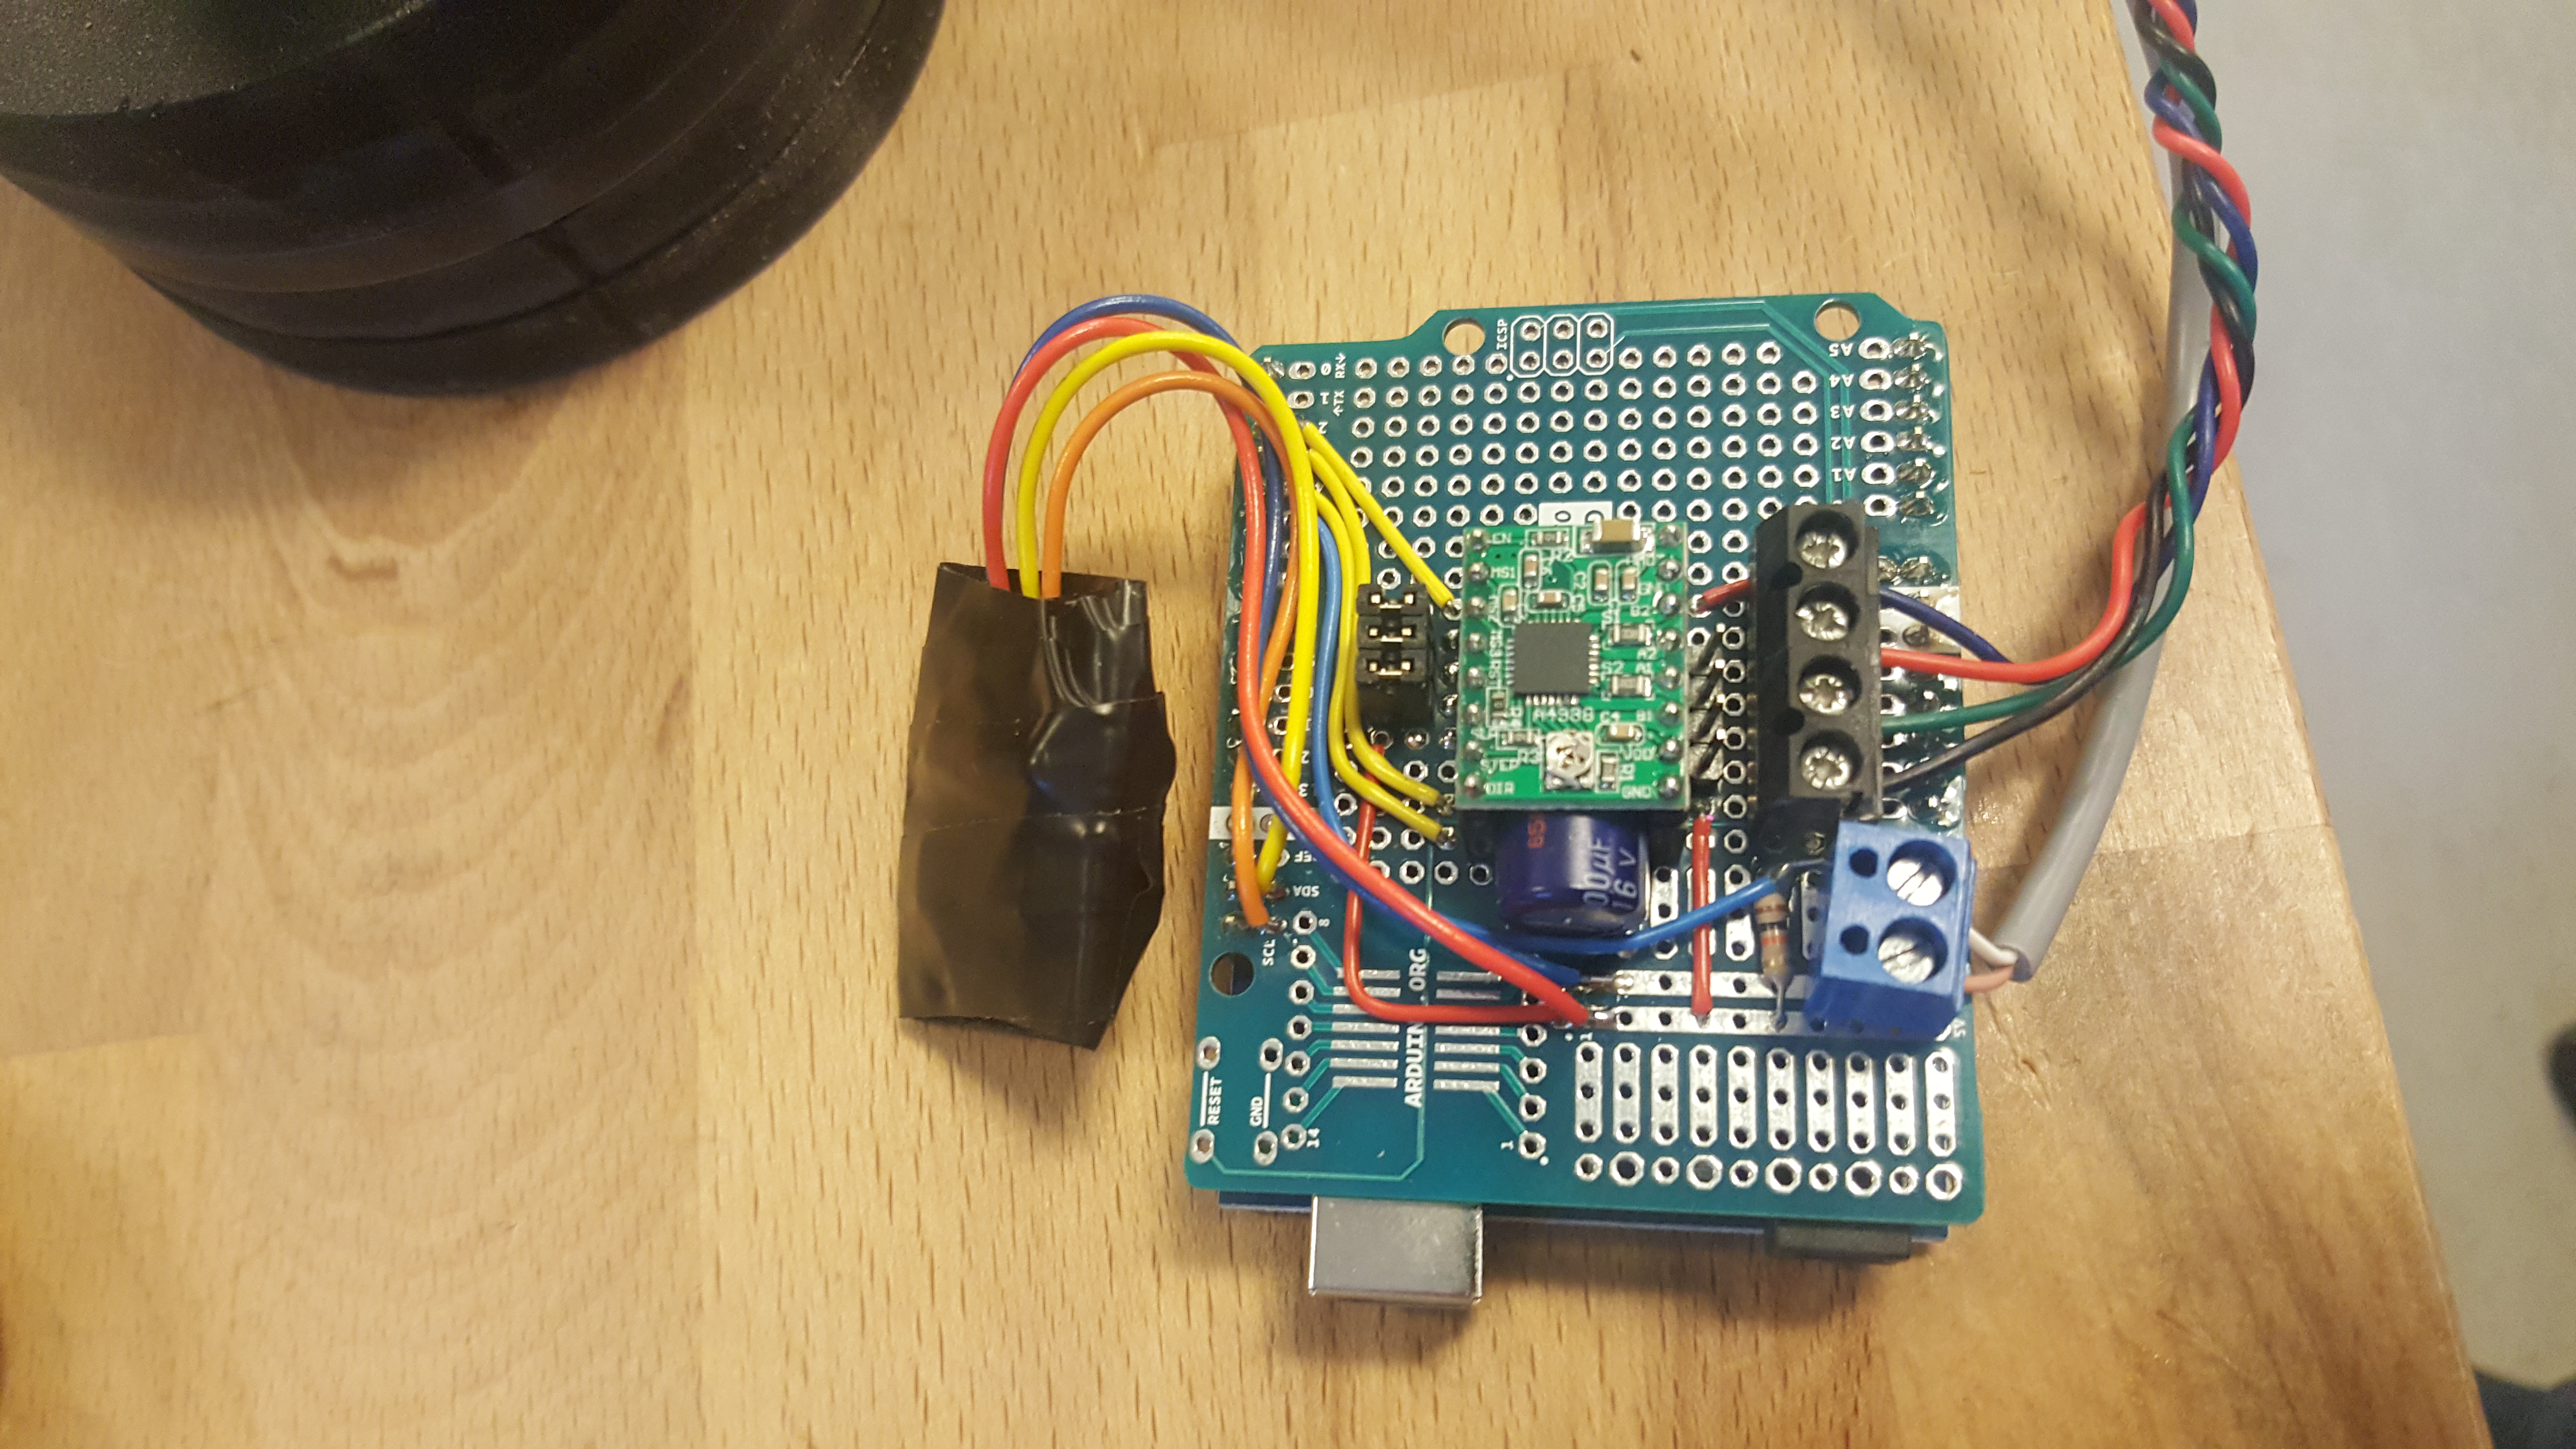
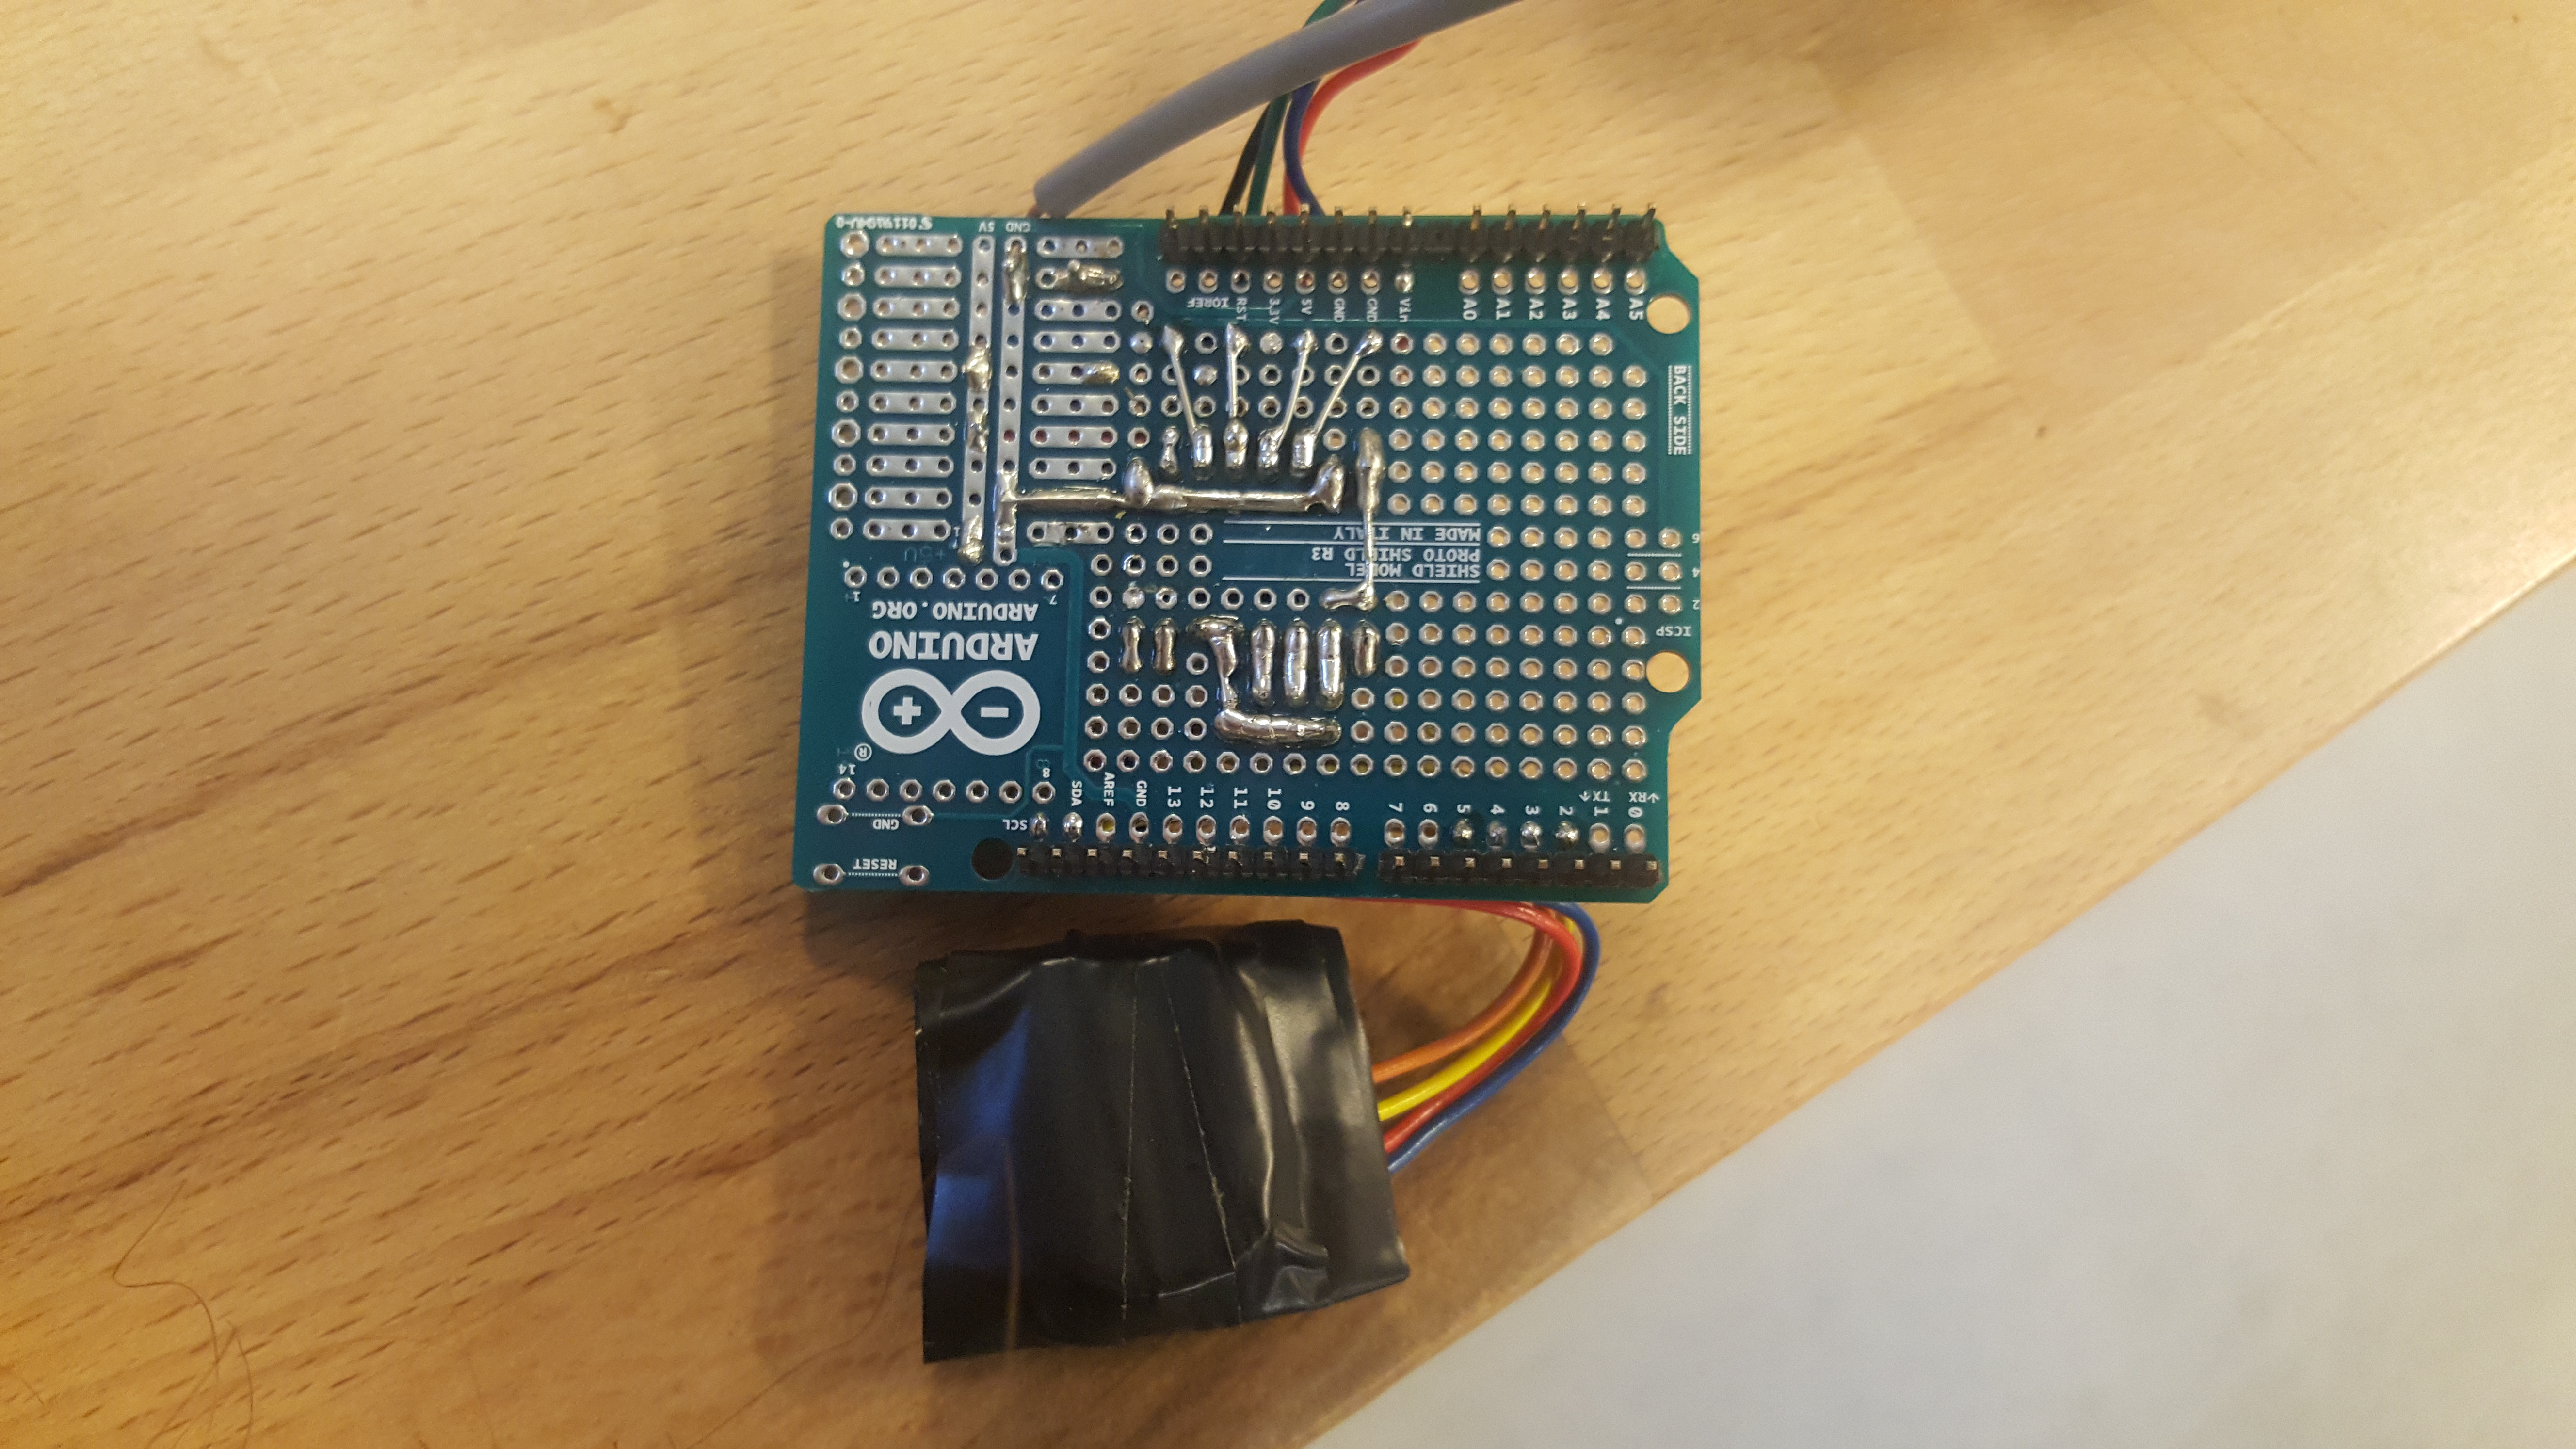
After assembling the electronics it should look somewhat like this.
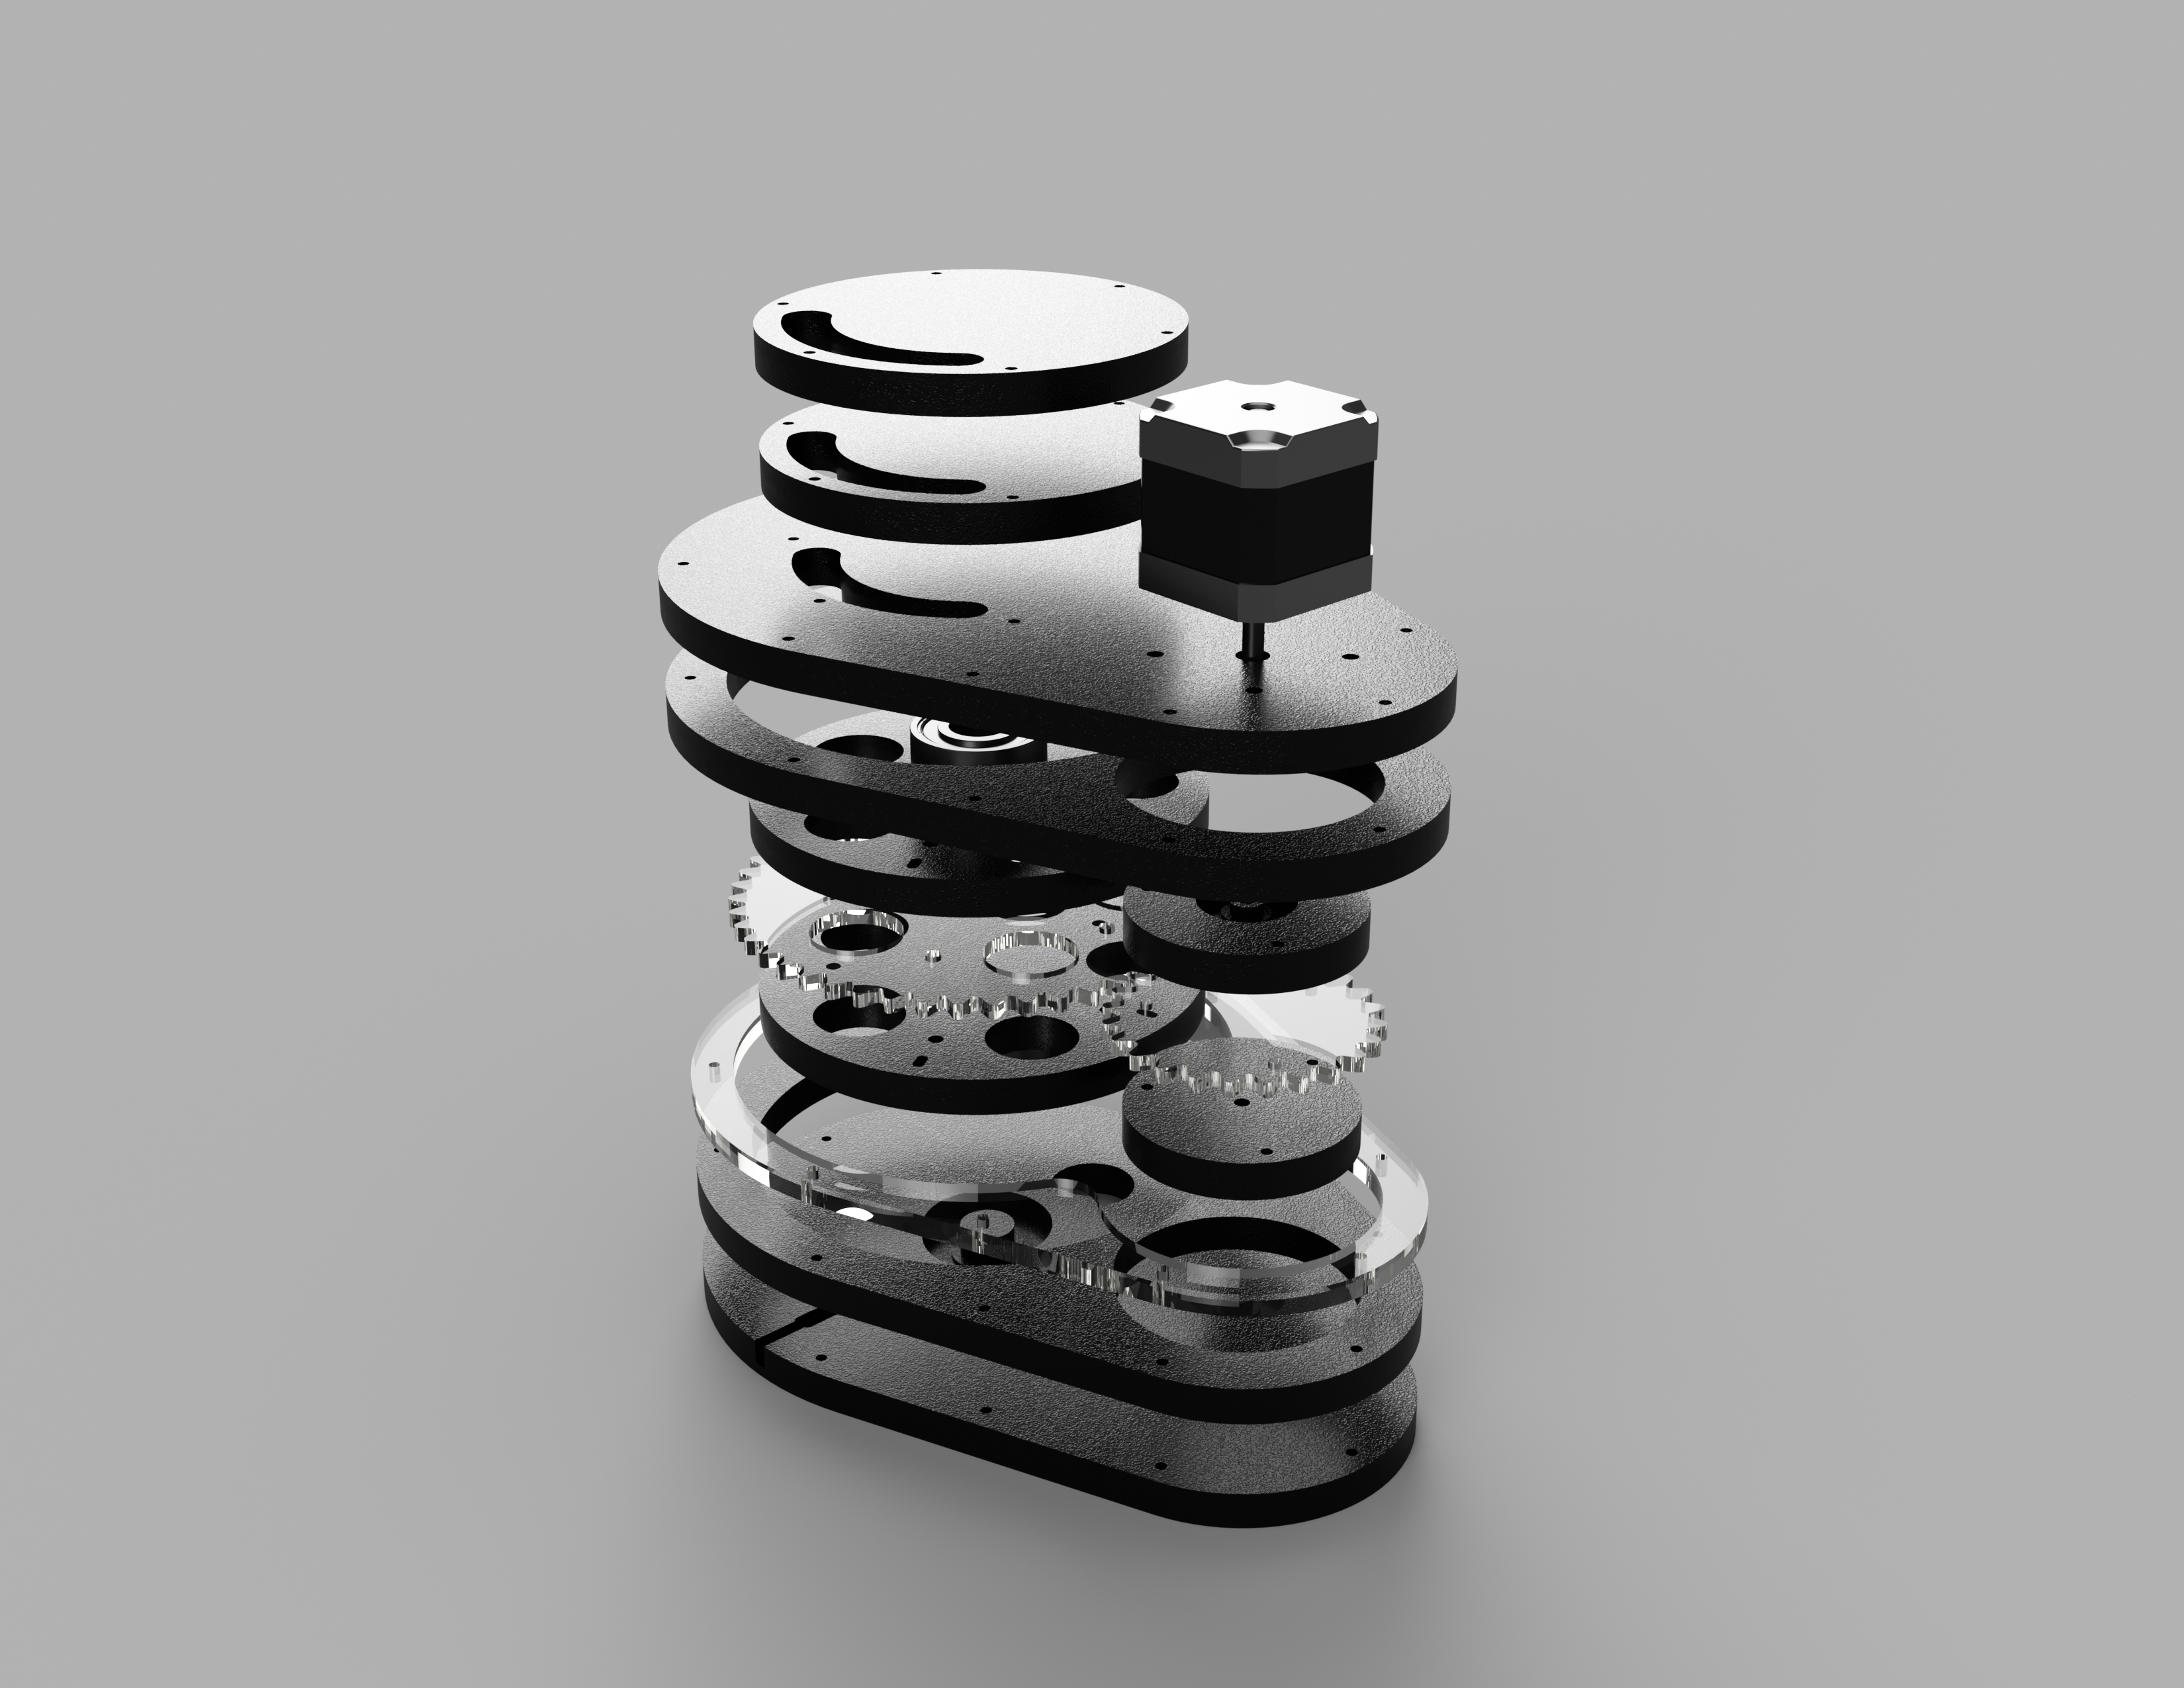
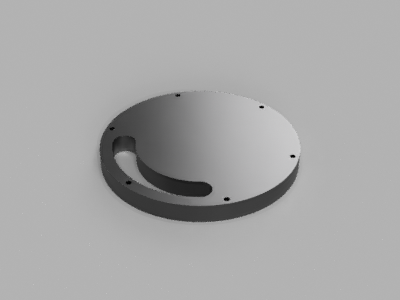
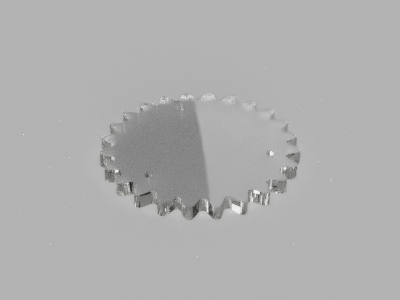
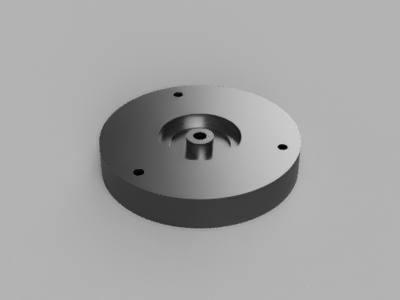
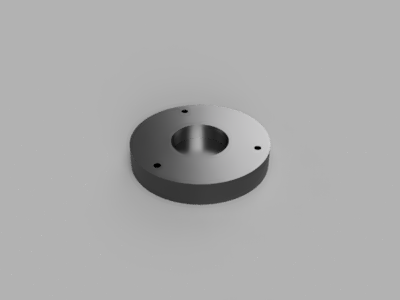
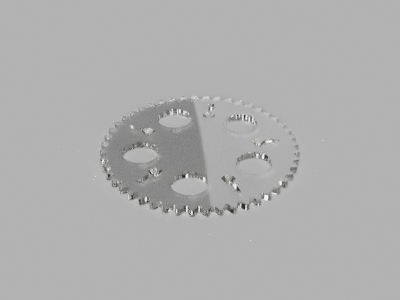
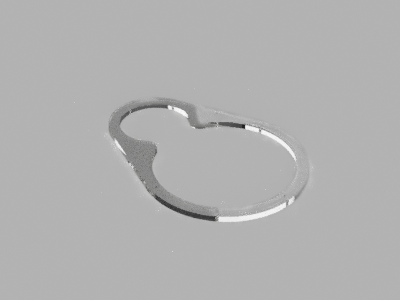
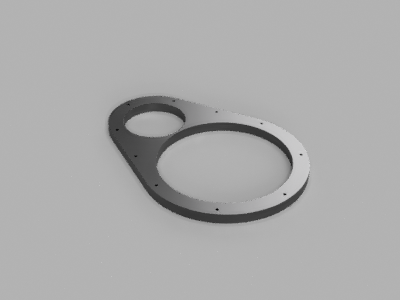
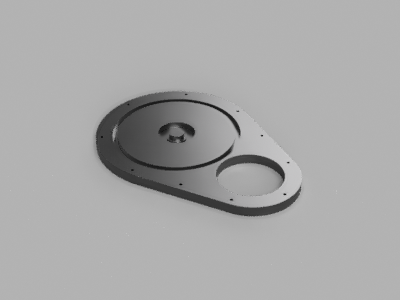
3. Mechanics
The mechanical design was mainly done by Frank.


4. Programming
The programming was mainly done by Kenneth
The most optimal feeding cycle in our case is feeding the fish smaller portions over the day instead of feeding them a large portion once a day.
We decided on a feeding cycle as follows:
2 portions of 5 grams 06:00, 08:00, 10:00, 14:00, 16:00 and 18:00
A Real Time Clock (RTC) is used to ensure the correct timing of the feeding cycle even after a power out.
5. Arduino Code
/*
v01 Created 24 Oct. 2017 for fish feeder by Kenneth Weiss
v02 Update Martin Malthe Borch June 2018
  .
  SETUP
   Install not standard libraries
  Go to sketch/include library / manage library and install
  - Real time clock library by ada fruit RTClib
  - TimeAlarms.h
  - TimeLib.h
   Download Time/TimeLib Library zip file from https://github.com/PaulStoffregen/Time

  FISH FEEDING.
  - approx 1% of weight a day
  - feed many times a day approx 6 while light
  -  below 5-8C feed minimal due to low metabolism
  - all feed should dissapear within 5-10 min of feeding the fish.

*/

#include <Wire.h>
#include <RTClib.h>
#include <Time.h>
#include <TimeAlarms.h>
#include <TimeLib.h>

RTC_DS1307 RTC;

#define EN_Stepper_PIN 2   //Enable stepper driver pin.
#define Step_PIN       3   //1 puls = 1 step.
#define Dir_PIN        4   //Stepper direction.
//#define Reed_PIN       5   //Feed back from reedcontact. 1 reed pr. chamber.
//#define Reed_LED_PIN  13   //Reed sensor indicator

//int ReedState  = 0;

int TimeHour   = 0;
int TimeMin    = 0;
int TimeSec    = 0;
int TimeDay    = 0;
int TimeMonth  = 0;
int TimeYear   = 0;

void setup() {
  pinMode(EN_Stepper_PIN,    OUTPUT);         //Enable / Disable   stepperdriver
  pinMode(Step_PIN,          OUTPUT);         //Sepperdriver step pin
  pinMode(Dir_PIN,           OUTPUT);         //Stepperdriver Direction pin
  // pinMode(Reed_LED_PIN,      OUTPUT);
  // pinMode(Reed_PIN,           INPUT);         //Reed contact indicator LED

  digitalWrite(EN_Stepper_PIN, HIGH);         //Disable stepper driver wnen not needed to save power
  digitalWrite(Dir_PIN,        HIGH);         //Set stepper direction
  // digitalWrite(Reed_LED_PIN,    LOW);

  Serial.begin(9600);                         // initialize the serial port:
  Wire.begin();
  RTC.begin();
  DateTime now = RTC.now();
  RTC.adjust(DateTime(__DATE__, __TIME__));  //Uncomment to sync RTC with PC (only used once or to reset time)

  int TimeHour  = RTC.now().hour();
  int TimeMin   = RTC.now().minute();
  int TimeSec   = RTC.now().second();
  int TimeDay   = RTC.now().day();
  int TimeMonth = RTC.now().month();
  int TimeYear  = RTC.now().year();

  setTime(TimeHour, TimeMin, TimeSec, TimeDay, TimeMonth, TimeYear); //Set time in Time.h

  //Up to 6 alarms posible. Set the feeding time HH,MM,SS
  //Alarm.alarmRepeat( 6, 0, 0, Feed1);  //  6 every day Calls: void Feed1
  Alarm.alarmRepeat( 7, 0, 0, Feed2);  //  8 every day Calls: void Feed2
  Alarm.alarmRepeat(10, 0, 0, Feed3);  // 10 every day Calls: void Feed3
  Alarm.alarmRepeat(13, 0, 0, Feed4);  // 14 every day Calls: void Feed4
  Alarm.alarmRepeat(16, 0, 0, Feed5);  // 16 every day Calls: void Feed5
  //Alarm.alarmRepeat(16, 0, 0, Feed6);  // 18 every day Calls: void Feed6


  Serial.print("Activated - ");        ////////////////////////
  Serial.print(hour());                //                    //
  printDigits(minute());               //                    //
  printDigits(second());               //                    //
  Serial.print(" ");                   //    START SCREEN    //
  Serial.print(day());                 //         IN         //
  Serial.print("/");                   //   SERIAL MONITOR   //
  Serial.print(month());               //                    //
  Serial.print("-");                   //                    //
  Serial.print(year());                //                    //
  Serial.println();                    ////////////////////////
}

void loop() {
  Alarm.delay(1000);
}

void printDigits(int digits) { // utility function for digital clock display: prints preceding colon and leading 0
  Serial.print(":");
  if (digits < 10)
    Serial.print('0');
  Serial.print(digits);
}

void Feed1() {
  Serial.println("Feeding1"); //Tells you what feeding cycle you are in
  Feeding();                  //Calls: void Feeding
}

void Feed2() {
  Serial.println("Feeding2");
  Feeding();
}

void Feed3() {
  Serial.println("Feeding3");
  Feeding();
}

void Feed4() {
  Serial.println("Feeding4");
  Feeding();
}

void Feed5() {
  Serial.println("Feeding5");
  Feeding();
}

void Feed6() {
  Serial.println("Feeding6");
  Feeding();
}

void Feeding() {                //This is where the feeding hapens
  Serial.println("Feed the fish YUM YUM");
  Serial.print(hour());
  printDigits (minute());
  printDigits (second());
  Serial.print(" ");
  Serial.print(day());
  Serial.print("/");
  Serial.print(month());
  Serial.print("-");
  Serial.print(year());
  Serial.println();

  digitalWrite(EN_Stepper_PIN, LOW);         //Enable stepper driver
  for (int x = 0; x <= 25600; x++) {           //6400 = 1 portion = 5g
    digitalWrite(Step_PIN, 1);
    delayMicroseconds(200);
    digitalWrite(Step_PIN, 0);
    delayMicroseconds(200);
  }
  digitalWrite(EN_Stepper_PIN, HIGH);        //Disable stepper driver wnen not needed to save power
}

/* ReedState = digitalRead(Reed_PIN);         //Check feder wheel position
  if(ReedState == HIGH) {
  digitalWrite(Reed_LED_PIN,   LOW);

  } else {
  digitalWrite(Reed_LED_PIN,  HIGH);
  }

*/
