Artificial intelligence in a microscope
The visual assessment of samples in microscopes are important aspects of science and diagnosis. These often require a huge amount of hours spent looking into the small monocular recognising shapes, colors, measuring and counting.
At Fablab RUC we have placed a camera with a small computer onto the microscope with the idea that this knowledge about what we are seeing could be trained onto a cheap micro computer and distributed around the world where trained lab technicians are not available. This is enabling advanced diagnosis and understanding of rare or complex findings in the microscope for the untrained users and also save huge amount of time counting and collecting data from microscope samples.
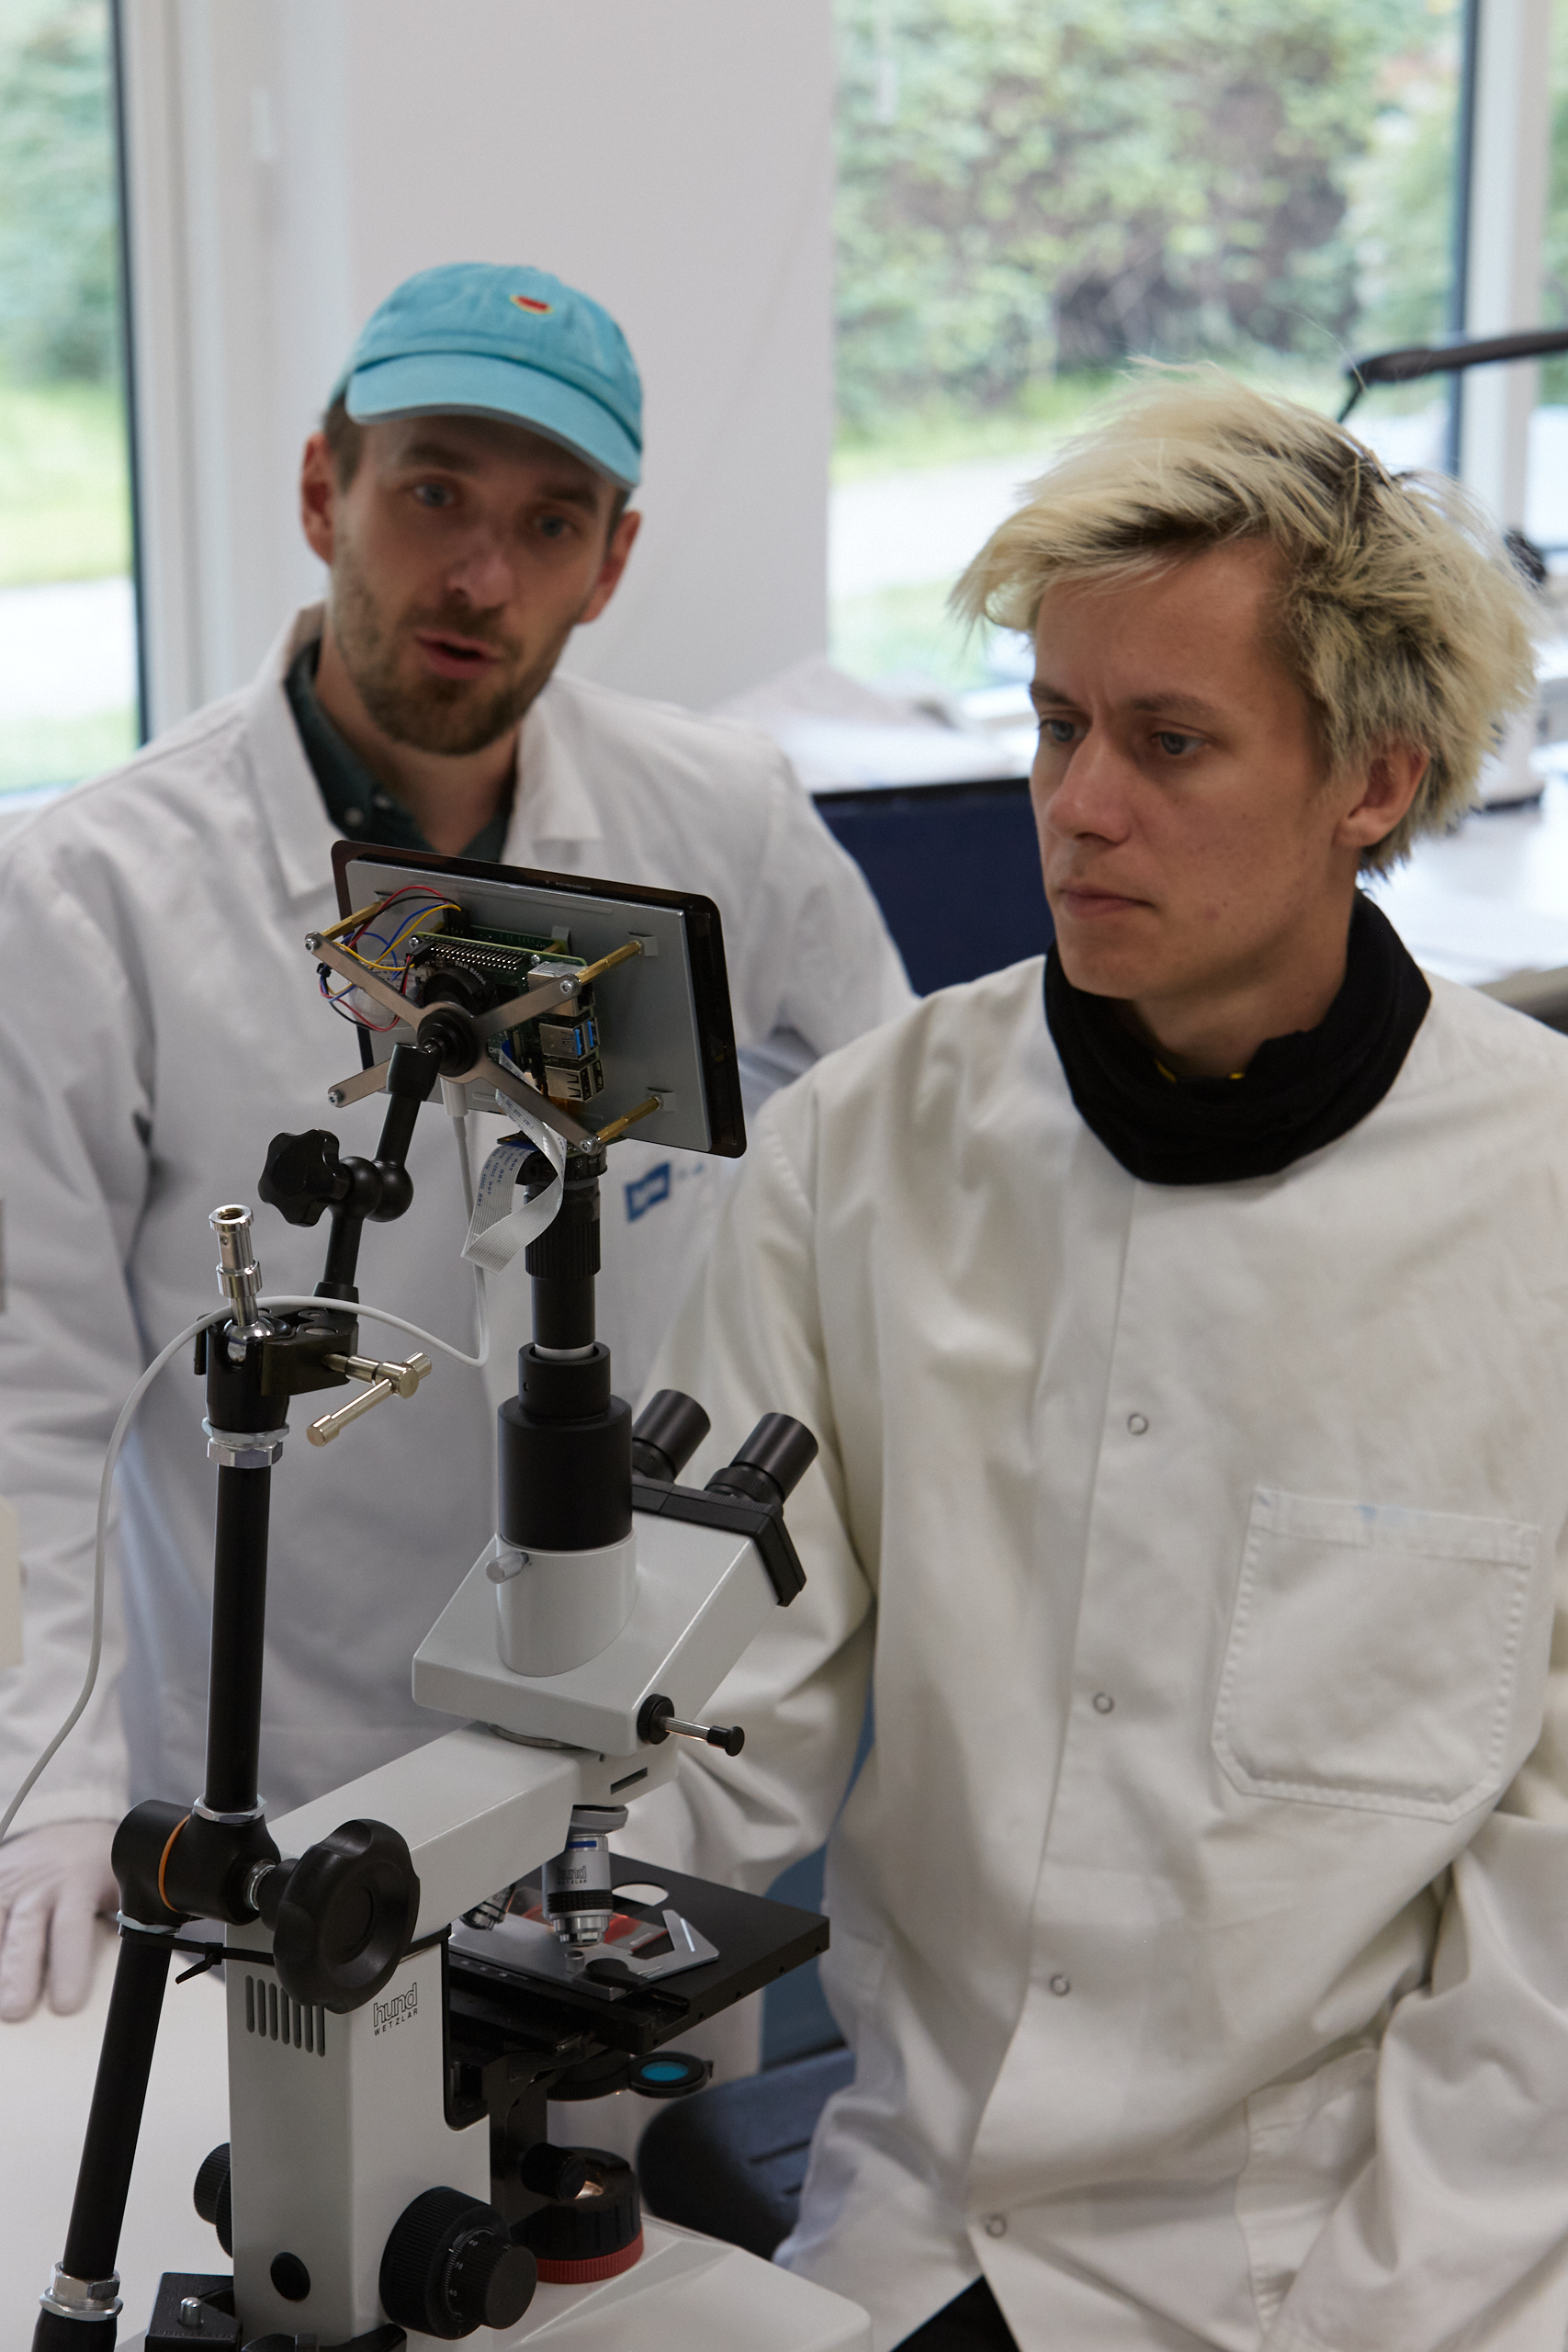
Instead of training a new neural network from scratch which takes many hundred of hours on a high powered GPU. We use something called transfer learning to utilise an all-ready trained network that can recognise images and adapting this to recognise red and white blood-cells. This makes the process way faster so we can test the idea in a rapid prototyping environment.
Setup Guide
This guide will focus on detecting and recognising blood cells and will describe the steps from data collection and labelling, training the machine learning model and finally running interference on a Raspberry Pi. If you merely want to do some of the steps, we have included labelled datasets, pretrained models and precompiled software libraries on a Raspberry Pi OS image. The guide can thereby form the basis for new experiments using different kinds of data.
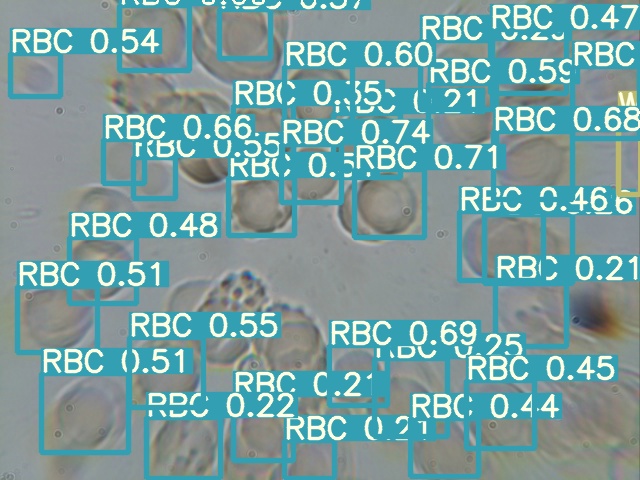
The training of the models is based on Balakrishna Kumar's repository blood cell counting and detection. This is based on the YOLOv5 objection detection model fine-tuned on images of blood samples.
Prerequisites:
In the interest of brevity and precision in this guide, we assume that you have a little bit of experience with Linux (for data handling and Raspberry Pi OS), Jupyter Notebooks (for training) and Python (for using the ML models). If you follow the steps closely, this might be up for interpretation though...
Anyway, let's get to it!
Collecting and labelling data
This tutorial will focus on using blood samples from the annotated BCCD dataset.
If you want to create your own data set, you can take inspiration in how the BCCD dataset for blood cells is structured. The annotations for this dataset is in the VOC-format in an .xml file. For labelling your data, we have tried labelimg, which seems to work well.
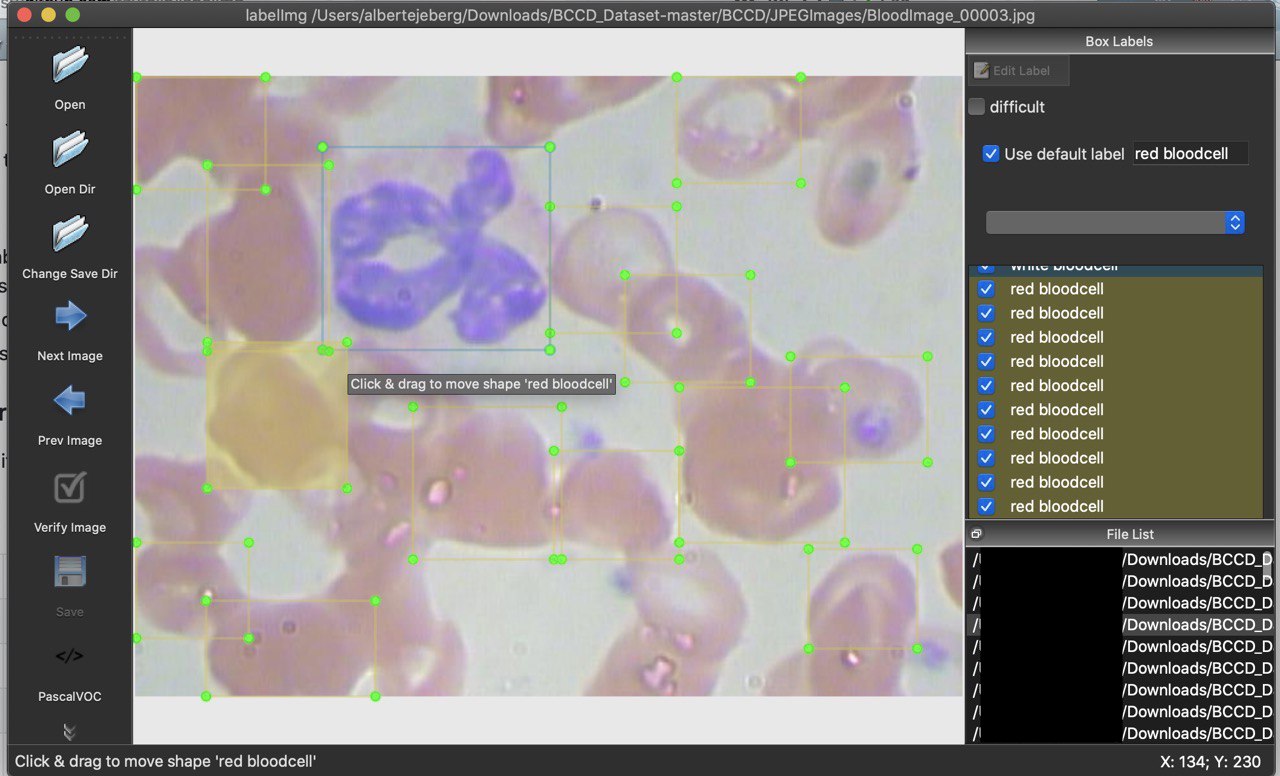 Labelling images using labelimg.
Do note that finetuning a ML model still requires a lot of data, it's difficult to say how much. For a frame of reference, we fine-tuned the yolo model with 410 images of blood cells, which seems to provide a usable result. If you want to use the model that we trained, you can download it here: TODO
Training the model
After downloading or creating a dataset, we are now ready to finetune the model. Training a deep learning model from scratch is difficult, expensive and tedious, but luckily we can take an existing trained object detection model and then fine-tune it on our specific problem field.
For the purpose of training, it can be useful to use a Google Colaboratory Notebook, which allows for training using Google's GPUs. The approach and code presented in this tutorial is all programmed by Balakrishna Kumar following their code on blood cell counting and detection. Their Jupyter Notebook can be found here ![]() .
.
If you don't want to use Google Colab, you can just download the notebooks and run them locally using your own GPU.
Inference
Inference is using a trained model to make new predictions. This section will get you started with inference on the Raspberry Pi using a model you trained yourself or downloaded.
Raspberry Pi setup
This section contains information on setting up Python 3.8.5, PyTorch, Torchvision and OpenCV on your Raspberry Pi. This process is rather cumbersome and time-consuming and for this reason we have created this Raspberry Pi OS image, which you can put on an SD card of minimum 16GB. This image contains Raspberry Pi OS with Python 3.8.5, PyTorch 1.6.0, Torchvision 0.6.0 and OpenCV 4.4.0 compiled. You can download this image here TODO.
You can use a tool such as etcher to flash the image onto your SD card.
If you would rather install the dependencies yourself, this will be described in the next section installing dependencies.
Installing dependencies
On the Raspberry Pi we are running yolov5 in Python 3.8. At the time of writing PyTorch>=1.6.0 and torchvision>=0.7.0 were however, not available for Raspbian through the Python Package Index. This section will go through setting up these dependencies through alternative means.
First we need to ensure that Python 3.8.5 or higher is installed. At the time of writing this guide, this had to be built from source. After installing this, we need PyTorch 1.6.0. or higher and TorchVision 0.6.0 or higher. You can install these parts in the following manner:
# let's update first
sudo apt-get update && sudo apt-get upgrade -y

# update to python3.8.5 - https://raspberrypi.stackexchange.com/a/116119
sudo apt-get install -y build-essential tk-dev libncurses5-dev \
libncursesw5-dev libreadline6-dev libdb5.3-dev libgdbm-dev libsqlite3-dev \
libssl-dev libbz2-dev libexpat1-dev liblzma-dev zlib1g-dev libffi-dev

version=3.8.5

wget https://www.python.org/ftp/python/$version/Python-$version.tgz

tar zxf Python-$version.tgz
cd Python-$version
./configure --enable-optimizations
make -j4
sudo make altinstall

# Install PyTorch and torchvision
sudo apt-get install libjpeg-dev zlib1g-dev libopenblas-dev cmake gfortran -y
python3.8 -m pip install wheel
git clone https://github.com/radimspetlik/pytorch_rpi_builds
python3.8 -m pip install pytorch_rpi_builds/torch/torch-1.6.0a0+b31f58d-cp38-cp38-linux_armv7l.whl
python3.8 -m pip install pytorch_rpi_builds/vision/torchvision-0.8.0a0+190a5f8-cp38-cp38-linux_armv7l.whl
python3.8 -m pip install scikit-build
python3.8 -m pip install cmake
Now we need to install OpenCV. This guide is useful link. Make sure to change which python3 in build-opencv.sh to which python3.8. Run the scripts as described after making this change.
After installing OpenCV, we can then clone the yolov5 repository:
git clone https://github.com/ultralytics/yolov5
Ignore the requirements.txt-file and instead use the following command to install the missing dependencies (this might take a long time):
python3.8 -m pip install scipy matplotlib pyyaml tqdm
