Roland Vinyl Cutter
The workflow for cutting is in three steps:
1. Draw shapes
2. Prepare the cutter
3. Output shapes
1. Draw shapes
Draw shapes in Adobe Illustrator or load vector file to Illustrator. You need to use Illustrator on the computer right next to the vinyl cutter, because it uses a plugin for Illustrator. Otherwise, if you have Illustrator on your machine, install the plugin "Rolland Cut Studio".
If you want to cut text remember to make them outlines (Right click → Make outlines)
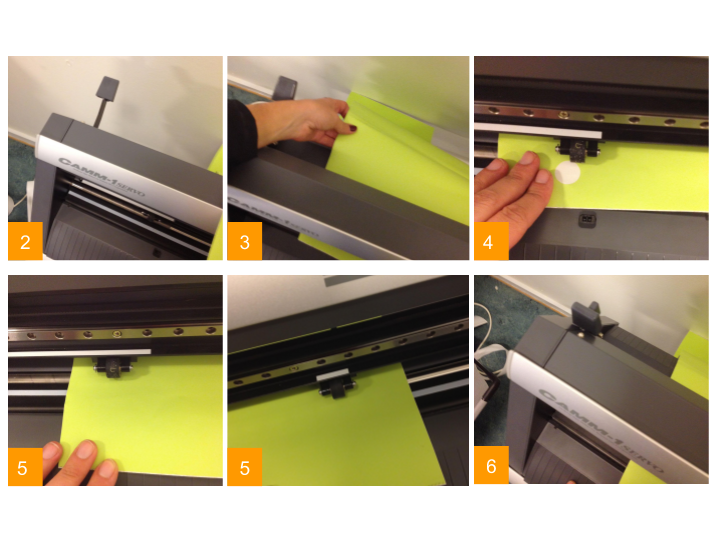
2. Prepare the cutter
- Turn on the cutter.
- Pull the handle down.
Load piece, roll or edge. If you are loading a roll make sure it is placed on the tray on the floor so it can roll.
Make sure the sensor is covered with paper. If not the machine will not recognize a new paper piece.
- The wheels must be within the white stripes. Move them so they hold the piece of paper/roll you are loading, but make sure they are within the stripes.
- Pull handle op.
- It will ask you if you are loading a piece or roll. Choose the option (piece/roll/..) The cutter will then measure the dimensions of the loaded paper piece.
Misc. How to choose between material sizes
- Set origin; Press the Origin button until “origin set” is shown in the screen.
- Adjust settings (The cut settings are set to cut perfectly the vinyl we have available. Only ajust the settings if you know what you are doing)
- Run a test. This will cut a circle and a square. You can then see if the chosen settings are the ones that fit the paper you are cutting.
- The cutter is ready now.
3. Output paths
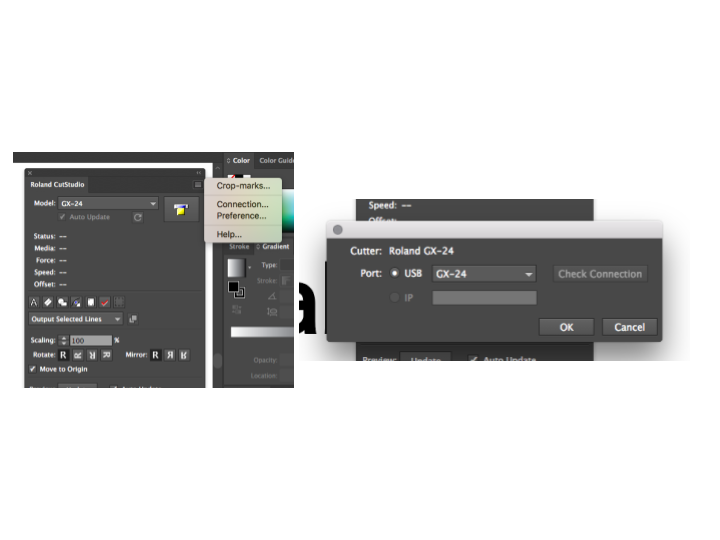
- Make sure the cutter it’s connected to the computer (usb cable) and make sure that the shape you are cutting fits the size of the loaded paper. The button "check connection" remains grayed out, this is not a problem.
- Open the Roland CutStudio plug-in (Window→ Extensions→ Roland CutStudio)
- Click on the icon on the top left → connection → usb - GX24 → OK (see picture below)
- Choose the settings that fit your needs
- Click on the the Rolland Cut Studio icon (see picture below)
- When on Rolland Cut Studio press "Cutting" on the top menu (see picture below)


Especially if for printing on clothing, you may want to turn on "weeding border" under object -> weeding, this cuts a square around the cut objects, which can make it quicker and easier to remove the unwanted foil.
4. Applying the foil (Clothing)
If you've used the aforehand mentioned "weeding" option, you can proceed to remove the square foil around your object.
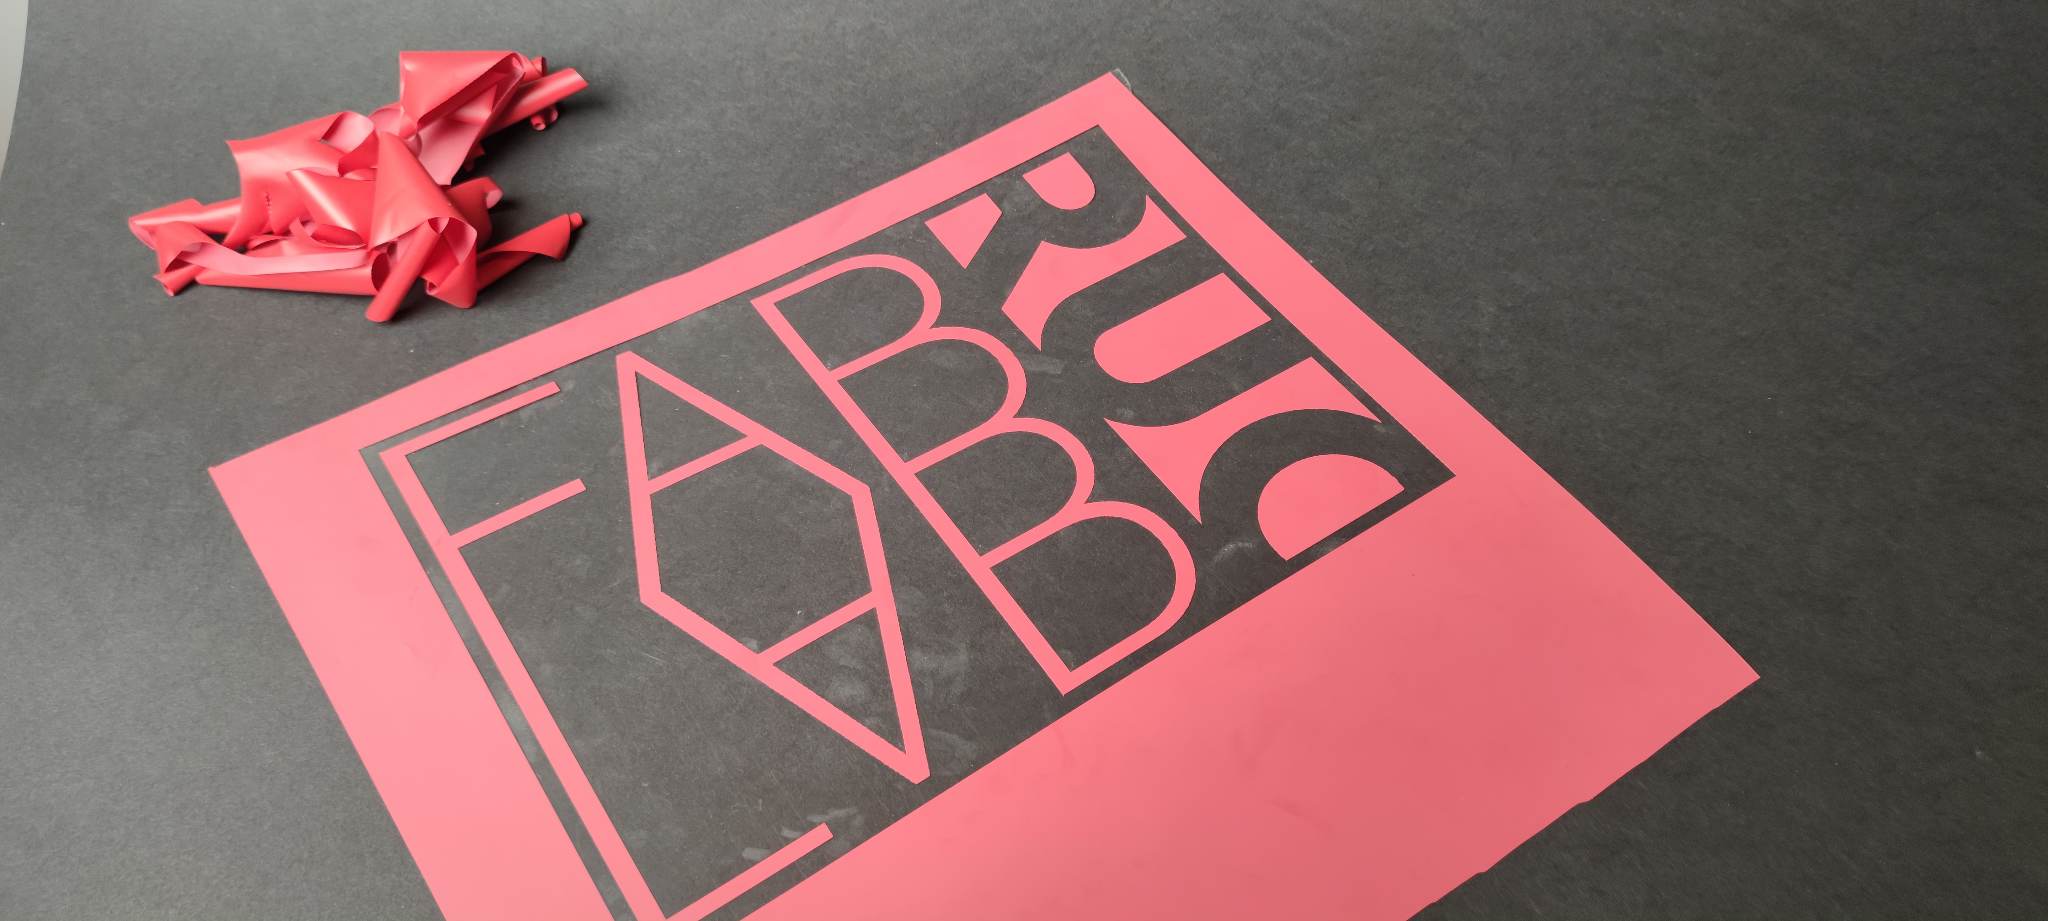
Once the object foil is completely surrounded by the transparrent foil you can cut out the extra foil.
Once only the transparent foil and the object remains, then you can start to heat press ready to be heat pressed.
