Magnetic stirrer version 2
The (electro) magnetic stirrer was developed by Nikolaj Møbius as a proof of concept and it works quite well.
Version 2 of the magnetic stirrer was made by Kenneth Weiss as an improvement on Nikolaj's Ver.1 design.
The new casing design is more compact and user friendly and the electronics has den redesigned to use 4 electromagnets instead of 3 and a different motor driver which makes the arduino code much simpler.
1. Bill Of Materials
1.1. Electronics
1X Arduino
1X Protoshield REV3
4X Coils
1X Pololu stepper driver
1X Stepper Expander Board
1X 10K Potentiometer W. nob
1X Power Switch
1X Power Connector
1X Power Adaptor
wires
1.2. Mechanics
M3 Screws, washers, spacers and bolts
4X Rubber feet
3mm Acrylic sheet
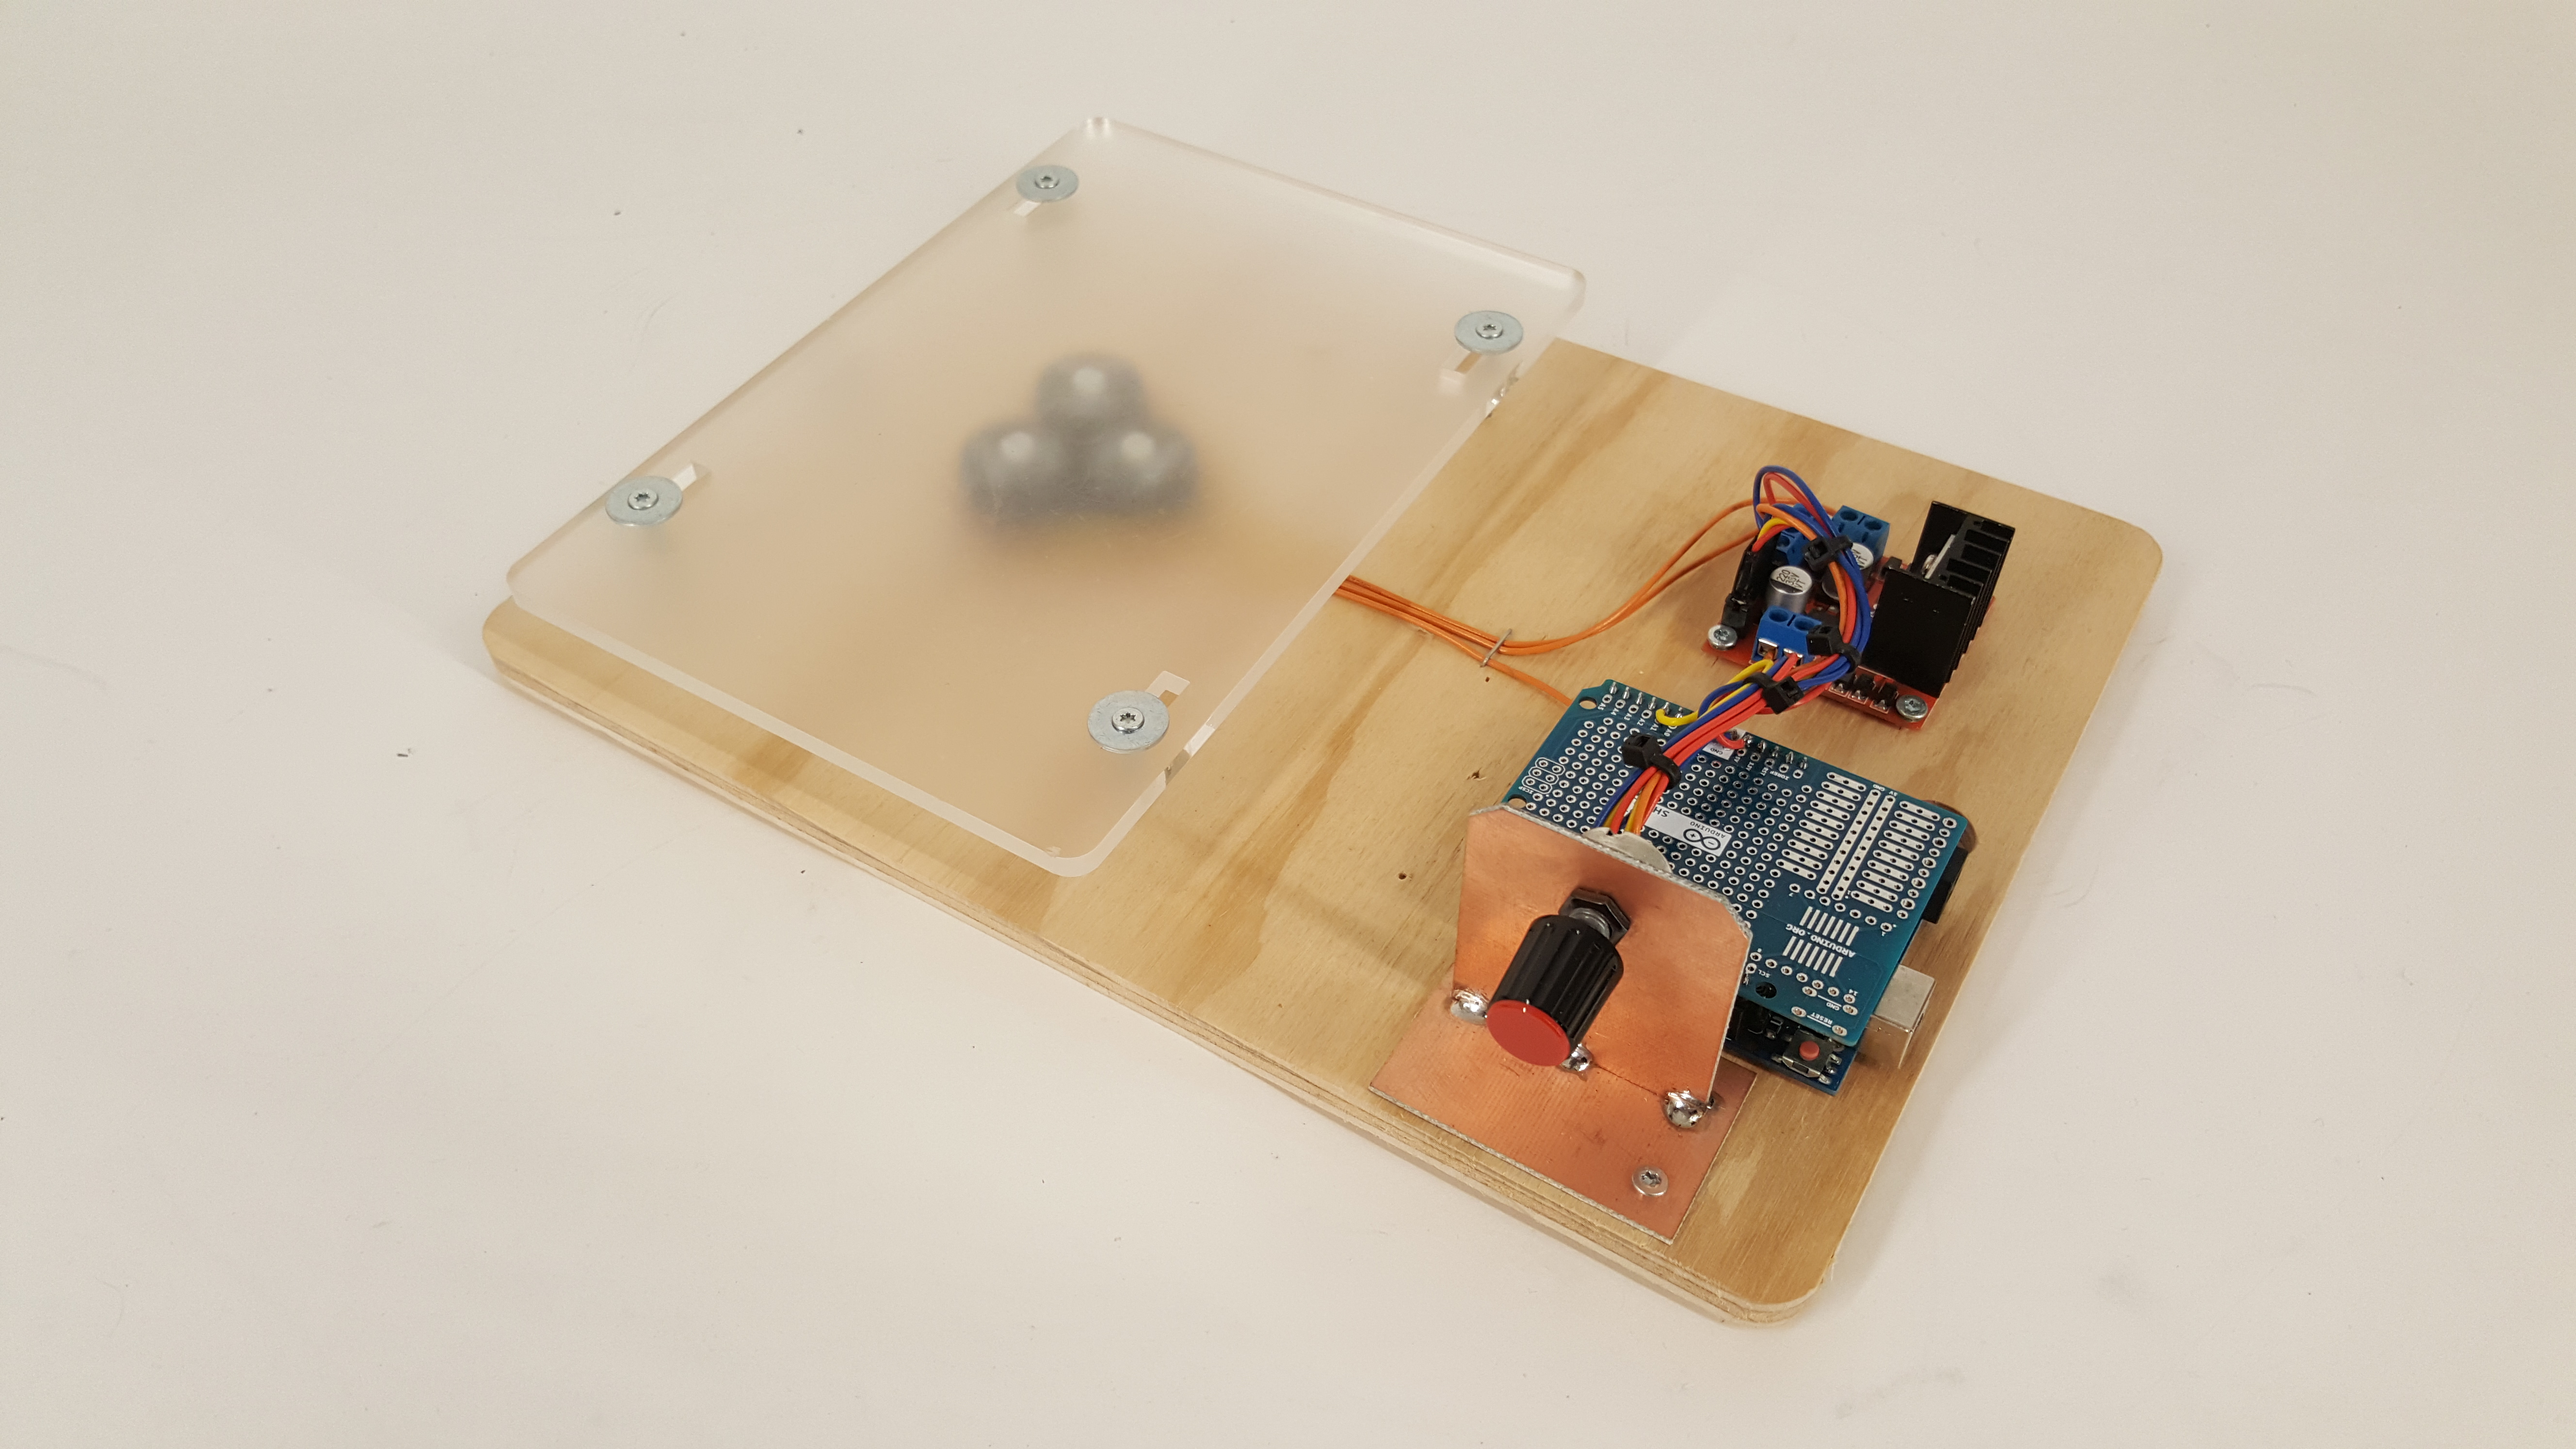
2 Electronics

There are many variants of Pololu compatible stepper drivers on the market. Make sure to check that the stepper driver is mounted correctly before powering it up or it will burn out and it's likely to damage the Arduino in the process!!
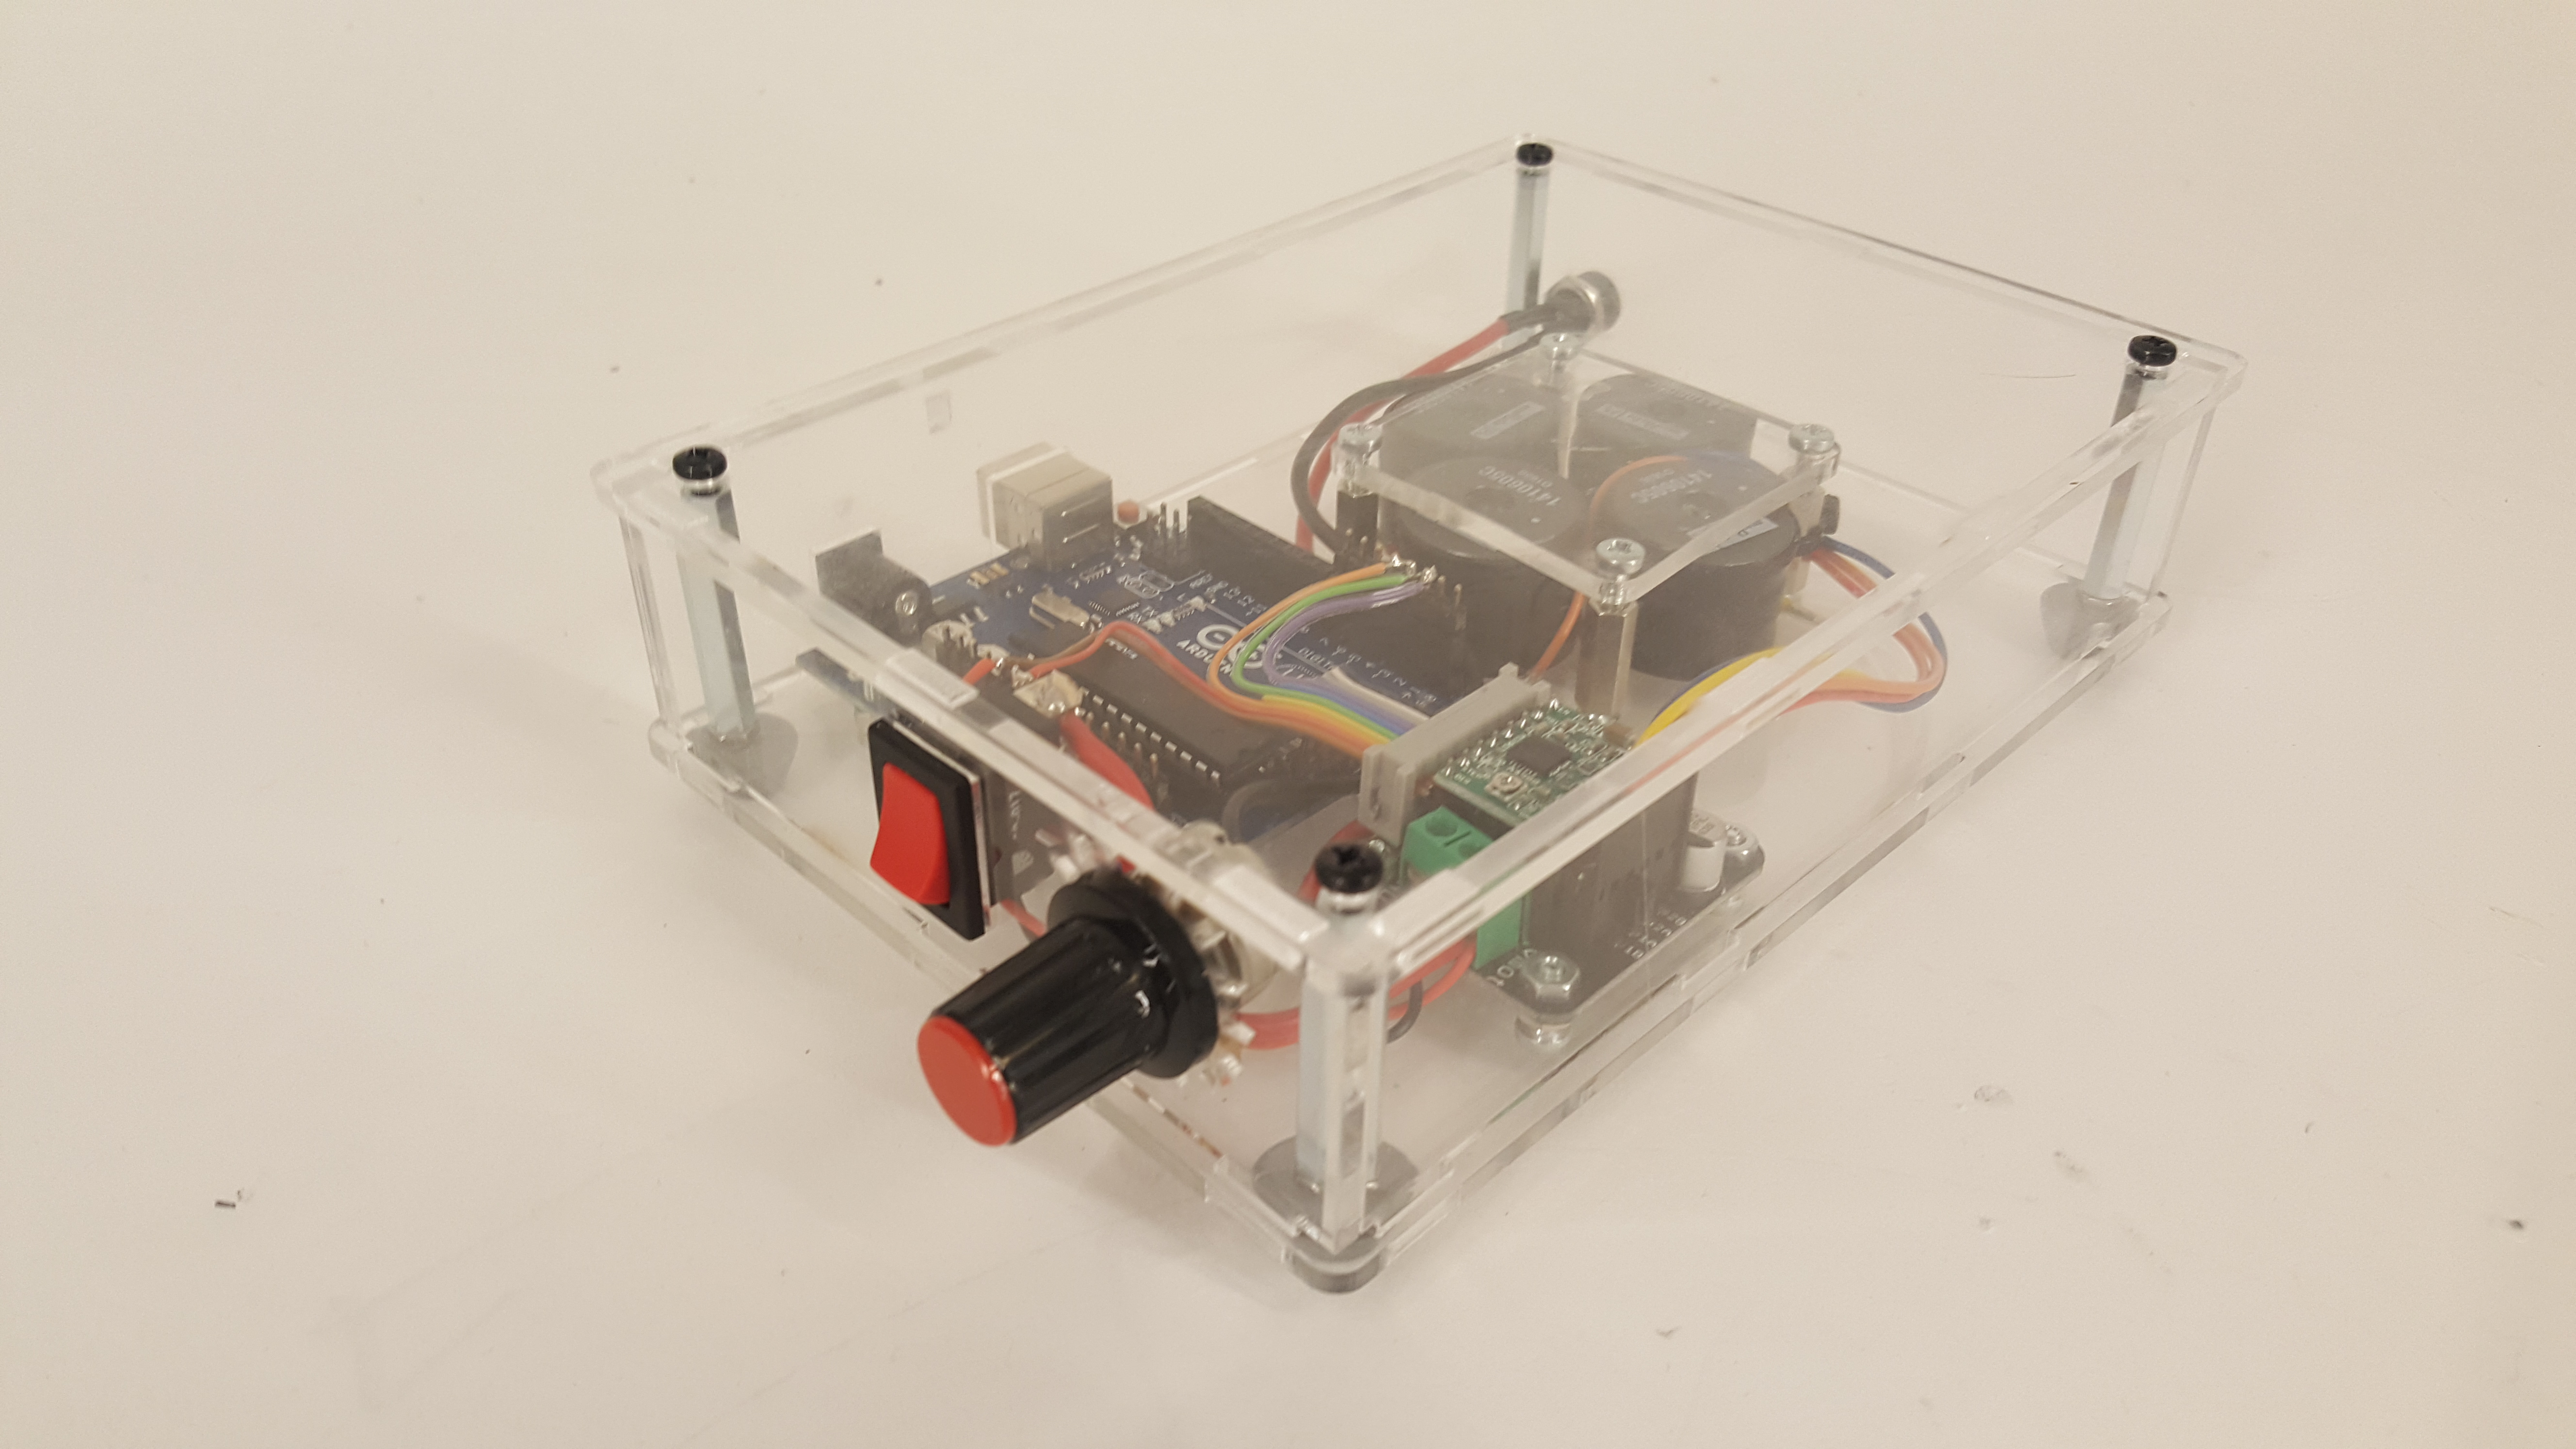
3 Mechanics

4 Programing
/*
 -= Magnetic stirrer =-
 Uses the analog input by reading an analog potentiometer on analog pin
 0 and
 turning on and off the Step Pin connected to digital pin 3.
 How fast the Step Pin will be turnd on and off depends on
 the value obtained by analogRead().

 The circuit:
 * Potentiometer attached to analog input 0
 * center pin of the potentiometer to the analog pin
 * right side pin to ground
 * left side pin to +5V
 * Enable Pin attached to digital output 2
 * Step Pin attached to digital output 3
 * Direction Pin attached to digital output 4

 Created by Kenneth Weiss
 3 October 2017
*/

int SensorPin   = A0;   //Select the input pin for the potentiometer
int EnPin       =  2;   //Stepper Driver Enable Pin (Inverted)
int StepPin     =  3;   //Stepper Driver Step Pin
int DirPin      =  4;   //Stepper Driver Direction Pin
int SensorValue =  0;   //Variable to store the value coming from the
sensor

void setup() { // declare the Pin's as OUTPUT:
  pinMode(EnPin,   OUTPUT);
  pinMode(StepPin, OUTPUT);
  pinMode(DirPin,  OUTPUT);

  digitalWrite(EnPin, LOW);
  digitalWrite(DirPin, LOW);
}

void loop() {
  SensorValue = analogRead(SensorPin);       // read the value from the sensor:
  digitalWrite(StepPin, HIGH);               // turn the StepPin on
  delayMicroseconds(SensorValue * 10 + 500); // stop the program for <SensorValue> microseconds
  digitalWrite(StepPin, LOW);                // turn the StepPin off
  delayMicroseconds(SensorValue * 10 + 500); // stop the program for for <SensorValue> microseconds
}
5 Conclusion
Even though the new motor driver and 4 electromagnet design is easier to use it's also more expensive so a combination of the new casing design and the old Ver.1 electronics with 3 electromagnets would be preferable in a new Ver.3 design.
After running the magnetic stirrer for a period of time the electromagnets starts to get varm. This is not a problem for the magnetic stirrer but should be taken into consideration if "heating" is not desired for the medium being stirred.
